Convert from Nomad to Consul service discovery
Nomad offers native service discovery but this may not be sufficient for some larger and more complex designs and implementations.
Integrating Consul into your application design allows you to continue to use service discovery and additional features not offered by Nomad’s service discovery, such as health checks, traffic shaping, and more.
Open the Consul UI
Consul is running alongside Nomad on the cluster you set up as part of the deployment in the previous tutorial.
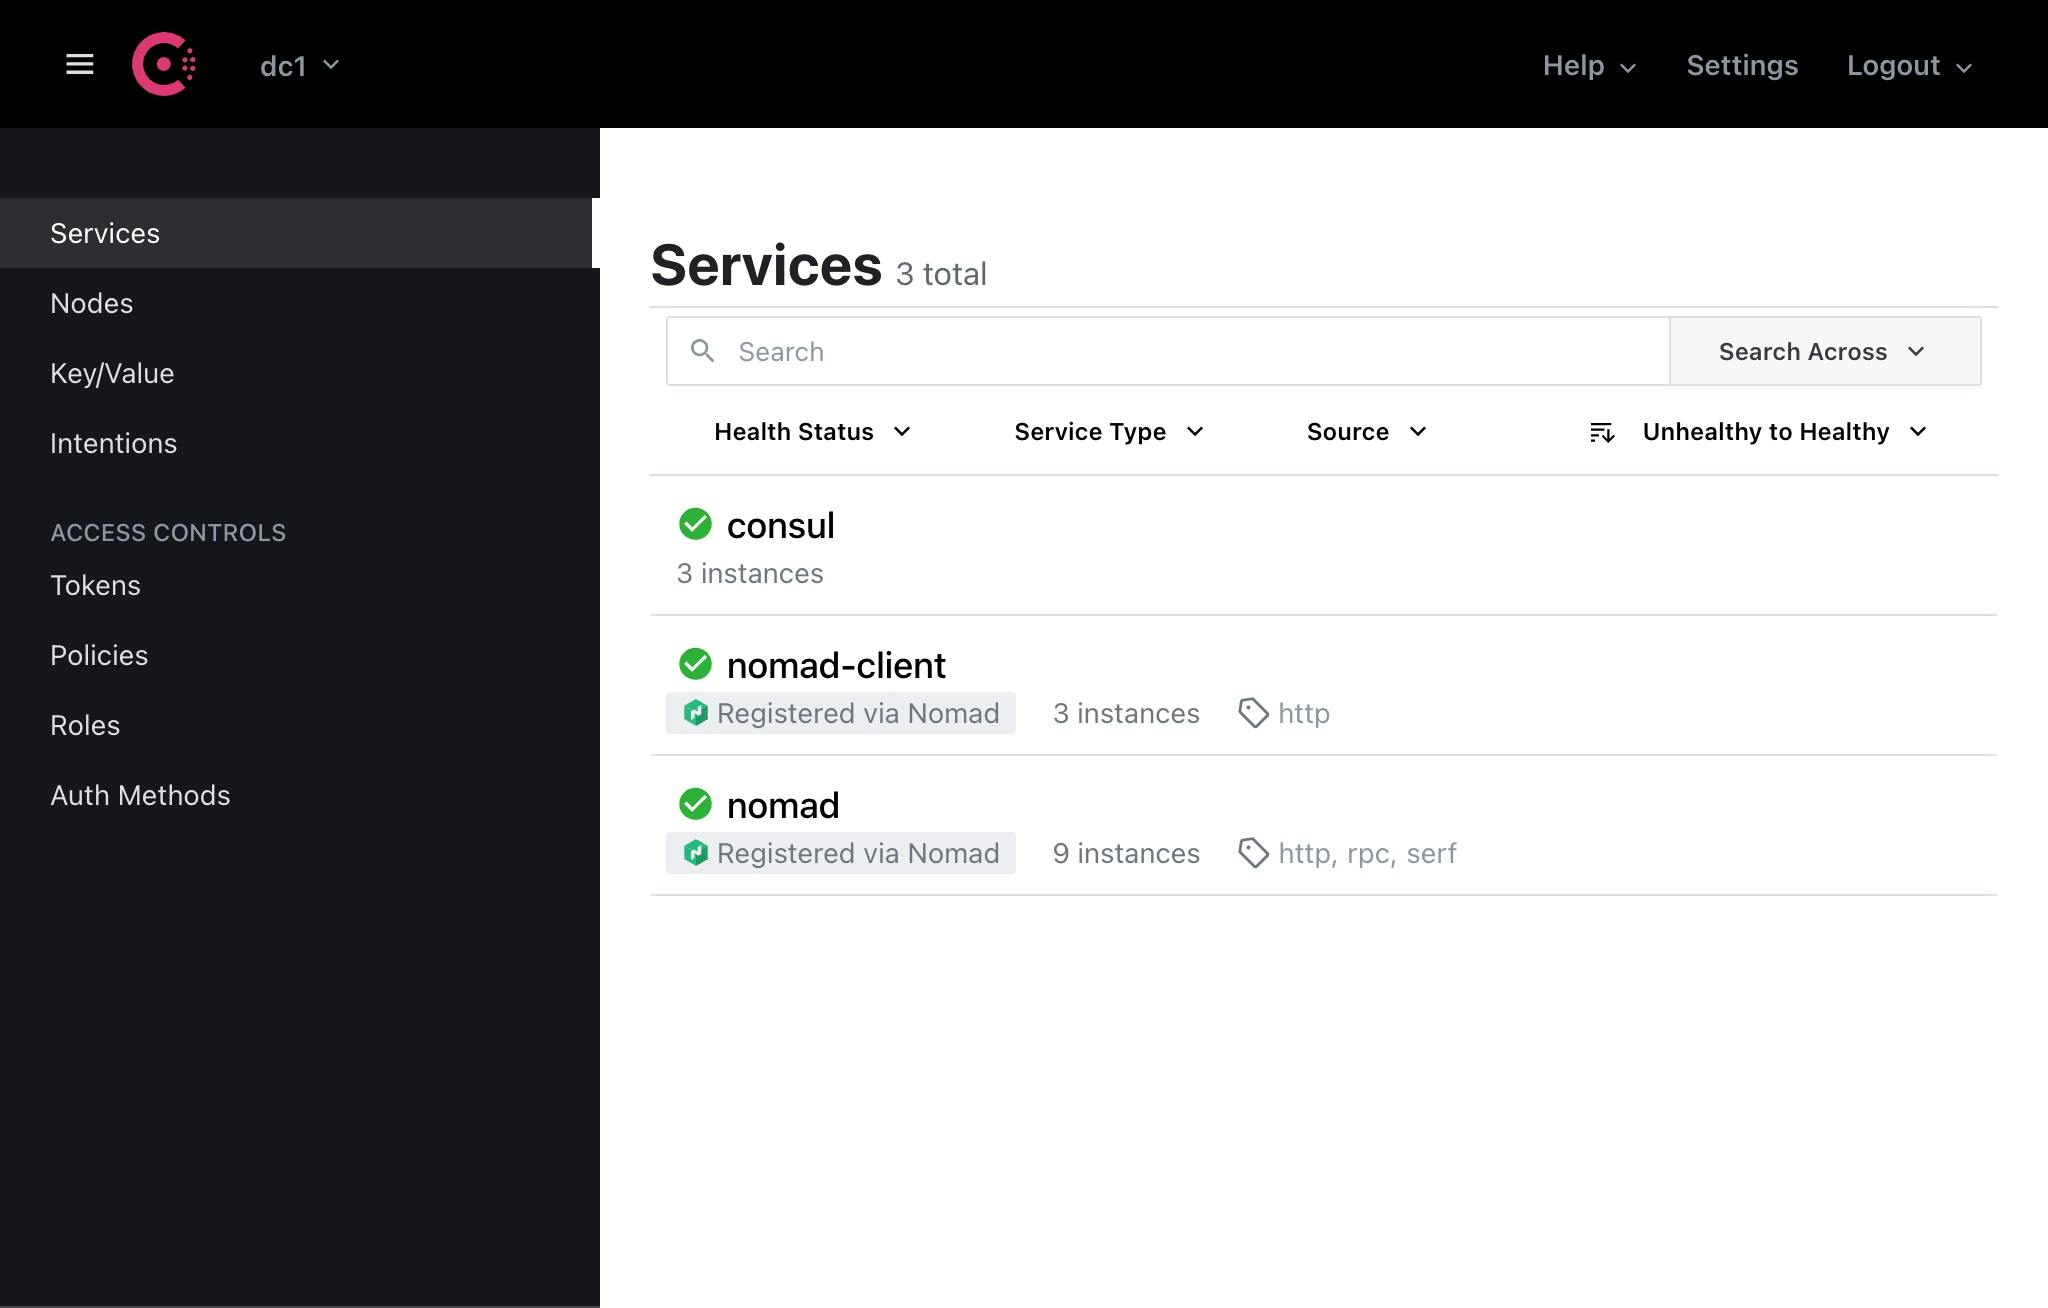
Open the Consul UI by visiting the link in the Terraform output, logging in with the token from that output, and clicking on the Services page from the left navigation.
$ terraform output
# ...
The Consul UI can be accessed at http://ar-nomad-server-lb-2016482221.ca-central-1.elb.amazonaws.com:8500/ui
with the bootstrap token: 8f94ee77-bc50-4ba1-bf75-132ed6b9366e
This page shows the services currently registered with Consul. Notice that the Nomad and Consul agents running on the server and client machines are the only services present.
Update the job spec to use Consul
In the previous tutorial, you set up the HashiCups application using native service discovery in Nomad.
Switching to Consul service discovery involves updating the provider value and the query function present in any template stanzas.
Nomad SD example
job "example-job" {
  group {
    task "simple-task" {
      service {
        name = "simple-service"
        port = "8080"
        provider = "nomad"
      }
    }
  }
  group "product-api" {
    task "product-api" {
    ## ...
        template {
            data        = <<EOH
{{ range nomadService "database" }}
DB_CONNECTION="host={{ .Address }} port={{ .Port }} user=user password=password dbname=db_name"
{{ end }}
EOH
            destination = "local/env.txt"
            env         = true
        }
    }
  }
}
Open the HashiCups job spec file, replace each instance of provider = "nomad" with provider = "consul", and save the file. There are six lines to update, one for each of the HashiCups services. This registers the services with Consul instead of Nomad.
hashicups.hcl
job "hashicups" {
  group "db" {
    # ...
    task "db" {
      # ...
      service {
        name = "database"
        port = "db"
        provider = "consul"
        # ...
      }
    }
  }
}
In the same file, replace each instance of nomadService with service, and save the file. There are six lines to update. This instructs Nomad to query Consul for the service address instead of its own internal service catalog.
hashicups.hcl
job "hashicups" {
  group "product-api" {
    # ...
    task "product-api" {
      # ...
      template {
        data        = <<EOH
{{ range service "database" }}
DB_CONNECTION="host={{ .Address }} port={{ .Port }} user=${var.postgres_user} password=${var.postgres_password} dbname=${var.postgres_db} sslmode=disable"
BIND_ADDRESS = "{{ env "NOMAD_IP_product-api" }}:${var.product_api_port}"
{{ end }}
EOH
        destination = "local/env.txt"
        env         = true
      }
    }
  }
}
Finally, be sure to update the load balancing configurations in the nginx task to match the Consul service example below.
hashicups.hcl
group "nginx" {
  # ...
  task "nginx" {
    # ...
    template {
      data =  <<EOF
proxy_cache_path /var/cache/nginx levels=1:2 keys_zone=STATIC:10m inactive=7d use_temp_path=off;
upstream frontend_upstream {
  {{ $allocID := env "NOMAD_ALLOC_ID" }}
  {{ range nomadService 1 $allocID "frontend" }}
  server {{ .Address }}:{{ .Port }};
{{ end }}
}
# ...
  }
}
Navigate back to your terminal and re-submit the HashiCups job spec to Nomad.
$ nomad job run hashicups.hcl
==> 2022-08-10T15:13:38-04:00: Monitoring evaluation "1198ebaa"
    2022-08-10T15:13:38-04:00: Evaluation triggered by job "hashicups"
    2022-08-10T15:13:38-04:00: Allocation "2e4d9ce1" created: node "0c40d12b", group "frontend"
    2022-08-10T15:13:38-04:00: Allocation "789dfe9e" created: node "bacfe7b3", group "nginx"
    2022-08-10T15:13:38-04:00: Allocation "9a70e22b" created: node "bacfe7b3", group "product-api"
    2022-08-10T15:13:38-04:00: Allocation "d6092b2a" created: node "bacfe7b3", group "public-api"
    2022-08-10T15:13:38-04:00: Allocation "7dac8068" modified: node "d51c20d9", group "payments-api"
    2022-08-10T15:13:38-04:00: Allocation "fecf17cd" modified: node "0c40d12b", group "db"
    2022-08-10T15:13:39-04:00: Evaluation within deployment: "21e2f157"
    2022-08-10T15:13:39-04:00: Allocation "2e4d9ce1" status changed: "pending" -> "running" (Tasks are running)
    2022-08-10T15:13:39-04:00: Evaluation status changed: "pending" -> "complete"
==> 2022-08-10T15:13:39-04:00: Evaluation "1198ebaa" finished with status "complete"
==> 2022-08-10T15:13:39-04:00: Monitoring deployment "21e2f157"
  ✓ Deployment "21e2f157" successful

    2022-08-10T15:14:34-04:00
    ID          = 21e2f157
    Job ID      = hashicups
    Job Version = 1
    Status      = successful
    Description = Deployment completed successfully

    Deployed
    Task Group    Desired  Placed  Healthy  Unhealthy  Progress Deadline
    db            1        1       1        0          2022-08-10T19:23:49Z
    frontend      2        2       2        0          2022-08-10T19:24:18Z
    nginx         2        2       2        0          2022-08-10T19:24:32Z
    payments-api  1        1       1        0          2022-08-10T19:23:49Z
    product-api   1        1       1        0          2022-08-10T19:23:50Z
    public-api    1        1       1        0          2022-08-10T19:23:53Z
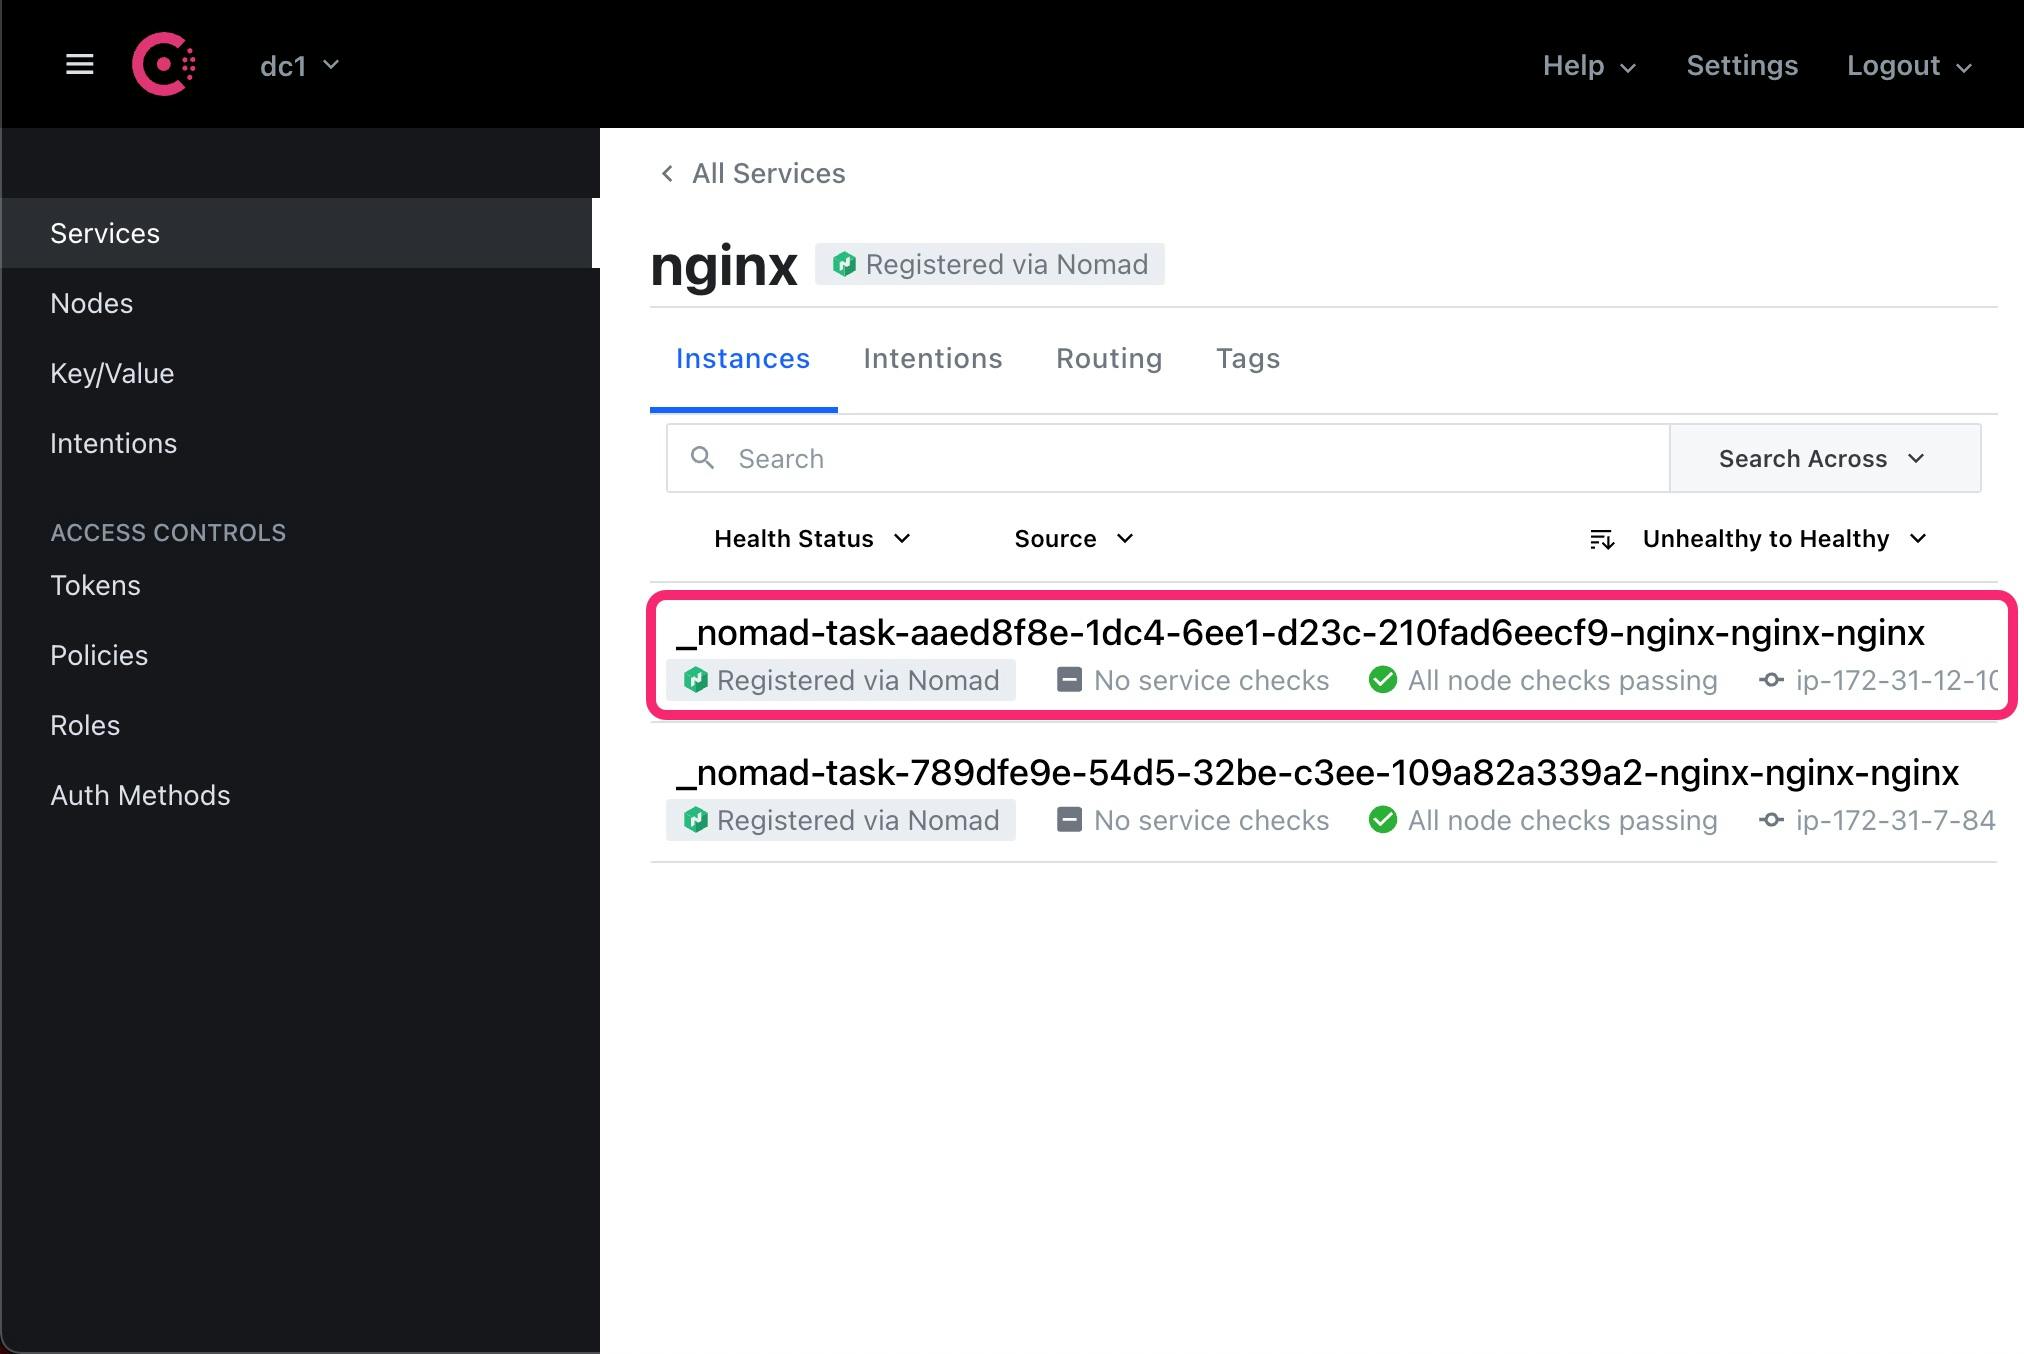
Navigate to the Services page in the Consul UI from earlier and note that each of the HashiCups services are now registered with Consul.

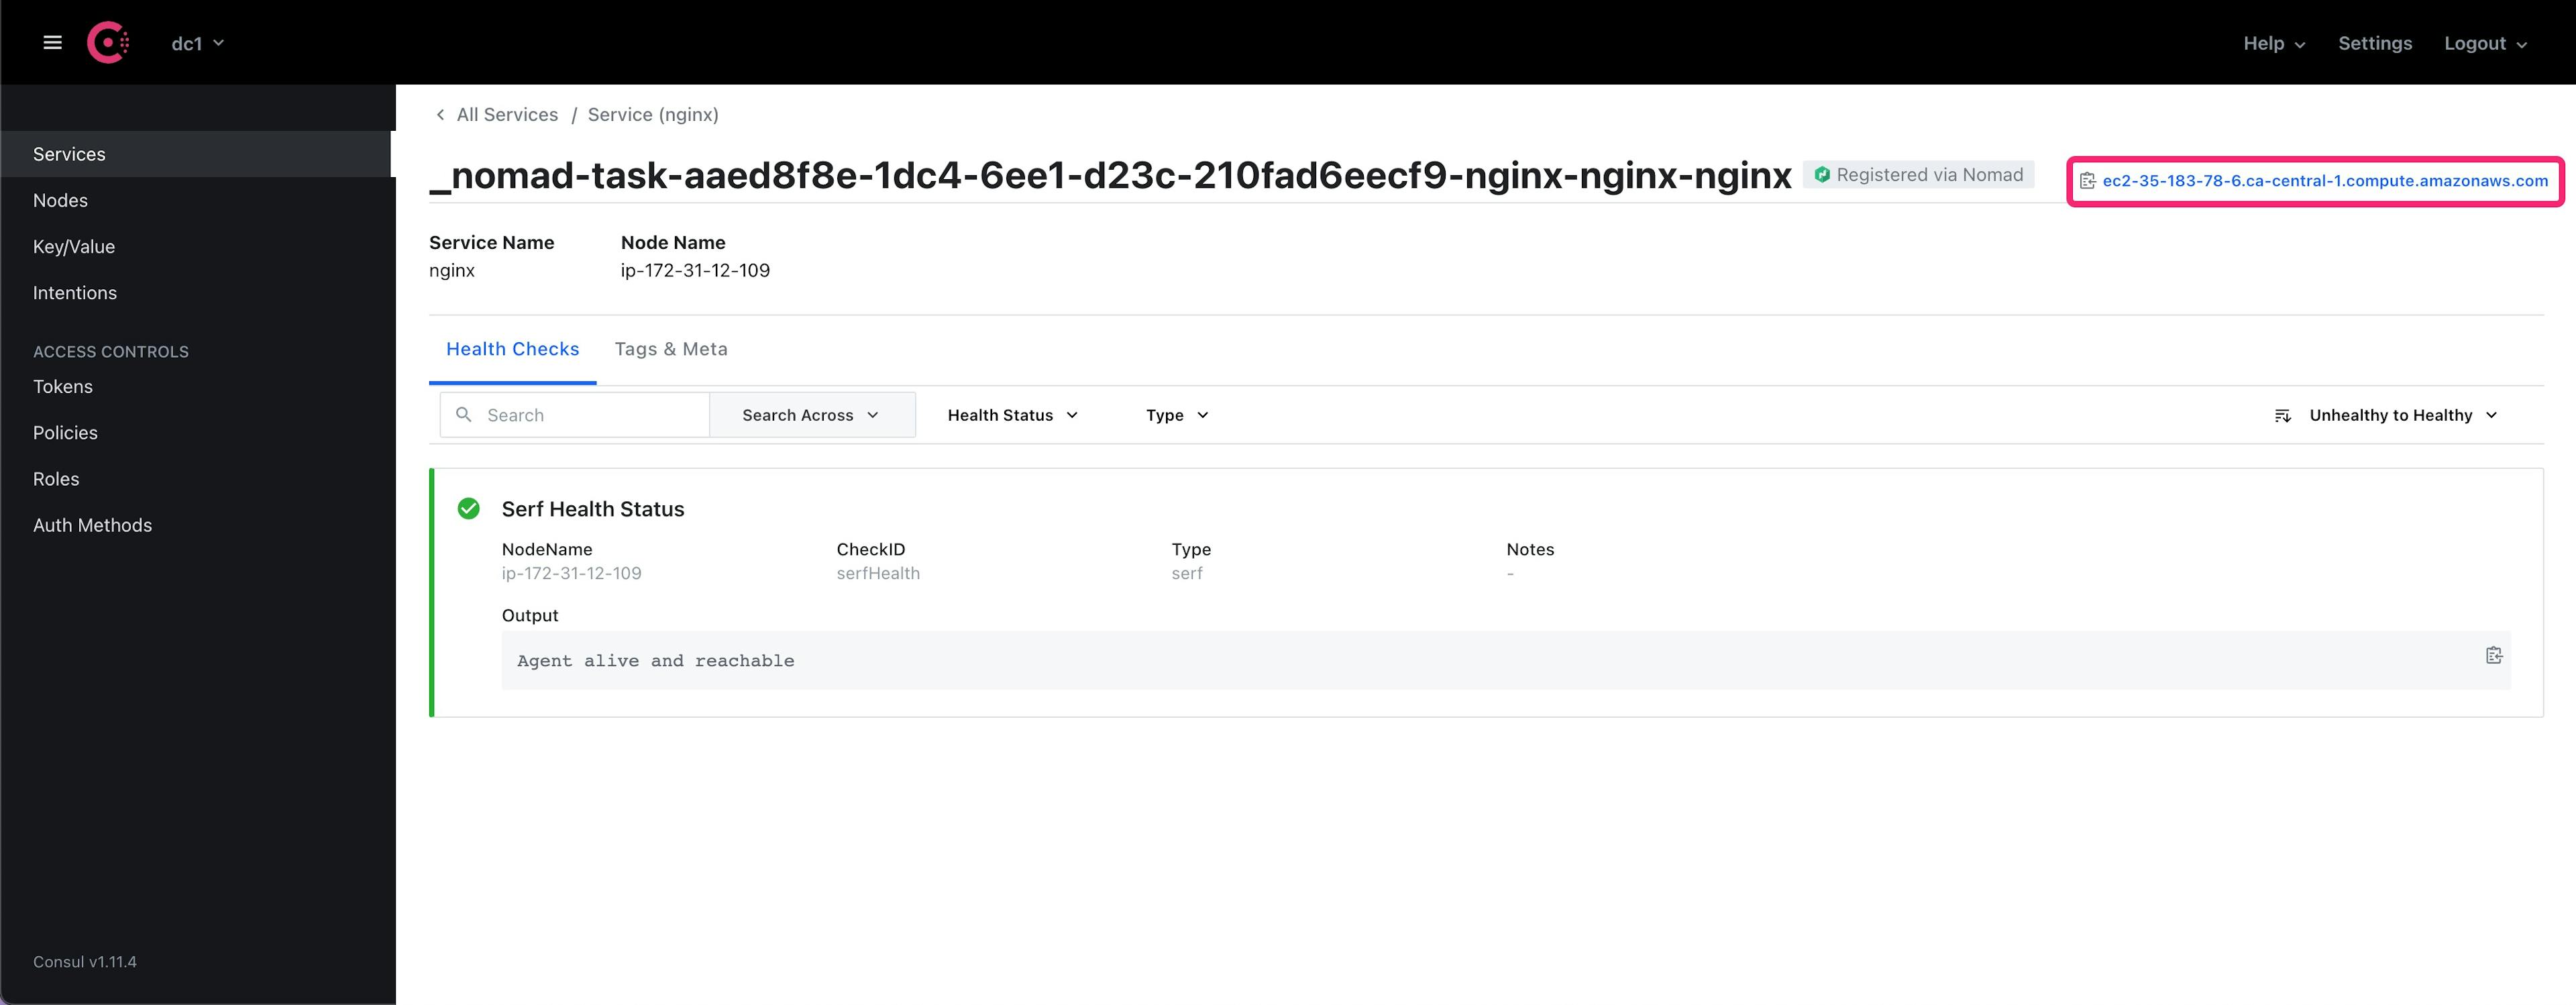
This job uses same the load balancer URL from the previous tutorial. The URL can also be found in the Consul UI by clicking on one of the nginx services and then the instance task name.
You may need to scroll to the right in your browser window as the service URL is printed after the task name.
Clean up
Run terraform destroy to clean up your provisioned infrastructure. Respond yes to the prompt to confirm the operation.
$ terraform destroy
Plan: 0 to add, 0 to change, 18 to destroy.
## ...
module.nomad-cluster.aws_instance.server[0]: Destruction complete after 30s
module.nomad-cluster.aws_instance.server[1]: Destruction complete after 30s
module.nomad-cluster.aws_instance.server[2]: Destruction complete after 30s
module.nomad-cluster.aws_iam_instance_profile.instance_profile: Destroying... [id=ar-nomad20220810185103967100000002]
module.nomad-cluster.aws_security_group.primary: Destroying... [id=sg-097e033fb088560d6]
module.nomad-cluster.aws_iam_instance_profile.instance_profile: Destruction complete after 0s
module.nomad-cluster.aws_iam_role.instance_role: Destroying... [id=ar-nomad20220810185103035400000001]
module.nomad-cluster.aws_security_group.primary: Destruction complete after 0s
module.nomad-cluster.aws_security_group.server_lb: Destroying... [id=sg-01a751f96df44445e]
module.nomad-cluster.aws_iam_role.instance_role: Destruction complete after 0s
module.nomad-cluster.aws_security_group.server_lb: Destruction complete after 1s

Destroy complete! Resources: 18 destroyed.
Be sure to follow the additional cleanup steps around AMIs outlined in the AWS cluster setup tutorial so you don't incur any additional charges for image storage.
Next steps
In this collection of tutorials, you learned about the native service discovery present in Nomad, how to enable services to use it, and how to transition from native service discovery to Consul service discovery.
Check out the running Nomad workloads on edge nodes tutorial for another example that uses Nomad service discovery.