Create an HCP Vault Dedicated cluster
The HashiCorp Cloud Platform (HCP) allows you to deploy a Vault Enterprise cluster in a supported public cloud provider. As a fully managed service, you can use HCP Vault Dedicated as a central secret management service while offloading the operational burden to the Site Reliability Engineering (SRE) experts at HashiCorp.
Previous experience with Vault and Vault Enterprise is not required to deploy a Vault cluster in HCP.
In this tutorial, you will play the role of Oliver from HashiCups as they deploy a Vault Enterprise cluster guided by the HCP portal.
Prerequisites
- Access to an HCP account.
Create a Vault cluster
(Persona: operations)
Launch the HCP Portal and log in.
If you have logged in before, the portal opens the last project you were in. Navigate back to the organization level from the breadcrumbs, or click on the HashiCorp icon at the top-left to choose another organization.
Click on the HashiCorp icon to list your organizations, and select the organization to create an HCP Vault cluster in.
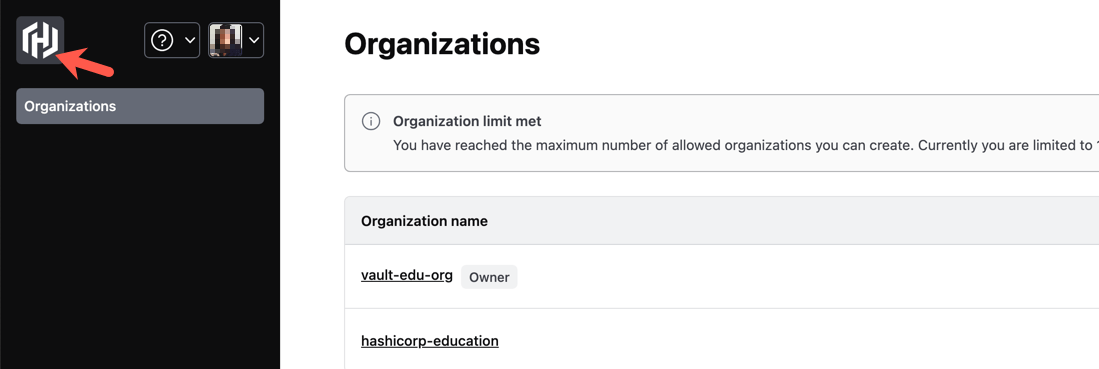
HashiCorp Cloud Platform (HCP) provides your account with an organization. Your account may invite others to join your organization or you may be invited to join other organizations.
Click View projects, and select the target project.
- Click + Create project.
- Enter the Project name and Project description.
- Click Create project to complete.
You can use projects to separate access within an organization, such as by team, use cases, or environment (for example, development, staging, production, etc.).
From the Overview page, click Get started with Vault Dedicated.

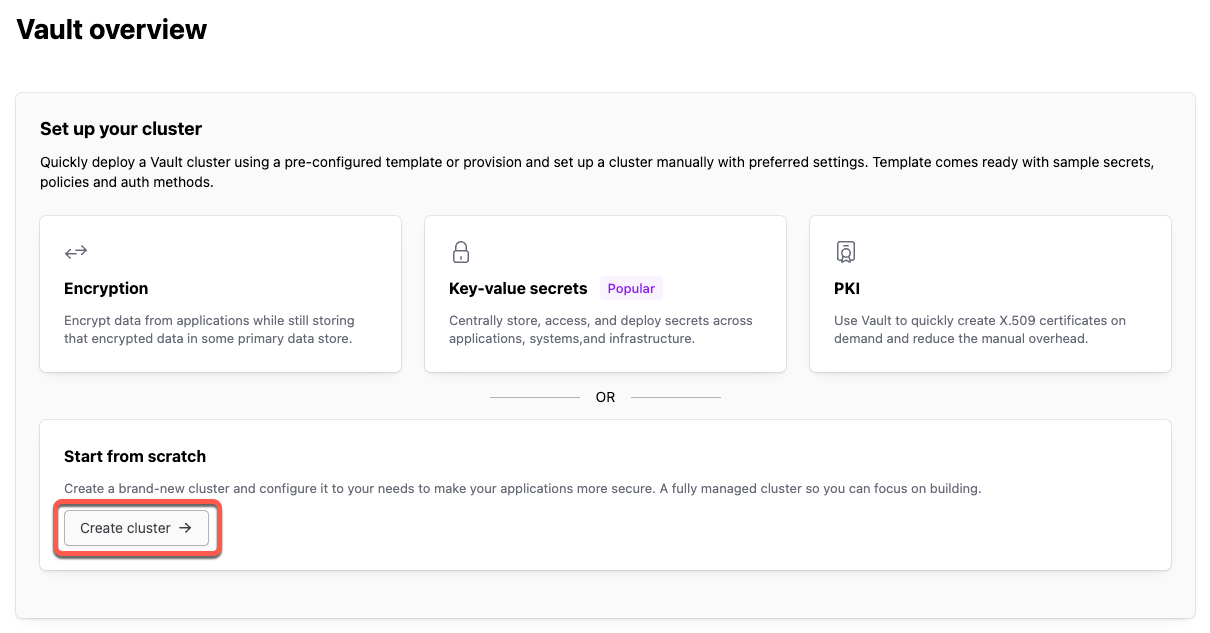
From the Vault overview page, you have the option to deploy HCP Vault using a template, which deploys Vault with a sample configuration, or you can choose to Start from scratch which deploys a standard Vault instance with no existing configuration.
For the purposes of these tutorials and learning about Vault, click the Create cluster button under Start from scratch.
Select your preferred cloud provider.
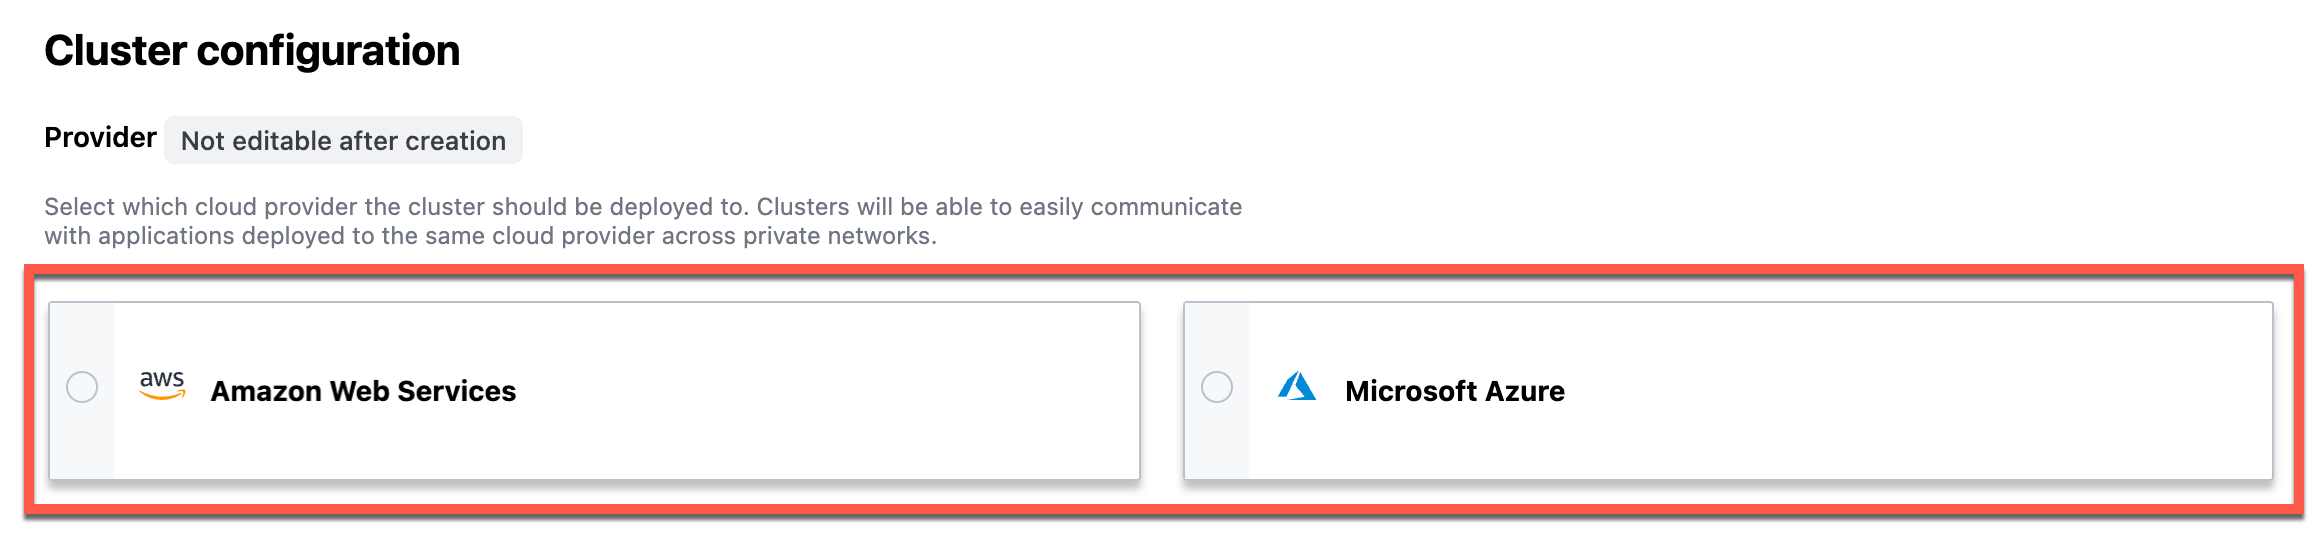
HCP Vault supports deployment on AWS and Azure. You do not need an AWS or Azure account - HashiCorp manages the underlying cloud resources.
Click the Vault tier pull-down menu and select Development.
Click the Cluster size pull-down menu and select Extra Small.
For the development tier, Extra Small is the only available cluster size.
Under the Network section, accept or edit the Network ID, Region selection, and CIDR block for the HVN.
Under the Basics section, accept or edit the default Cluster ID (
vault-cluster).
Each HCP Vault cluster you deploy requires a unique cluster ID within your project.
Under Templates, select Start from scratch. Templates give sample configurations for various use cases.
Click Create cluster.
Wait for the cluster to initialize before proceeding.

Once cluster provisioning completes, refresh the page.
Vault cluster overview
(Persona: operations)
The Overview page displays information about the Vault cluster. The Cluster Details pane shows you information about your cluster. The Vault usage pane shows information about your HCP Vault consumption, such as the number of clients.

Review the Cluster details pane.

The Cluster details pane gives helpful information about your HCP Vault cluster such as the version, cluster ID, and whether replication is active. The information in this pane varies based on your HCP Vault cluster tier.
Review the Quick actions pane.
 The Quick actions pane provides details for accessing your new
HCP Vault cluster. You can use the Cluster URLs links to copy
the public or private addresses, and use the Generate token
link to generate a new admin token to perform the initial configuration
of the HCP Vault cluster.
The Quick actions pane provides details for accessing your new
HCP Vault cluster. You can use the Cluster URLs links to copy
the public or private addresses, and use the Generate token
link to generate a new admin token to perform the initial configuration
of the HCP Vault cluster.Click Networking in the left navigation menu. The cluster networking page allows you to configure whether the cluster is publicly accessible.
By default, all development tier clusters are publicly accessible. All production tier clusters turn off public access by default.
Under Cluster accessibility, click Edit cluster.
You can change the cluster's accessibility settings to either Public or Private based your requirements.
Enabling Allows select IPs only allows you to add specific IP addresses or CIDR ranges that can access the HCP Vault cluster's public endpoint (if you enabled public access).
Click Cancel to return to the Networking page.
You can also enable or disable the HCP Proxy. The HCP proxy is an identity aware proxy that allows you to access the Vault cluster using the UI and CLI if you do not enable public access. You must have an account in the HCP organization where the cluster is running to authenticate to the HCP proxy.
Use the [Vault CLI's `hcp`subcommand](/hcp/docs/vault/get-started/configure-private-access#hcp-identity-based-proxy) to connect to the HCP proxy using the CLI.
Click Overview to return to the Vault cluster overview page.
Knowledge checks
A quiz to test your knowledge.
What is the first step you must take in the HCP Portal to begin creating an HCP Vault Dedicated cluster?
🔘 Select your preferred cloud provider
🔘 Click the Vault tier pull-down menu and select Development
🔘 Click Get started with Vault Dedicated from the Overview page
🔘 Under the Basics section, accept or edit the default Cluster ID
❌ Select your preferred cloud provider
❌ Click the Vault tier pull-down menu and select Development
✅ Click Get started with Vault Dedicated from the Overview page
❌ Under the Basics section, accept or edit the default Cluster ID
Which cluster size option is available when selecting the Development tier for your HCP Vault Dedicated cluster?
🔘 Extra Small, Small, Medium, Large, and Extra Large
🔘 Small, Medium, and Large only
🔘 Extra Small is the only available option
🔘 Any size can be selected regardless of tier
❌ Extra Small, Small, Medium, Large, and Extra Large
❌ Small, Medium, and Large only
✅ Extra Small is the only available option
❌ Any size can be selected regardless of tier
How do you access your newly created HCP Vault Dedicated cluster to perform the initial configuration?
You can access your cluster using the Cluster URLs links in the Quick actions pane to copy the public or private addresses, and use the Generate token link to create a new admin token for initial configuration via the Vault CLI or UI.
Summary
You created a HCP Vault cluster using the HCP Portal and reviewed details about the cluster.
Next steps
Now that Oliver created a Vault cluster, they will learn how to access the cluster to perform the initial configuration.