Set up a Nomad cluster on AWS
This tutorial will guide you through deploying a Nomad cluster with access control lists (ACLs) enabled on AWS. Consider checking out the cluster setup overview first as it covers the contents of the code repository used in this tutorial.
Prerequisites
For this tutorial, you need:
- Packer 1.9.4 or later
- Terraform 1.2.0 or later
- Nomad 1.7.7 or later
- An AWS account configured for use with Terraform
Clone the code repository
The cluster setup code repository contains configuration files for creating a Nomad cluster on AWS. It uses Consul for the initial setup of the Nomad servers and clients and enables ACLs for both Consul and Nomad.
Clone the code repository.
$ git clone https://github.com/hashicorp-education/learn-nomad-cluster-setup
Navigate to the cloned repository folder.
$ cd learn-nomad-cluster-setup
Navigate to the aws folder.
$ cd aws
Create the Nomad cluster
There are two main steps to creating the cluster: building an Amazon Machine Image (AMI) with Packer and provisioning the cluster infrastructure with Terraform. Both Packer and Terraform require that some configurations be set before they run and these configuration variables are defined in the variables.hcl.example file.
Update the variables file for Packer
Rename variables.hcl.example to variables.hcl and open it in your text editor.
$ mv variables.hcl.example variables.hcl
Update the region variable with your preferred AWS region. In this example, the region is us-east-1. The remaining variables are for Terraform and you update them after building the AMI.
aws/variables.hcl
# Packer variables (all are required)
region                    = "us-east-1"
Build the AMI
Initialize Packer to download the required plugins.
$ packer init image.pkr.hcl
Then, build the image and provide the variables file with the -var-file flag.
$ packer build -var-file=variables.hcl image.pkr.hcl

# ...

Build 'amazon-ebs' finished after 14 minutes 32 seconds.

==> Wait completed after 14 minutes 32 seconds

==> Builds finished. The artifacts of successful builds are:
--> amazon-ebs: AMIs were created:
us-east-1: ami-0445eeea5e1406960
Packer outputs the specific ami id once it finishes building the image. In this example, the value for the ami id would be ami-0445eeea5e1406960.
Update the variables file for Terraform
Open variables.hcl in your text editor and update the ami variable with the value output from the Packer build. In this example, the value is ami-0445eeea5e1406960.
aws/variables.hcl
# ...

ami                          = "ami-0445eeea5e1406960"

# These variables default to the values shown
# and do not need to be updated unless you want to
# change them
# allowlist_ip               = "0.0.0.0/0"
# name                       = "nomad"
# server_instance_type       = "t2.micro"
# server_count               = "3"
# client_instance_type       = "t2.micro"
# client_count               = "3"
The remaining variables in variables.hcl are optional.
-
allowlist_ipis a CIDR range specifying which IP addresses are allowed to access the Consul and Nomad UIs on ports8500and4646as well as SSH on port22. The default value of0.0.0.0/0allows traffic from everywhere. -
nameis a prefix for naming the AWS resources. -
server_instance_typeandclient_instance_typeare the virtual machine instance types for the cluster server and client nodes, respectively. -
server_countandclient_countare the number of nodes to create for the servers and clients, respectively.
Deploy the Nomad cluster
Before you deploy the Nomad cluster, initialize the Terraform configuration to download the necessary providers and modules.
$ terraform init
Initializing the backend...
# ...
Initializing provider plugins...
# ...
Terraform has been successfully initialized!
# ...
Provision the resources and provide the variables file with the -var-file flag. Respond yes to the prompt to confirm the operation. The provisioning takes several minutes. Once complete, the Consul and Nomad web interfaces will become available.
$ terraform apply -var-file=variables.hcl

# ...

Plan: 18 to add, 0 to change, 0 to destroy.

# ...

Do you want to perform these actions?
  Terraform will perform the actions described above.
  Only 'yes' will be accepted to approve.

  Enter a value: Yes

# ...

Apply complete! Resources: 18 added, 0 changed, 0 destroyed.

Outputs:

IP_Addresses = <<EOT

Client public IPs: 52.91.50.99, 18.212.78.29, 3.93.189.88

Server public IPs: 107.21.138.240, 54.224.82.187, 3.87.112.200

The Consul UI can be accessed at http://107.21.138.240:8500/ui
with the token: dbd4d67b-4629-975c-e9a8-ff1a38ed1520

EOT
consul_token_secret = "dbd4d67b-4629-975c-e9a8-ff1a38ed1520"
lb_address_consul_nomad = "http://107.21.138.240"
Verify the services are in a healthy state. Navigate to the Consul UI in your web browser with the URL in the Terraform output.
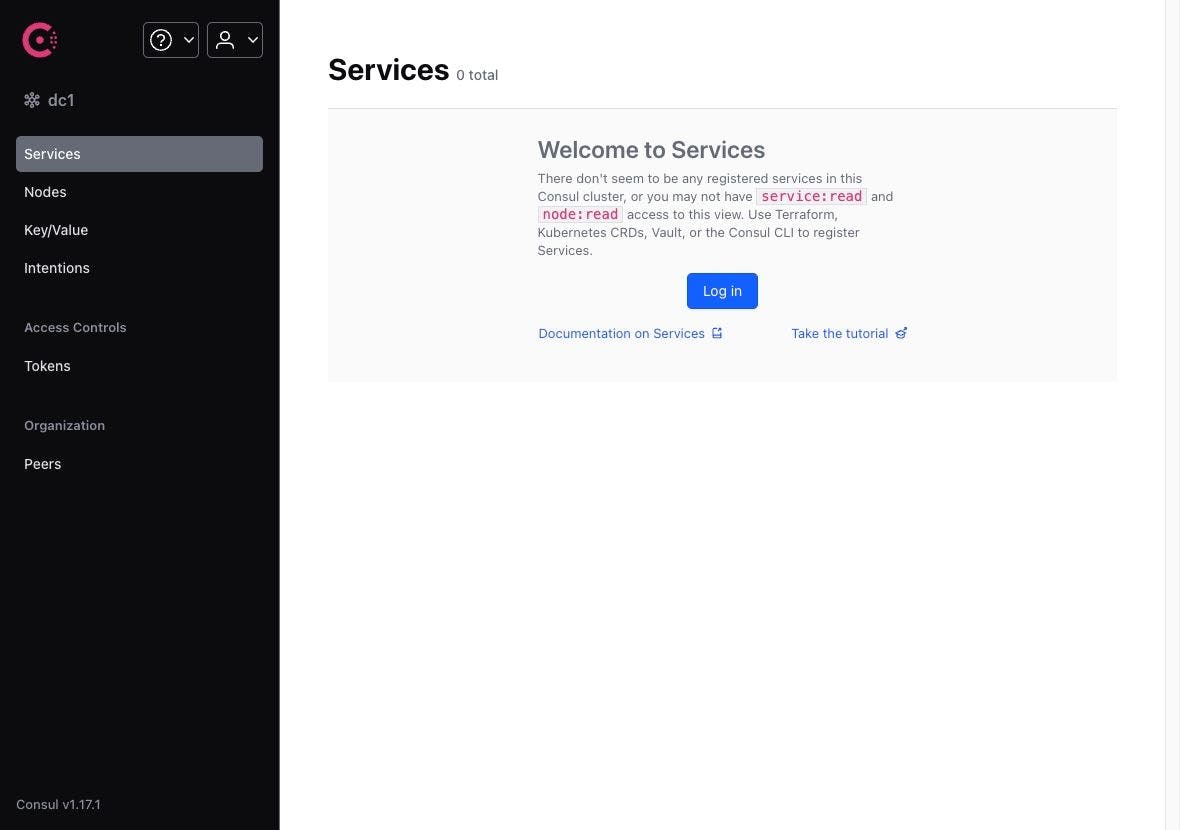
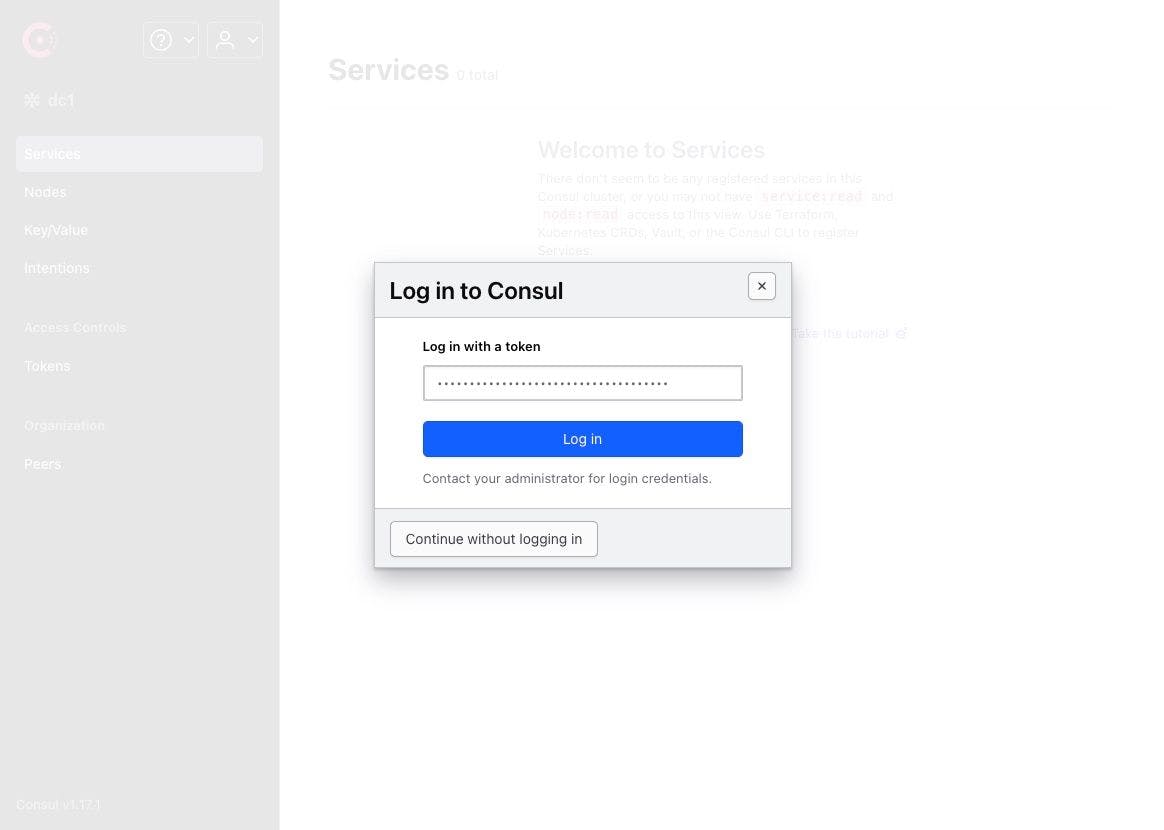
Click on the Log in button and use the bootstrap token secret consul_token_secret from the Terraform output to log in.
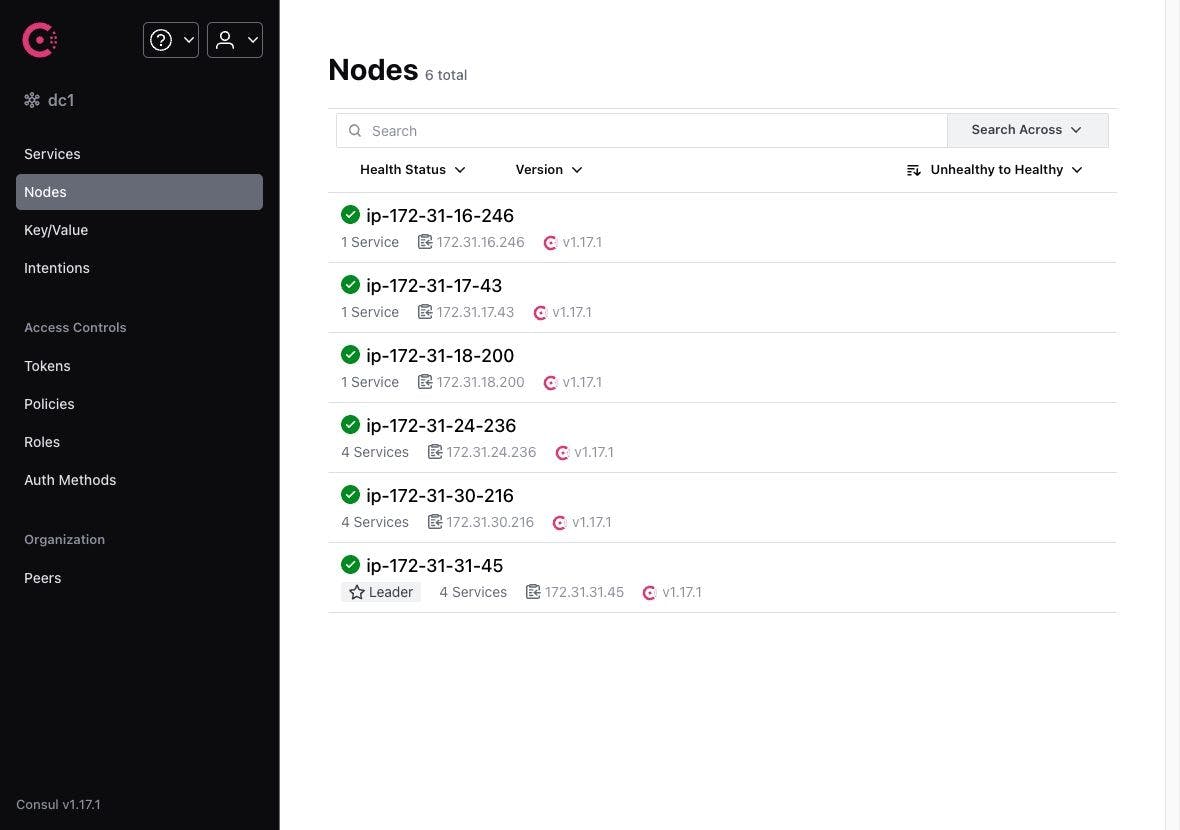
Click on the Nodes page from the sidebar navigation. There are six healthy nodes, including three Consul servers and three Consul clients created with Terraform.
Set up access to Nomad
Run the post-setup.sh script.
$ ./post-setup.sh
The Nomad user token has been saved locally to nomad.token and deleted from the Consul KV store.

Set the following environment variables to access your Nomad cluster with the user token created during setup:

export NOMAD_ADDR=$(terraform output -raw lb_address_consul_nomad):4646
export NOMAD_TOKEN=$(cat nomad.token)


The Nomad UI can be accessed at http://107.21.138.240:4646/ui
with the bootstrap token: 22444f72-c222-bd26-6c2c-584fb9e5b698
Apply the export commands from the output.
$ export NOMAD_ADDR=$(terraform output -raw lb_address_consul_nomad):4646 && \
  export NOMAD_TOKEN=$(cat nomad.token)
Finally, verify connectivity to the cluster with nomad node status
$ nomad node status
ID        Node Pool  DC   Name              Class   Drain  Eligibility  Status
06320436  default    dc1  ip-172-31-18-200  <none>  false  eligible     ready
6f5076b1  default    dc1  ip-172-31-16-246  <none>  false  eligible     ready
5fc1e22c  default    dc1  ip-172-31-17-43   <none>  false  eligible     ready
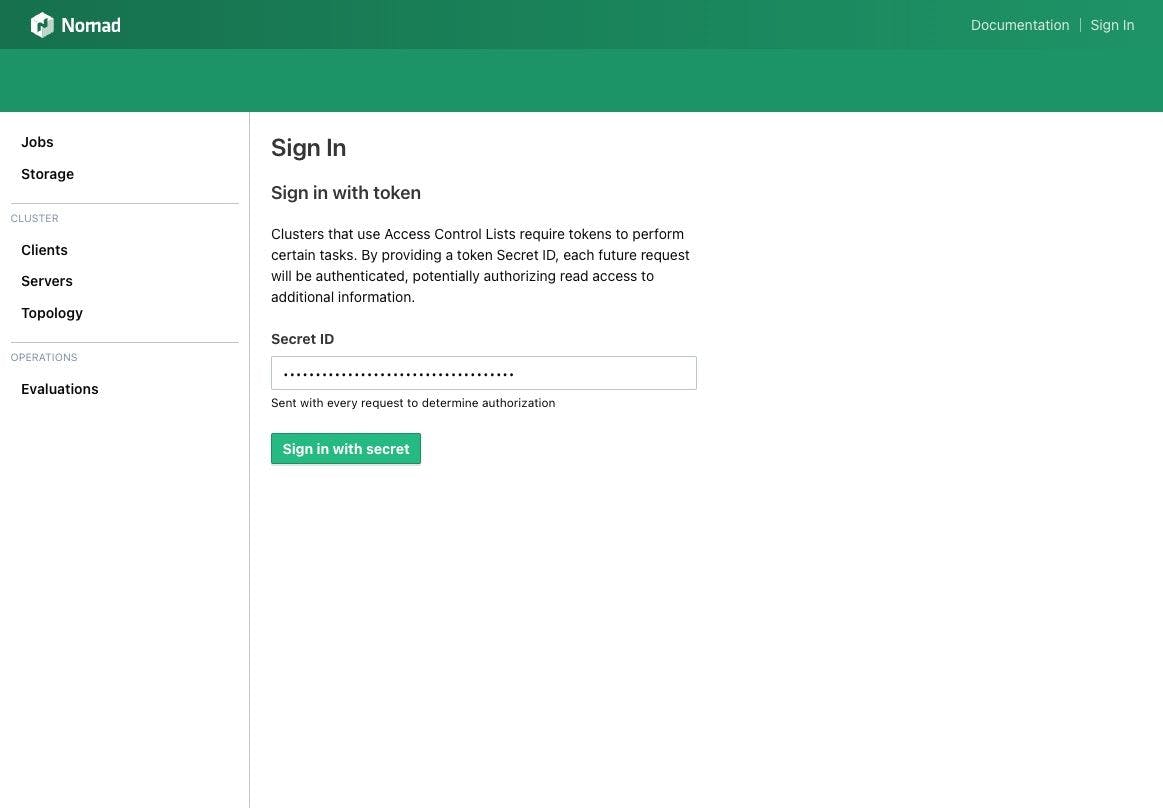
Navigate to the Nomad UI in your web browser with the URL in the post-setup.sh script output. Click on Sign In in the top right corner and log in with the bootstrap token saved in the NOMAD_TOKEN environment variable. Set the Secret ID to the token's value and click Sign in with secret.
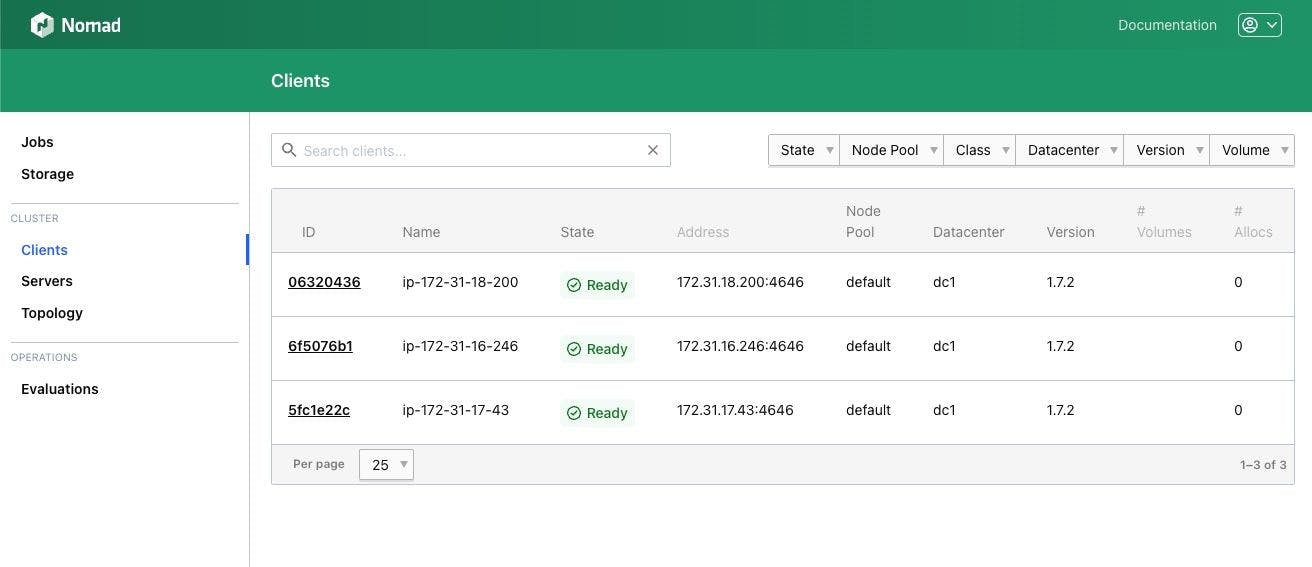
Click on the Clients page from the sidebar navigation to explore the UI.
Cleanup
Destroy infrastructure
Use terraform destroy to remove the provisioned infrastructure. Respond yes to the prompt to confirm removal.
$ terraform destroy -var-file=variables.hcl

# ...

aws_instance.server[0]: Destruction complete after 30s
aws_instance.server[1]: Still destroying... [id=i-017defd36b45408c1, 30s elapsed]
aws_instance.server[1]: Destruction complete after 30s
aws_iam_instance_profile.instance_profile: Destroying... [id=nomad20220613201917520400000002]
aws_security_group.primary: Destroying... [id=sg-0ffdf8214d5fc85b2]
aws_iam_instance_profile.instance_profile: Destruction complete after 0s
aws_iam_role.instance_role: Destroying... [id=nomad20220613201916761200000001]
aws_iam_role.instance_role: Destruction complete after 0s
aws_security_group.primary: Destruction complete after 0s
aws_security_group.server_lb: Destroying... [id=sg-016a74cc79f3f2826]
aws_security_group.server_lb: Destruction complete after 1s

Destroy complete! Resources: 18 destroyed.
Delete AMI and S3-store snapshots
Your AWS account still has the AMI and its S3-stored snapshots, which you may be charged for depending on your other usage. Delete the AMI and snapshots stored in your S3 buckets.
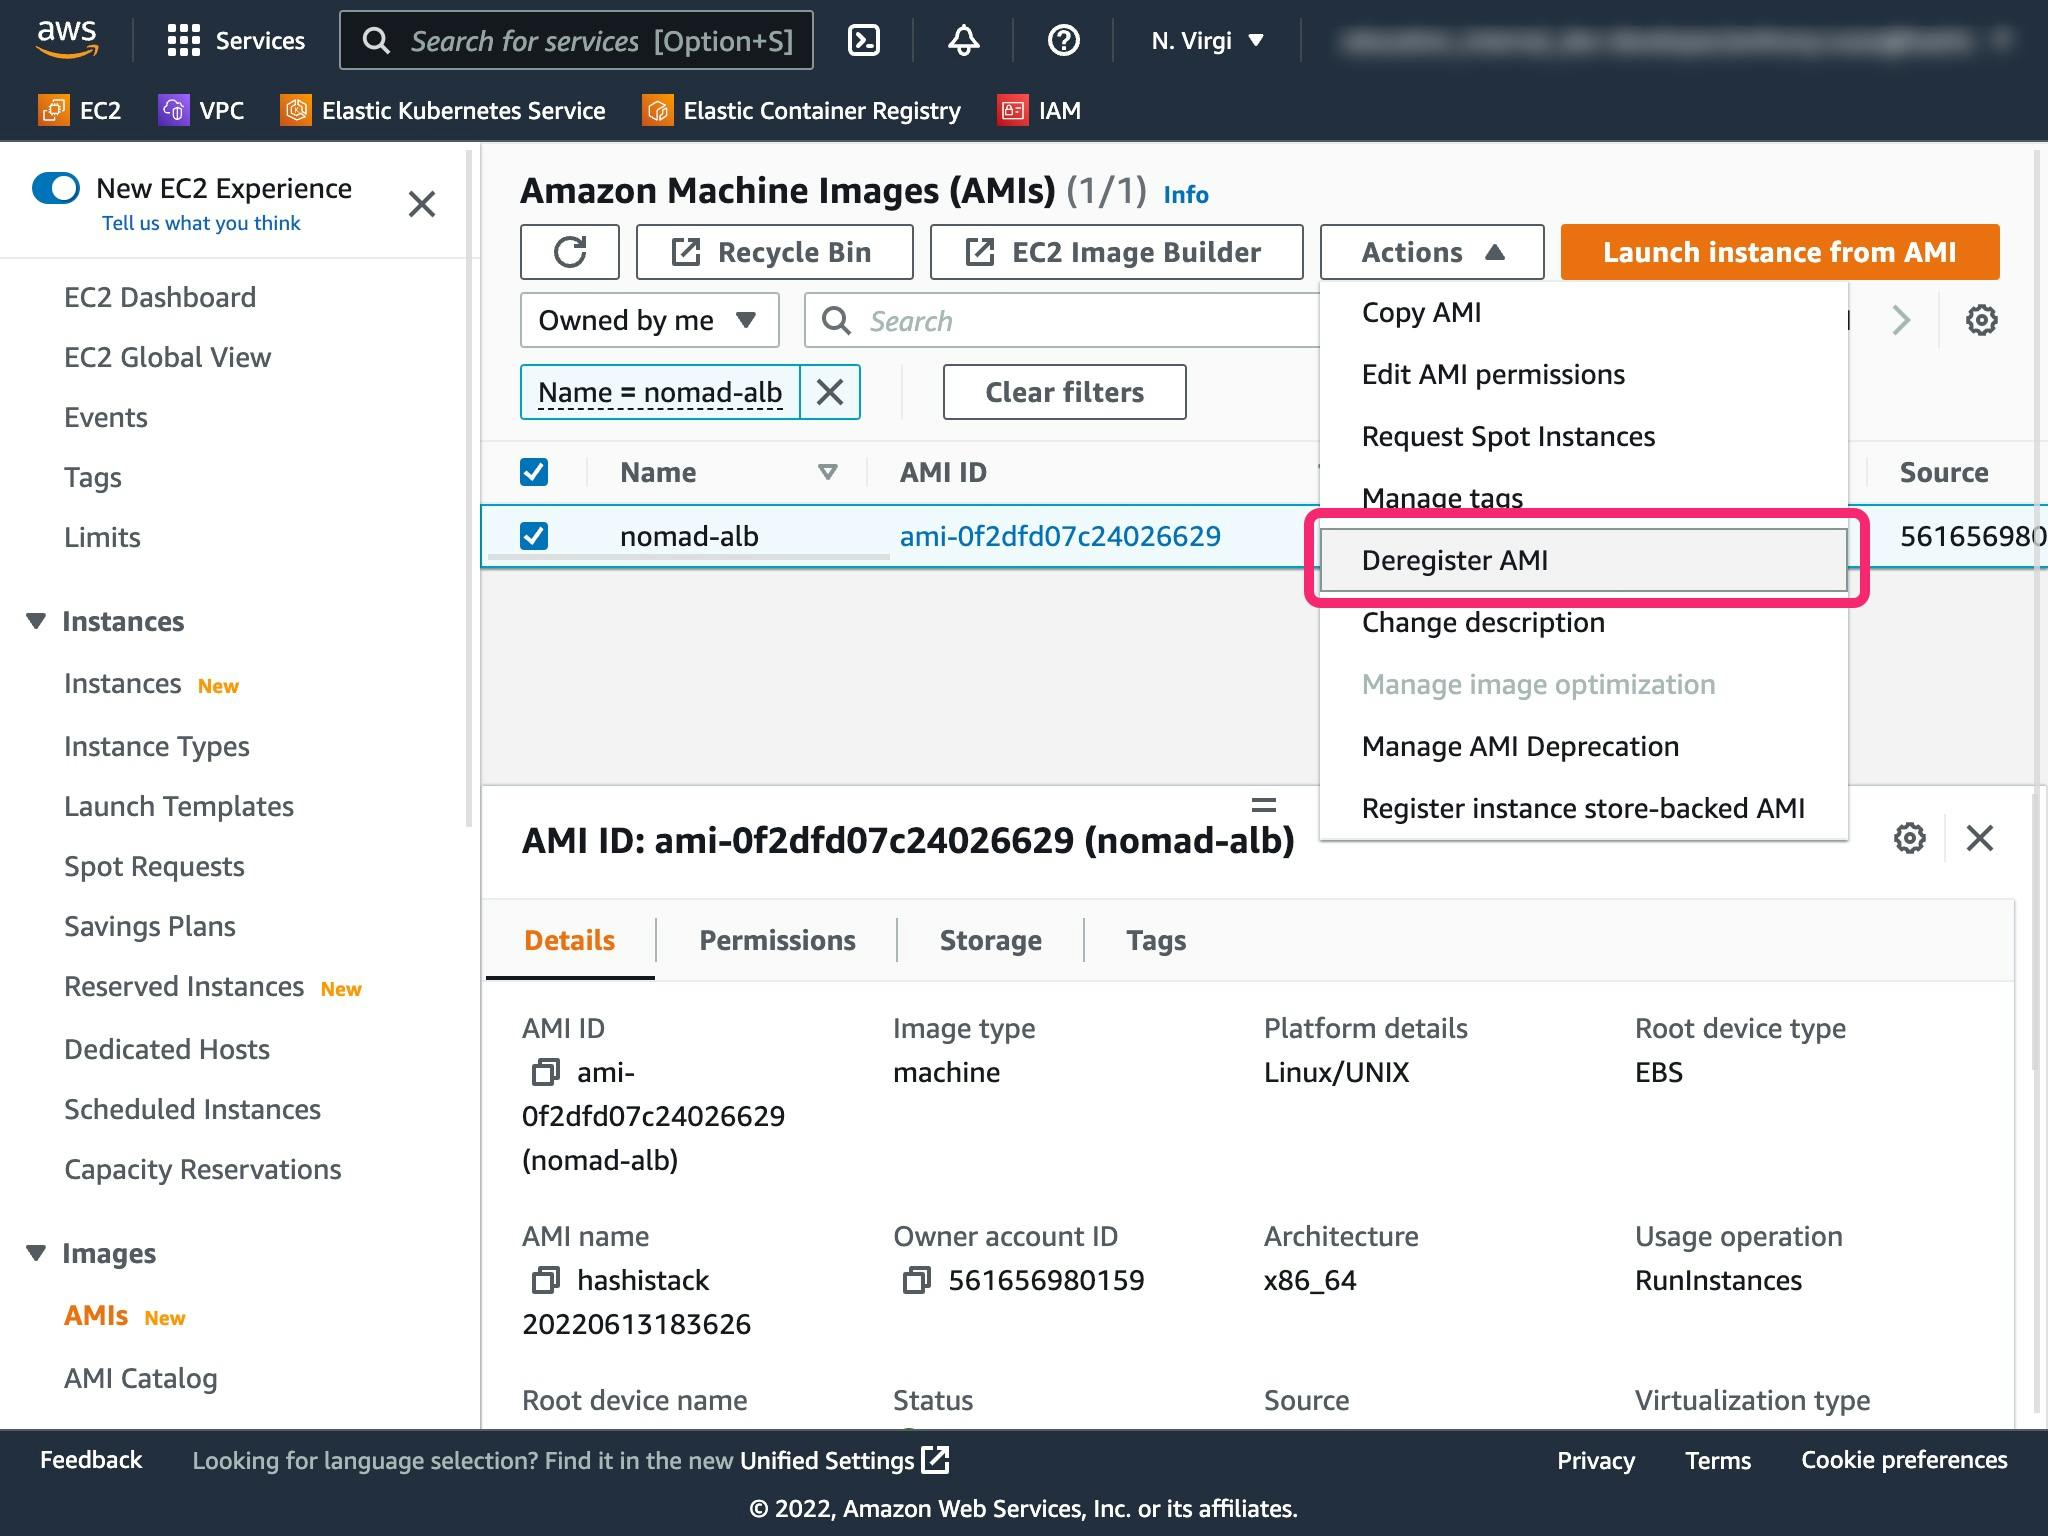
Delete the stored AMI built using packer using the deregister-image command.
$ aws ec2 deregister-image --image-id ami-0445eeea5e1406960
To delete stored snapshots, first query for the snapshot using the describe-snapshots command.
$ aws ec2 describe-snapshots \
    --owner-ids self \
    --query "Snapshots[*].{ID:SnapshotId,Time:StartTime}"
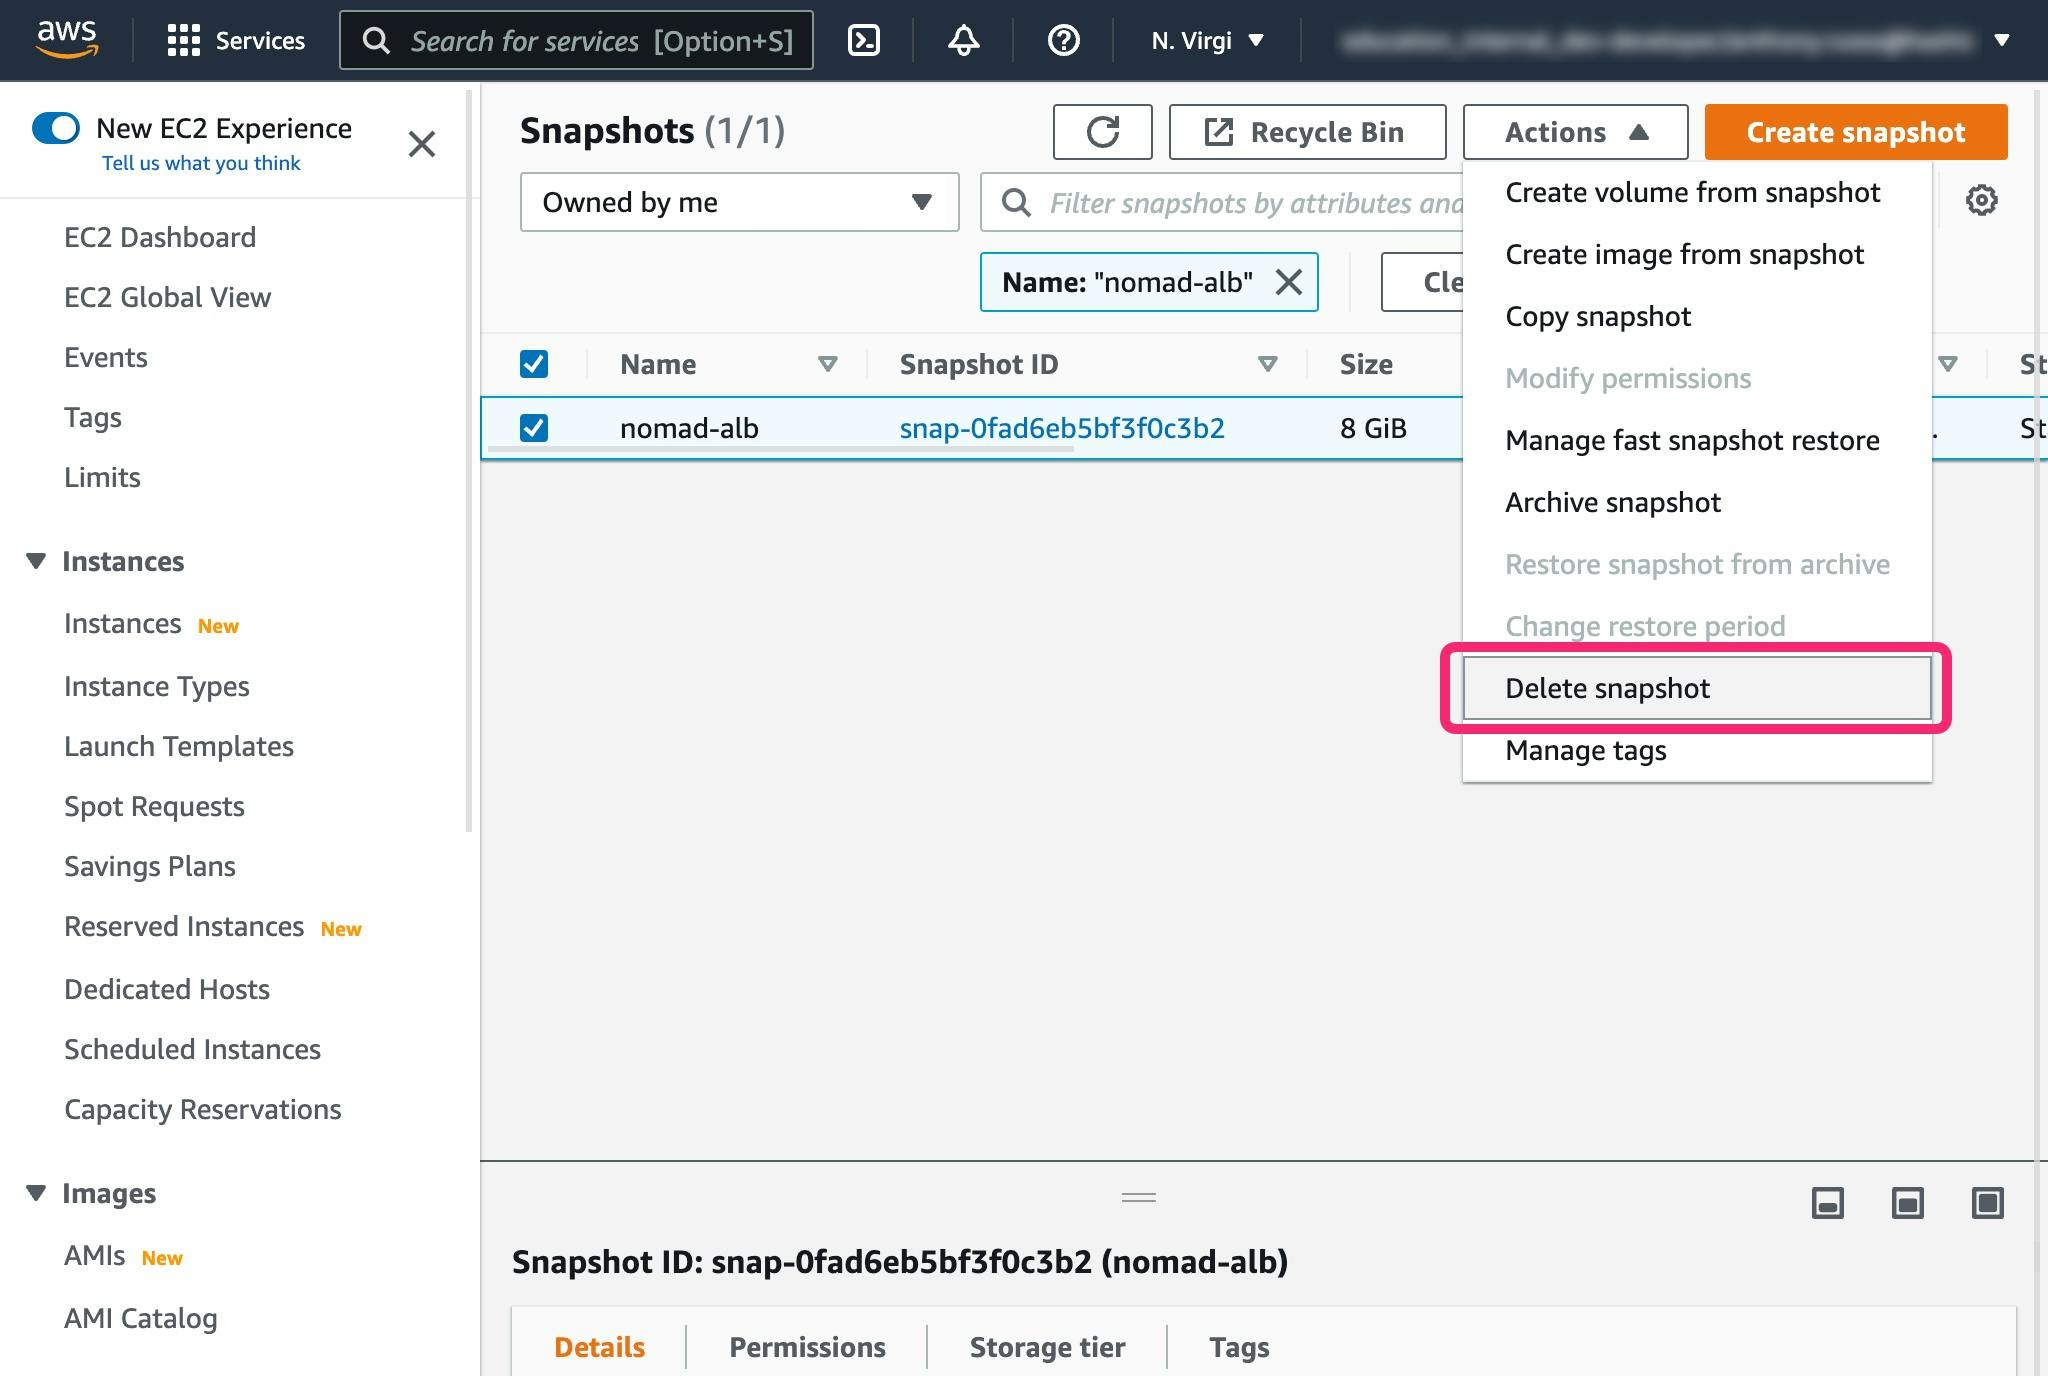
Next, delete the stored snapshot using the delete-snapshot command by specifying the snapshot-id value.
$ aws ec2 delete-snapshot --snapshot-id snap-1234567890abcdef0
Next steps
In this tutorial you created a Nomad cluster on AWS with Consul and ACLs enabled. From here, you may want to:
- Run a job with a Nomad spec file or with Nomad Pack
- Test out native service discovery in Nomad
For more information, check out the following resources.
- Learn more about managing your Nomad cluster
- Read more about the ACL stanza and using ACLs