Auto-unseal Vault using Azure Key Vault
When a Vault server starts, it starts in a sealed state and it does not know how to decrypt data. Before you can perform any operation on the Vault cluster, you must unseal the cluster. Unsealing is the process of constructing the master key necessary to decrypt the data encryption key.

Challenge
Vault unseal operation requires a quorum of existing unseal keys split by Shamir's Secret sharing algorithm. This prevents one person from having full control of Vault. However, this process is manual and can become painful when you have several Vault clusters as there are now different key holders with different keys.
Solution
Vault supports opt-in automatic unsealing via cloud technologies: AliCloud KMS, AWS KMS, Azure Key Vault, Google Cloud KMS, and OCI KMS. This feature enables operators to delegate the unsealing process to trusted cloud providers to ease operations in the event of partial failure and to aid in the creation of new or ephemeral clusters.
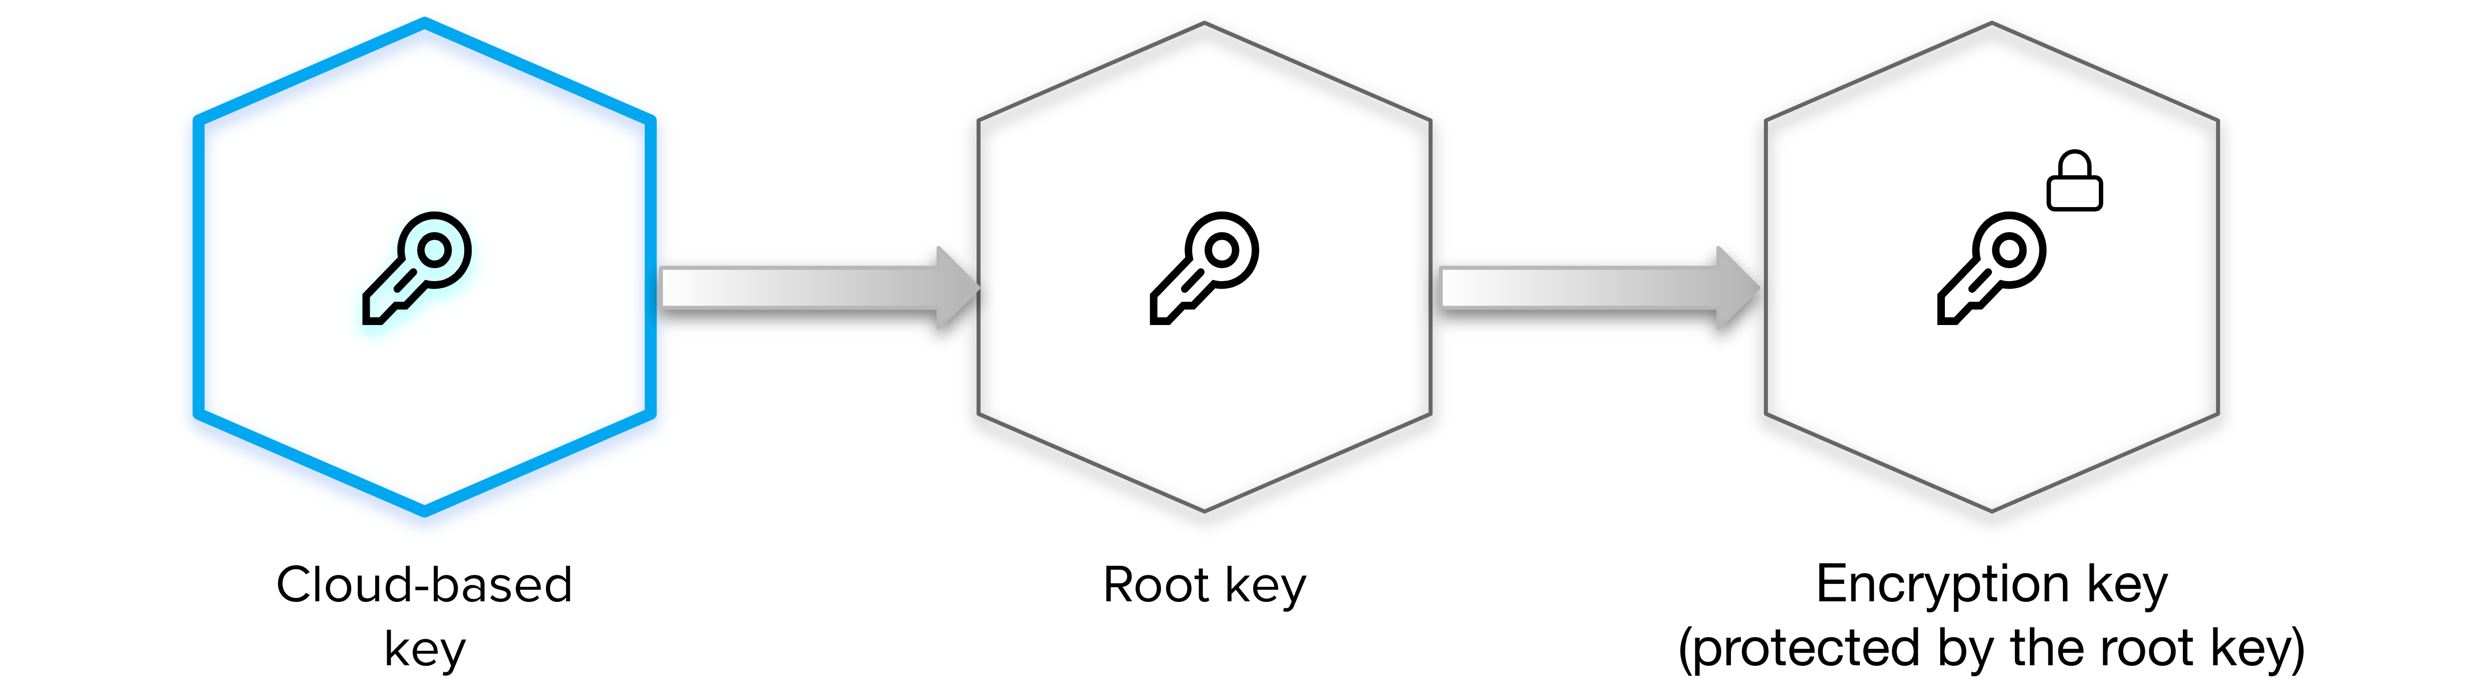
This tutorial demonstrates an example of using Azure Key Vault to auto-unseal a Vault server.
Prerequisites
To perform the tasks described in this tutorial, you need to have:
- Terraform installed and configured
- You have a Microsoft Azure account
- Tenant ID
- Client ID
- Client Secret
- Subscription ID
Azure permissions
This tutorial uses Terraform to provision a Vault environment to show the auto-unseal. Terraform will create following Azure resources:
- Azure Key Vault
- Virtual network with CIDR of
10.0.0.0/16- Subnet with CIDR,
10.0.1.0/24
- Subnet with CIDR,
- Public IP
- Security group
- A virtual machine to host a Vault server and accessible via public IP
Therefore, the service principal you use to perform the steps in this tutorial must have enough permission to provision all these resources.
Create an Azure service principal for Terraform
To run the provided Terraform configuration, you need an Azure service principal with appropriate permissions to deploy and configure Vault. The following demonstrates the creation of a service principal.
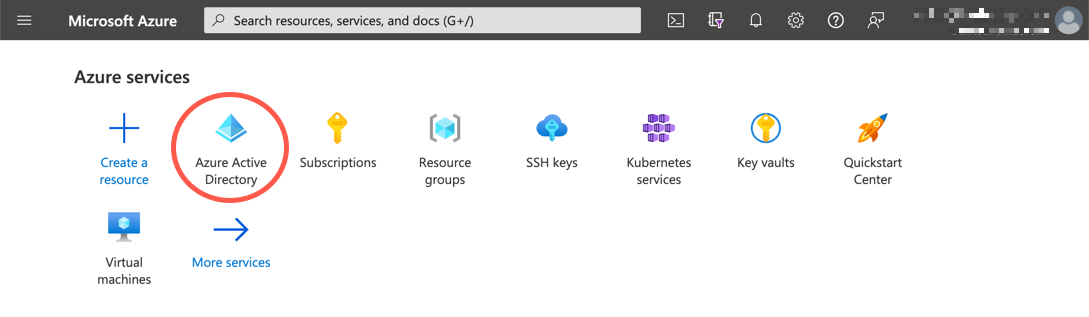
Launch the Microsoft Azure Portal and sign in.
Select Azure Active Directory and select Properties.
Copy the Tenant ID.

In a terminal, set the variable
TENANT_IDto the Tenant ID.$ TENANT_ID=<Tenant ID>From the side navigation, select App registrations.
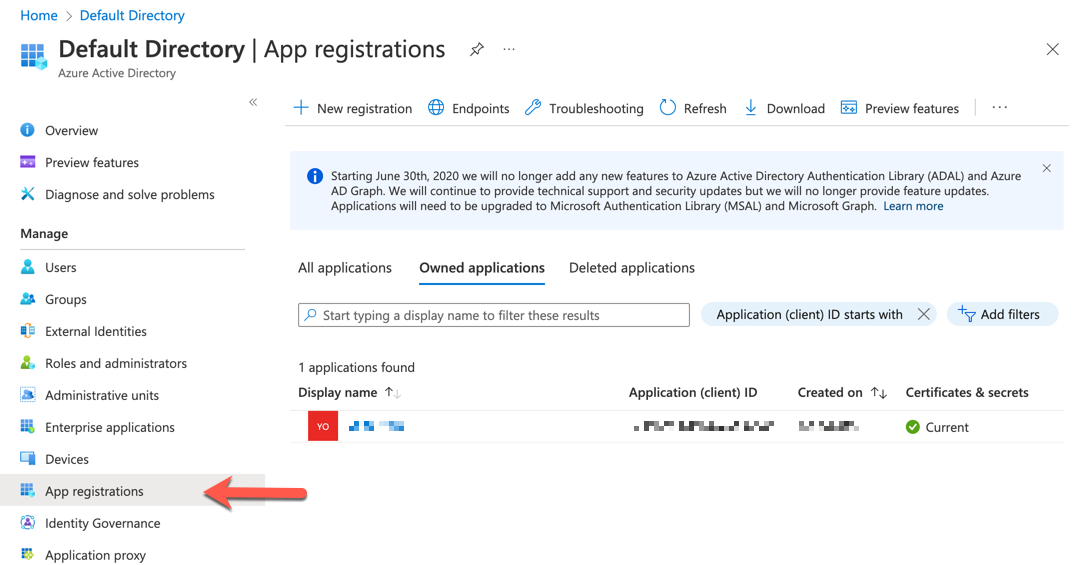
Select New registrations.

Enter
educationin the Name field.Click Register.
Copy the Application (client) ID.
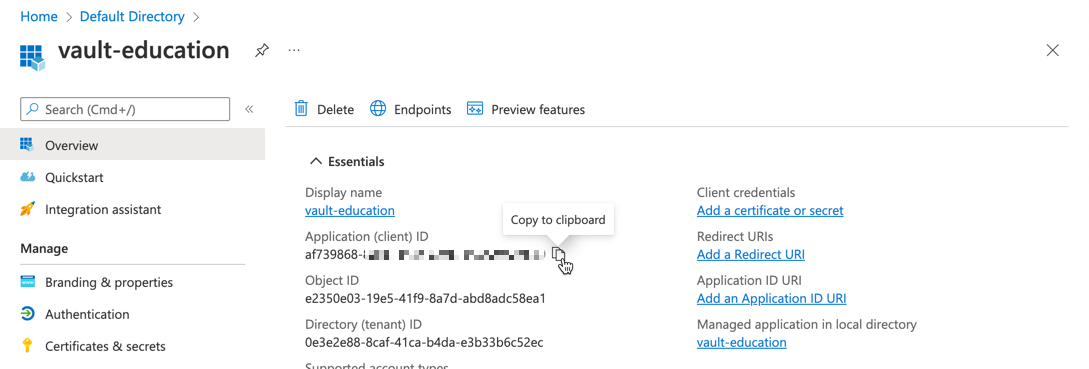
In a terminal, set the variable
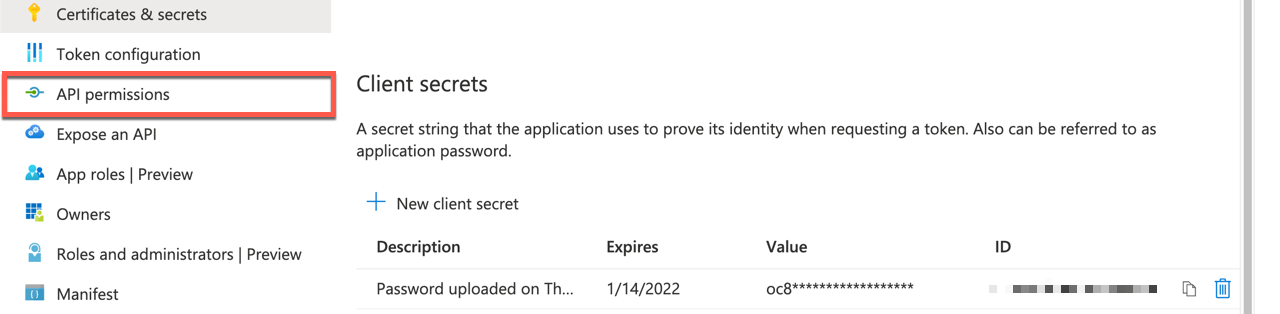
CLIENT_IDto the Application (client) ID.$ CLIENT_ID=<Client ID>From the side navigation, select Certificate & secrets.
Under the Client secrets, click New client secret.
Enter a description in the Description field.
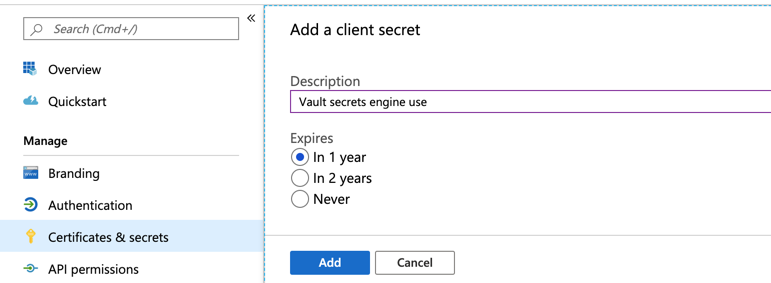
Click Add.
Copy the client secret value.
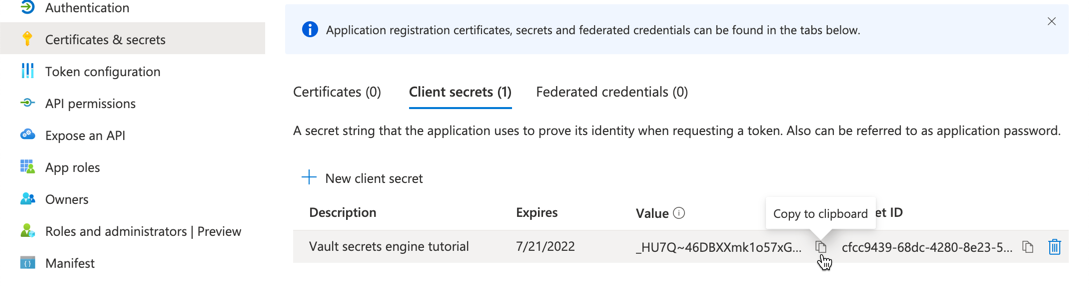
In a terminal, set the variable
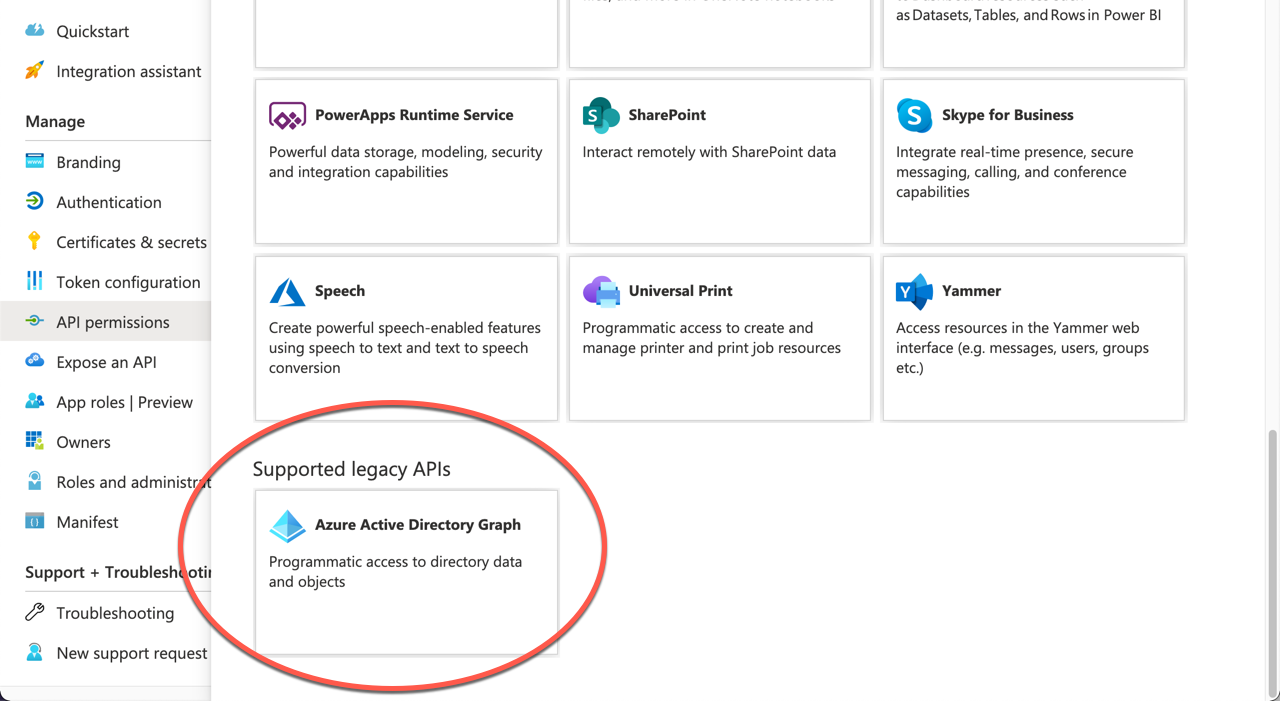
CLIENT_SECRETto the client secret value.$ CLIENT_SECRET=<Client secret>From the side navigation, click API permissions.
Under Configured permissions, click Add a permission.
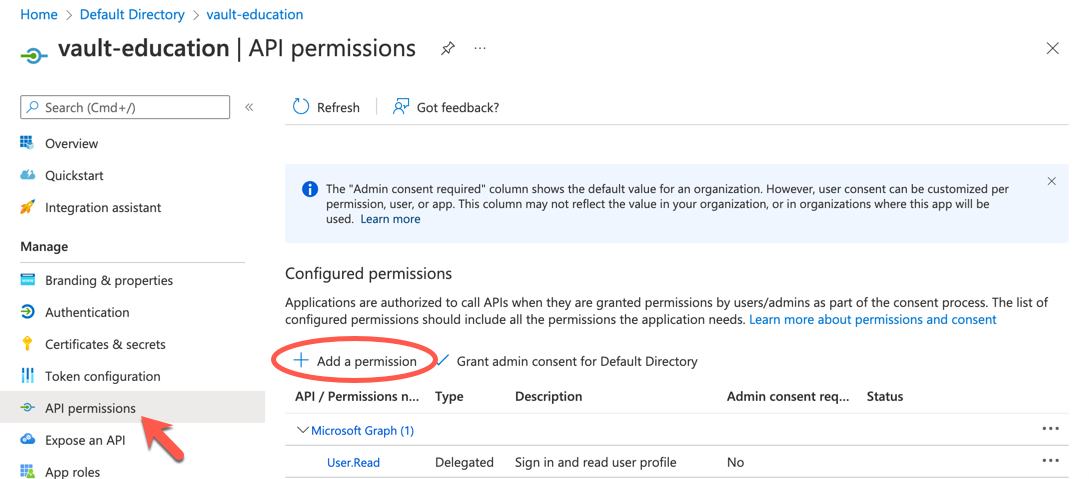
Under Supported legacy APIs, click Azure Active Directory Graph.
Click Delegated permissions.
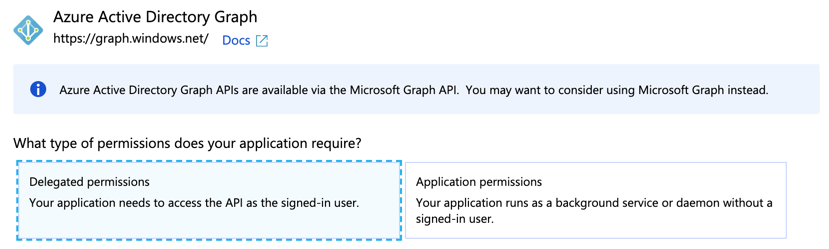
Expand User, select the check-box for User.Read.
Click Application permissions.
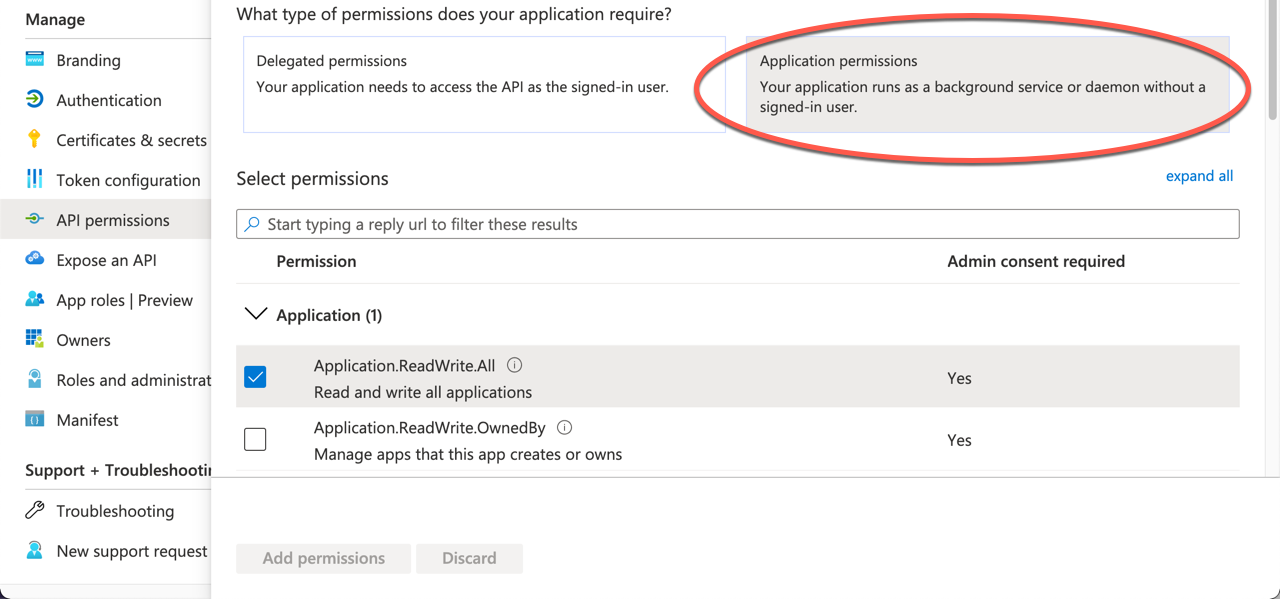
Expand Application, select the check-box for Application.ReadWrite.All.
Expand Directory, select the check-box for Directory.ReadWrite.All.
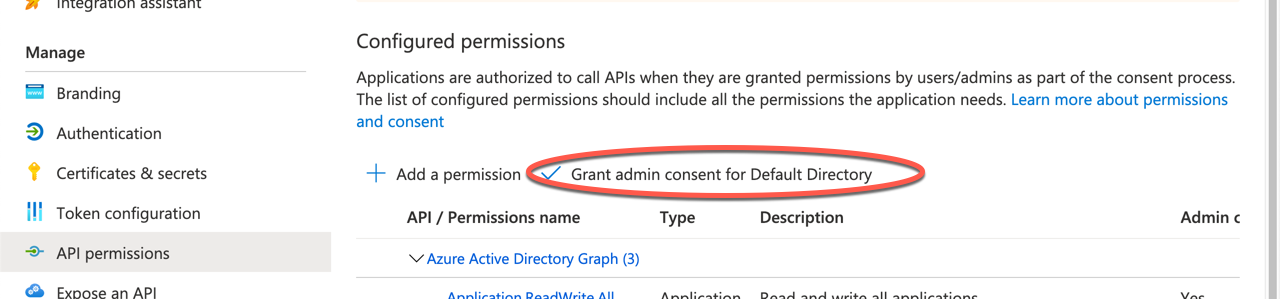
Click API permissions.
Click Grant admin consent for azure to grant the permissions.
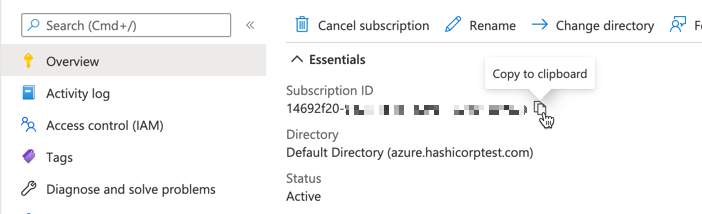
Navigate to the Subscriptions blade.
Copy the Subscription ID.
In a terminal, set the variable
SUBSCRIPTION_IDto the SubscriptionID.$ SUBSCRIPTION_ID=<Subscription ID>Click the name of the subscription.
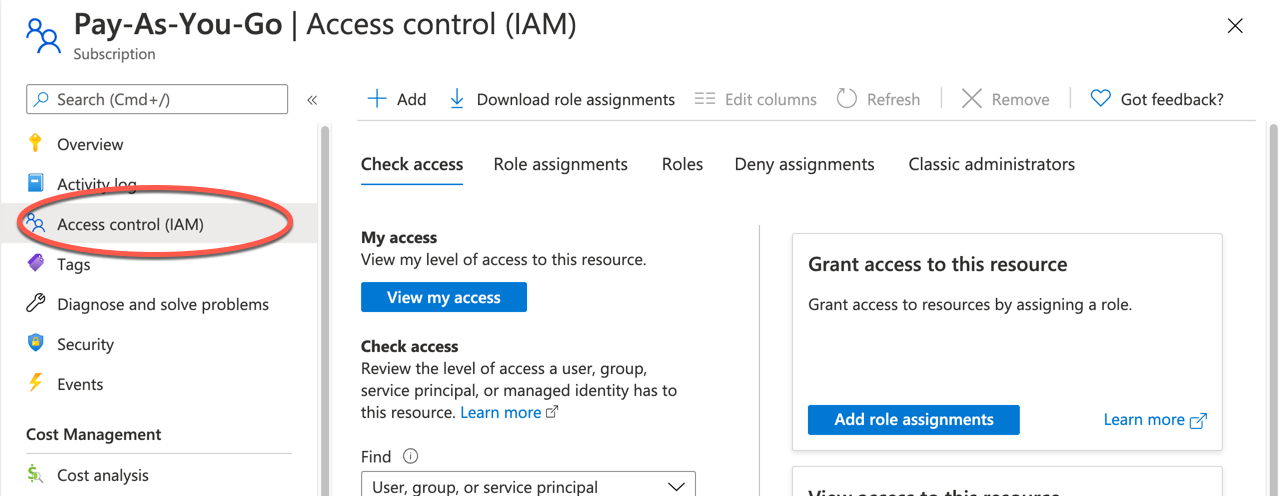
From the side navigation, click Access control (IAM).
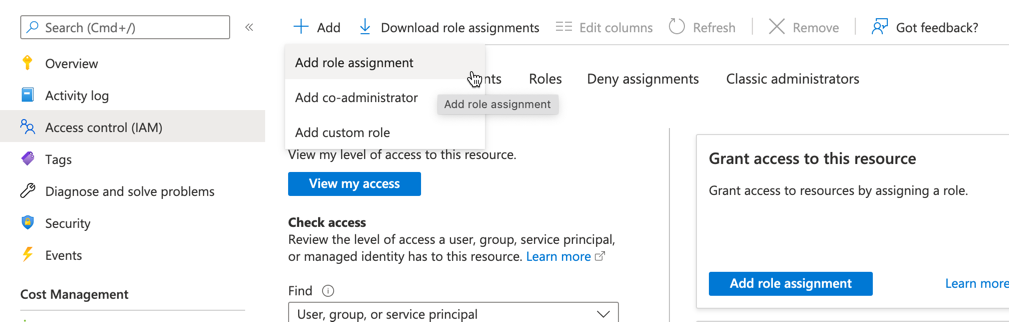
Click Add to expand the menu.
Click Add a role assignment.
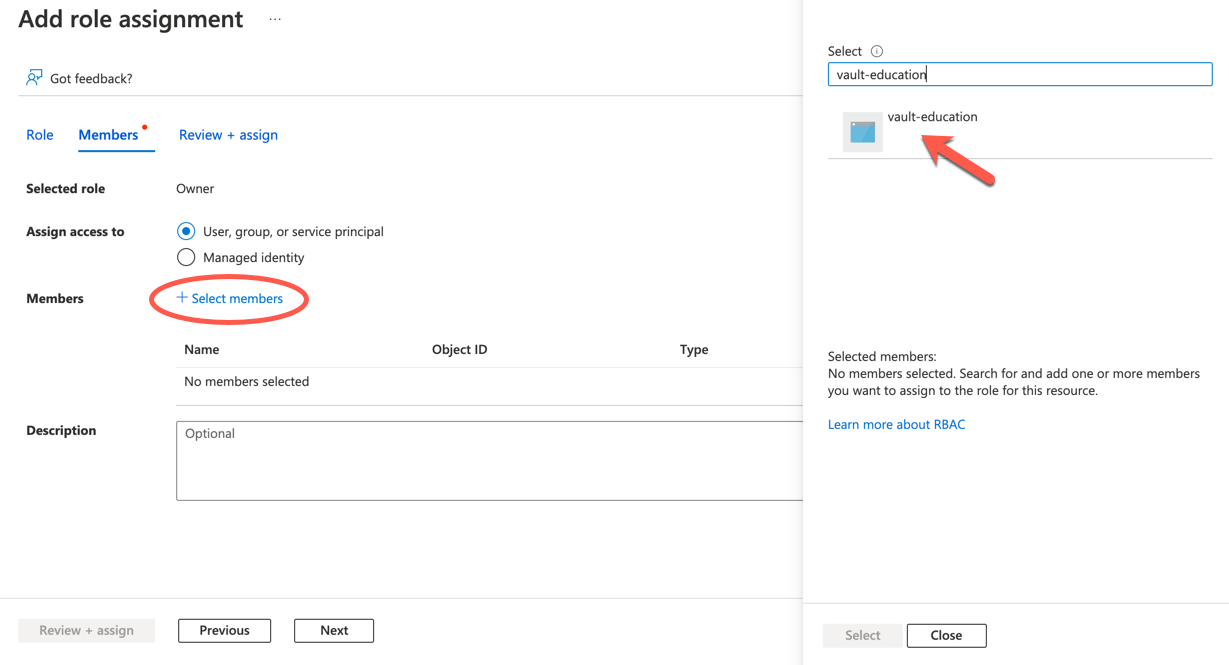
Choose
Ownerfrom the Role select field.Choose
User, group, or service principalfrom the Assign Access To select field.Enter the application name or application id in the Select field.
Click the application.
Click Save.
The application includes the correct permissions with the following identifiers and credentials:
- Tenant ID
- Client ID
- Client Secret
- Subscription ID
Display the created credentials.
$ echo -e \
  "tenant_id=$TENANT_ID
  subscription_id=$SUBSCRIPTION_ID
  client_id=$CLIENT_ID
  client_secret=$CLIENT_SECRET"
Download demo assets
Retrieve the configuration by cloning the hashicorp-education/learn-vault-autounseal-azure repository from GitHub.
$ git clone https://github.com/hashicorp-education/learn-vault-autounseal-azure
This repository has supporting content for the Vault tutorials. The content specific to this tutorial is within a sub-directory.
Go into the learn-vault-autounseal-azure directory.
$ cd learn-vault-autounseal-azure
Step 1: Provision the cloud resources
The Terraform files reads the credentials from the terraform.tfvars and
generates the resources defined in the main.tf.
Modify terraform.tfvars.example with a public SSH key, public_key, and Azure
credentials: tenant_id; client_id; client_secret and subscription_id.
terraform.tfvars.example
tenant_id="0000000-0000-0000-0000000000"
public_key = "ssh-rsa AAAA..."
client_id="0000000-000000-0000000000"
client_secret="AABBBCCCDDDDEEEFFF"
subscription_id="0000000-0000-0000-0000-0000000000"
Save the file and create a copy of the file named terraform.tfvars.
$ cp terraform.tfvars.example terraform.tfvars
The main.tf file generates a new resource group with:
- Virtual machine with Vault already installed
- Azure Vault Key (
Test-vault-xxxx) - A key (
generated-key)
Initialize the Azure provider plugins.
$ terraform init
Create an execution plan.
$ terraform plan
...
Plan: 12 to add, 0 to change, 0 to destroy.
Apply the changes.
$ terraform apply -auto-approve
...
Outputs:

ip = 13.82.62.56
key_vault_name = Test-vault-1e5a88de
ssh-addr =
    Connect to your virtual machine via SSH:

    $ ssh azureuser@13.82.62.56
Step 2: Test the auto-unseal feature
Create a variable named AZURE_VAULT_IP to store the IP address of the virtual
machine.
$ AZURE_VAULT_IP=$(terraform output -raw ip)
SSH into the virtual machine with the azureuser user.
$ ssh azureuser@$AZURE_VAULT_IP
Within this SSH session, check the status of the Vault server.
$ vault status

Key                      Value
---                      -----
Recovery Seal Type       azurekeyvault
Initialized              false
Sealed                   true
Total Recovery Shares    0
Threshold                0
Unseal Progress          0/0
Unseal Nonce             n/a
Version                  n/a
HA Enabled               true
The output displays that the Vault server is not initialized (Initialized is
false).
Initialize the Vault server.
$ vault operator init
Check the status of the Vault server.
$ vault status

Key                      Value
---                      -----
Recovery Seal Type       shamir
Initialized              true
Sealed                   false
Total Recovery Shares    5
Threshold                3
Version                  1.3.0
Cluster Name             vault-cluster-092ba5de
Cluster ID               8b173565-7d74-fe5b-a199-a2b56b7019ee
HA Enabled               false
The output displays that the Vault server status (Sealed is false).
Vault started as a service. The service writes its output to a log.
Display the Vault server log.
$ sudo journalctl --no-pager -u vault

...
==> Vault server configuration:
        Azure Environment: AzurePublicCloud
           Azure Key Name: generated-key
         Azure Vault Name: Test-vault-a414d041
                Seal Type: azurekeyvault
                      Cgo: disabled
               Listener 1: tcp (addr: "0.0.0.0:8200", cluster address: "0.0.0.0:8201", max_request_duration: "1m30s", max_request_size: "33554432", tls: "disabled")
                Log Level: (not set)
                    Mlock: supported: true, enabled: false
                  Storage: file
                  Version: Vault v1.3.0
              Version Sha: 37a1dc9c477c1c68c022d2084550f25bf20cac33
 ==> Vault server started! Log data will stream in below:
 [WARN]  no `api_addr` value specified in config or in VAULT_API_ADDR; falling back to detection if possible, but this value should be manually set
 [INFO]  core: stored unseal keys supported, attempting fetch
 [INFO]  core: vault is unsealed
...
The logs displays Azure Vault is fetching the key to unseal the Vault server. The Vault server automatically unseals every time Vault starts.
Restart the Vault server.
$ sudo systemctl restart vault
Check the status of the Vault server.
$ vault status
The output displays that the Vault server is automatically unsealed.
Display the Vault service configuration file.
$ cat /usr/lib/systemd/system/vault.service

[Unit]
Description=Vault Agent
Requires=network-online.target
After=network-online.target
[Service]
Restart=on-failure
PermissionsStartOnly=true
ExecStartPre=/sbin/setcap 'cap_ipc_lock=+ep' /usr/local/bin/vault
ExecStart=/usr/local/bin/vault server -config /etc/vault.d/config.hcl
ExecReload=/bin/kill -HUP
KillSignal=SIGTERM
User=azureuser
Group=azureuser
[Install]
WantedBy=multi-user.target
Review the Vault server configuration file.
$ cat /etc/vault.d/vault.hcl

storage "file" {
  path = "/opt/vault"
}
listener "tcp" {
  address     = "0.0.0.0:8200"
  tls_disable = "true"
}
seal "azurekeyvault" {
  client_id      = "YOUR-APP-ID"
  client_secret  = "YOUR-APP-PASSWORD"
  tenant_id      = "YOUR-AZURE-TENANT-ID"
  vault_name     = "Test-vault-XXXXXX"
  key_name       = "generated-key"
}
ui=true
disable_mlock = true
Notice the Vault configuration file defines the azurekeyvault
stanza
with all parameter values properly populated: client ID, client secret, tenant
ID, vault name (generated by Terraform), and Azure Key Vault key name.
Key rotation
With auto-unseal enabled, set up Azure Key Vault with key rotation using the Azure Automation Account. Vault will recognize newly rotated keys since the key includes metadata with the encrypted data to ensure the use of the correct key during decryption operations.
Step 3: Clean up
Destroy the resources that created by Terraform.
$ terraform destroy -auto-approve
Remove the Terraform state files.
$ rm -rf .terraform terraform.tfstate*