HashiCorp Cloud Platform
Explore your organization's infrastructure with Infragraph
Infragraph is the HashiCorp Cloud Platform (HCP) resource graph service. It enables greater visibility into resources and their usage by creating a centralized data storage layer for your software infrastructure environment metadata.
In this tutorial, you will perform the following:
- Use HCP Packer and HCP Terraform to create resources and provision infrastructure in AWS.
- Configure Infragraph connections to gather information about your resources and infrastructure.
- Build queries to search, filter, and organize information in the resource graph.
Prerequisites
This tutorial assumes that you are familiar with the Terraform and HCP Terraform workflows. If you are new to Terraform, complete the Get Started collection first. If you are new to HCP Terraform, complete the HCP Terraform Get Started collection first.
To complete this tutorial, you will need the following:
- Terraform v1.2+ installed locally and authenticated against your HCP Terraform organization
- Packer v1.15.3+ installed locally
- An HCP Terraform US organization with access to create and manage teams
- An HCP account with an HCP Packer registry
- An AWS account with credentials configured for Terraform
- The AWS CLI installed locally
Configure HCP service principal
Packer needs service principal credentials to authenticate with HCP and store artifact metadata. In your HCP project's dashboard, go to Access control (IAM) in the left navigation menu, then select the Service principals tab.
Create a service principal named packer with the Contributor role.
Once you create the service principal, HCP shows you a detailed overview page. Click Keys in the left navigation bar, then click Generate key to create a client ID and secret.
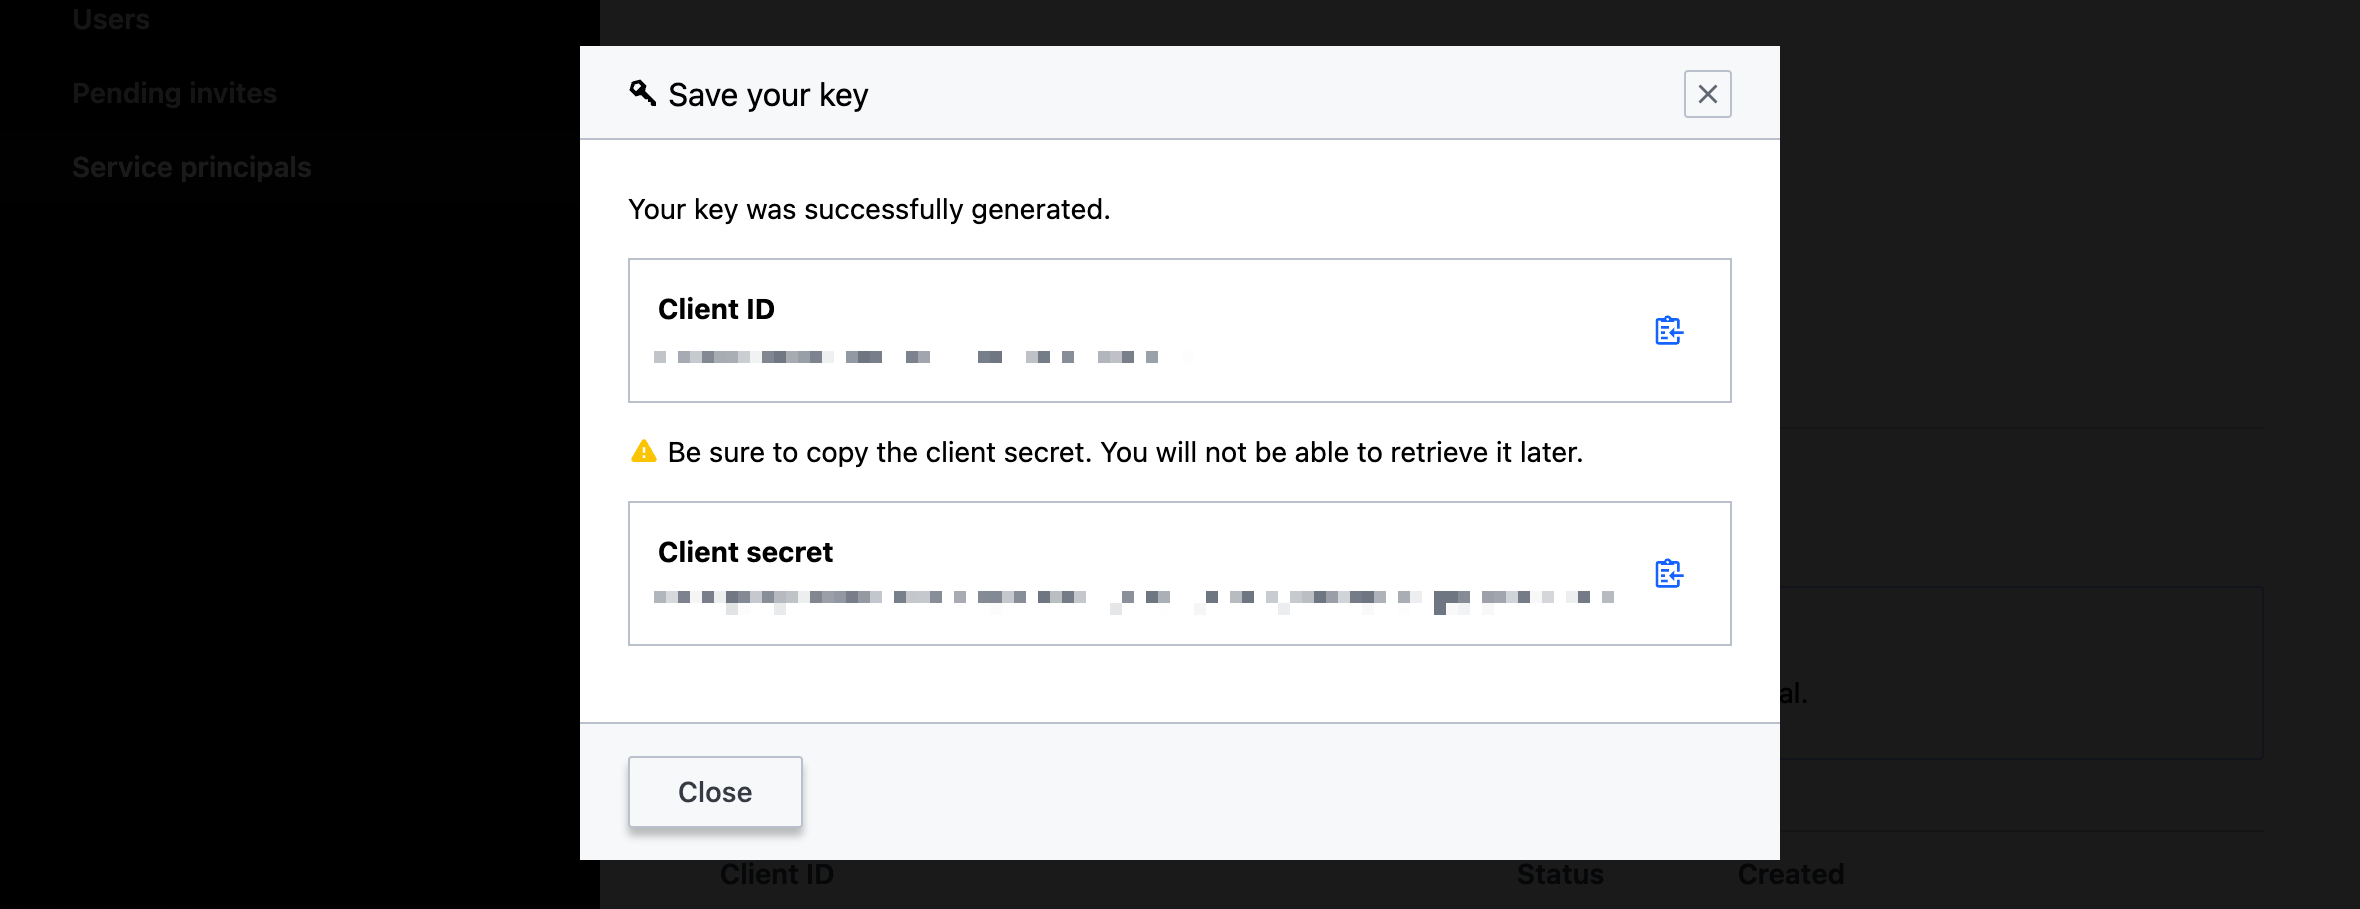
Copy these keys and store them in a secure location, such as HCP Vault. You cannot access these keys after you generate them, and you will use these keys again later in the tutorial.
Next, in your terminal, set an environment variable for the client ID.
$ export HCP_CLIENT_ID=
Then, set an environment variable for your client secret.
$ export HCP_CLIENT_SECRET=
Next, navigate to your HCP project settings page to get your project's ID.
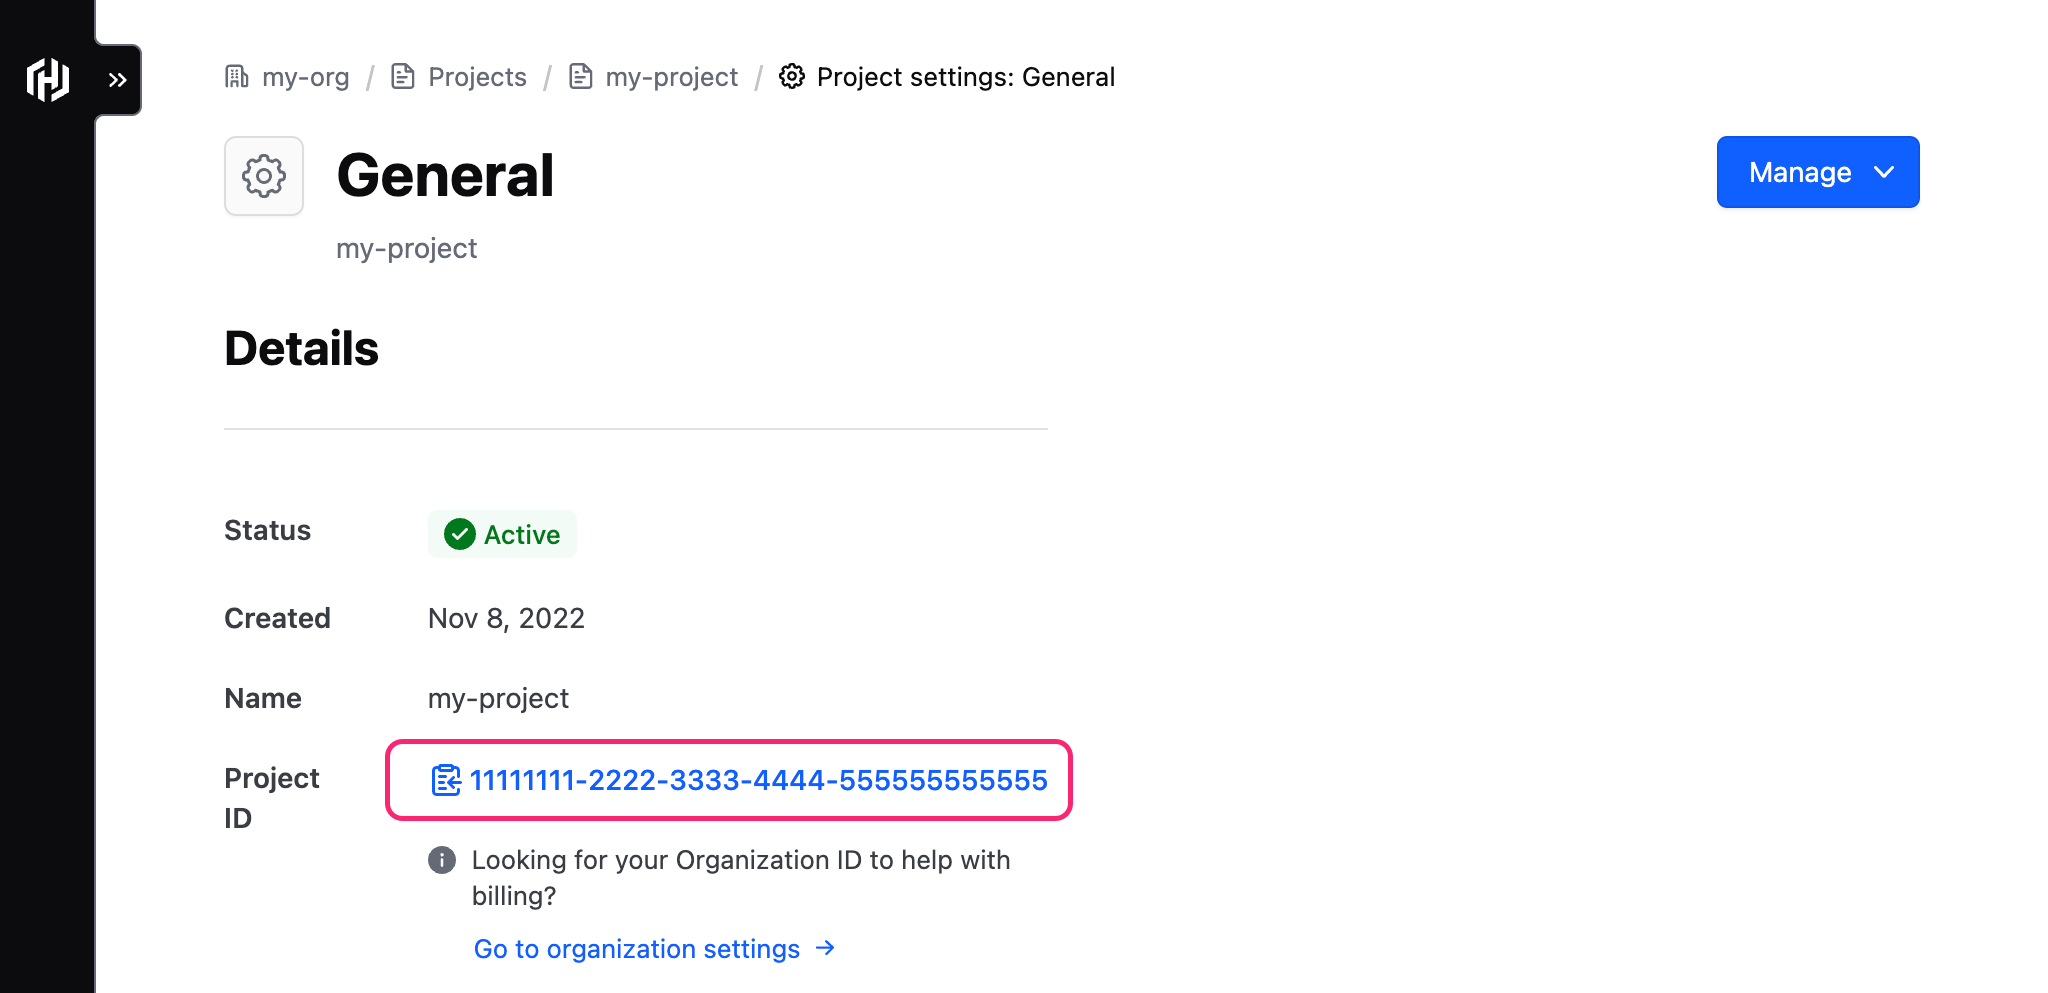
Use this value to set an environment variable for your project's ID.
$ export HCP_PROJECT_ID=
Clone the example repository
In your terminal, clone the tutorial repository. It contains a Packer template file to create an AWS Amazon Machine Image (AMI) and store its metadata in HCP Packer. It also contains Terraform configuration to deploy two EC2 instances you will discover with Infragraph later in this tutorial.
$ git clone https://github.com/hashicorp-education/learn-infragraph.git
Navigate to the cloned repository.
$ cd learn-infragraph
Open the ubuntu.pkr.hcl file to review the Packer template.
ubuntu.pkr.hcl
data "amazon-ami" "ubuntu-focal-east" {
  region = var.region
  filters = {
    name = "ubuntu/images/hvm-ssd-gp3/ubuntu-noble-24.04-amd64-server-*"
  }
  most_recent = true
  owners      = ["099720109477"]
}

source "amazon-ebs" "ubuntu-east" {
  region         = var.region
  source_ami     = data.amazon-ami.ubuntu-focal-east.id
  instance_type  = "t3.small"
  ssh_username   = "ubuntu"
  ssh_agent_auth = false
  ami_name       = "packer_infragraph_{{timestamp}}_v${var.version}"
}

hcp_packer_registry {
  bucket_name = "learn-infragraph-ubuntu"
  description = "Packer image discoverable by Infragraph"
  bucket_labels = {
    "owner"          = "platform-team"
    "os"             = "Ubuntu",
    "ubuntu-version" = "Focal 24.04",
  }

  build_labels = {
    "build-time" = timestamp()
  }
}

build {
  sources = [
    "source.amazon-ebs.ubuntu-east",
  ]

  provisioner "shell" {
    inline = [
      "sudo apt-get update",
      "sudo apt-get -y install nginx curl"
    ]
  }

  # Install trivy
  provisioner "shell" {
    inline = [
      "curl -sfL https://raw.githubusercontent.com/aquasecurity/trivy/main/contrib/install.sh | sudo sh -s -- -b /usr/local/bin latest"
    ]
  }

  # Run trivy to generate the SBOM
  provisioner "shell" {
    inline = [
      "trivy fs --format cyclonedx --output /tmp/sbom_cyclonedx_${var.version}.json /"
    ]
  }

  # Upload SBOM
  provisioner "hcp-sbom" {
    source    = "/tmp/sbom_cyclonedx_${var.version}.json"
    sbom_name = "sbom-cyclonedx-ubuntu"
  }
}
The Packer template uses the Amazon plugin to create an AWS AMI. It also generates a software-bill-of-materials (SBOM) and stores it with the AMI metadata in HCP Packer.
Create AMI
Use Packer to build the AWS AMI. First, initalize the Packer template to download the plugins used in the template.
$ packer init ubuntu.pkr.hcl
Next, build the Packer template.
$ packer build ubuntu.pkr.hcl

Tracking build on HCP Packer with fingerprint "01KQHZ5J3GW34KV3P0RHQA15E4"
amazon-ebs.ubuntu-east: output will be in this color.

==> amazon-ebs.ubuntu-east: Prevalidating any provided VPC information
==> amazon-ebs.ubuntu-east: Prevalidating AMI Name: packer_AWS_1777645833_v1.0.0
==> amazon-ebs.ubuntu-east: Found Image ID: ami-0eab37cfdc33e8e65

##...

Build 'amazon-ebs.ubuntu-east' finished after 7 minutes 15 seconds.

==> Wait completed after 7 minutes 16 seconds

==> Builds finished. The artifacts of successful builds are:
--> amazon-ebs.ubuntu-east: AMIs were created:
us-east-2: ami-097cc126c9822d7d3

--> amazon-ebs.ubuntu-east: Published metadata to HCP Packer registry packer/learn-infragraph-ubuntu/versions/01KQHZ5K1RNBB3DWHBBFS1DBJT
Create infrastructure with Terraform
In this section, you will provision resources to discover with Infragraph.
Open the terraform.tf file and update the organization name in the terraform block with your HCP Terraform organization name.
terraform.tf
terraform {
  cloud {
    organization = "<ORG_NAME>"

    workspaces {
      name = "learn-infragraph"
    }
  }

  required_providers {
    aws = {
      source  = "hashicorp/aws"
      version = "~> 6.42.0"
    }
    hcp = {
      source  = "hashicorp/hcp"
      version = "~> 0.111.0"
    }
  }
}
Next, open the main.tf file and review the Terraform configuration. This configuration creates a VPC, a subnet, two network interfaces, and two EC2 instances. The first instance uses a public Ubuntu AMI to create the virtual machine, and the second instance uses the Packer image you created.
main.tf
data "aws_ami" "ubuntu" {
  most_recent = true
  owners      = ["099720109477"] # Canonical's official AWS Account ID

  filter {
    name   = "name"
    values = ["ubuntu/images/hvm-ssd-gp3/ubuntu-noble-24.04-amd64-server-*"]
  }

  filter {
    name   = "virtualization-type"
    values = ["hvm"]
  }
}

resource "aws_vpc" "infragraph" {
  cidr_block = "172.16.0.0/16"

  tags = {
    Name = "infragraph-vpc"
  }
}

data "aws_availability_zones" "azs" {
  filter {
    name   = "opt-in-status"
    values = ["opt-in-not-required"]
  }
}

resource "aws_subnet" "infragraph" {
  vpc_id            = aws_vpc.infragraph.id
  cidr_block        = "172.16.10.0/24"
  availability_zone = data.aws_availability_zones.azs.names[0]

  tags = {
    Name = "infragraph-subnet"
  }
}

resource "aws_network_interface" "non_packer" {
  subnet_id   = aws_subnet.infragraph.id
  private_ips = ["172.16.10.100"]

  tags = {
    Name = "primary_network_interface"
  }
}

resource "aws_instance" "non_packer" {
  instance_type = "t3.nano"
  ami           = data.aws_ami.ubuntu.id

  primary_network_interface {
    network_interface_id = aws_network_interface.non_packer.id
  }

  tags = {
    "Name" = "infragraph-terraform-non-packer"
  }
}

data "hcp_packer_version" "ubuntu" {
  bucket_name  = var.packer_bucket
  channel_name = "latest"
}

data "hcp_packer_artifact" "ubuntu" {
  bucket_name         = var.packer_bucket
  platform            = "aws"
  version_fingerprint = data.hcp_packer_version.ubuntu.fingerprint
  region              = var.region
}

resource "aws_network_interface" "packer" {
  subnet_id   = aws_subnet.infragraph.id
  private_ips = ["172.16.10.101"]

  tags = {
    Name = "primary_network_interface"
  }
}

resource "aws_instance" "packer" {
  instance_type = "t3.nano"
  ami           = data.hcp_packer_artifact.ubuntu.external_identifier

  primary_network_interface {
    network_interface_id = aws_network_interface.packer.id
  }

  tags = {
    "Name" = "infragraph-terraform-packer"
  }
}
Initialize your Terraform configuration. This will create an HCP Terraform workspace named learn-infragraph in your HCP Terraform organization.
$ terraform init

Initializing HCP Terraform...
Initializing provider plugins...
- Reusing previous version of hashicorp/hcp from the dependency lock file
- Reusing previous version of hashicorp/aws from the dependency lock file
- Installing hashicorp/aws v6.42.0...
- Installed hashicorp/aws v6.42.0 (signed by HashiCorp)
- Installing hashicorp/hcp v0.111.0...
- Installed hashicorp/hcp v0.111.0 (signed by HashiCorp)

HCP Terraform has been successfully initialized!

You may now begin working with HCP Terraform. Try running "terraform plan" to
see any changes that are required for your infrastructure.

If you ever set or change modules or Terraform Settings, run "terraform init"
again to reinitialize your working directory.
Next, add your AWS and HCP credentials as workspace variables. Log into HCP Terraform and go to the learn-infragraph workspace. Click Variables in the left navigation panel. Under Workspace variables, click Add variable and create the following environment variables. Use the same AWS and HCP credentials you used to create the AMI:
| Category | Key | Value | Sensitive |
|---|---|---|---|
| Environment Variable | AWS_ACCESS_KEY_ID | AWS keypair ID | False |
| Environment Variable | AWS_SECRET_ACCESS_KEY | AWS keypair secret | True |
| Environment Variable | HCP_CLIENT_ID | HCP service principal Client ID | False |
| Environment Variable | HCP_CLIENT_SECRET | HCP service principal client secret | True |
| Environment Variable | HCP_PROJECT_ID | HCP project ID | False |
Next, apply the Terraform configuration. Return to your terminal and run terraform apply to deploy the resources to AWS. When prompted to confirm the apply operation, respond with yes.
 $ terraform apply

Running apply in HCP Terraform. Output will stream here. Pressing Ctrl-C
will cancel the remote apply if it's still pending. If the apply started it
will stop streaming the logs, but will not stop the apply running remotely.

Preparing the remote apply...

##...

Plan: 6 to add, 0 to change, 0 to destroy.

Do you want to perform these actions in workspace "learn-infragraph"?
  Terraform will perform the actions described above.
  Only 'yes' will be accepted to approve.

  Enter a value: yes

## ...

Apply complete! Resources: 6 added, 0 changed, 0 destroyed.
Create non-Terraform-managed EC2 instance
Infragraph can also find resources that are not managed by Terraform. Use the AWS CLI to create an EC2 instance.
$ aws ec2 run-instances \
  --region us-east-2 \
  --image-id resolve:ssm:/aws/service/canonical/ubuntu/server/24.04/stable/current/amd64/hvm/ebs-gp3/ami-id \
  --instance-type t3.micro \
  --tag-specifications 'ResourceType=instance,Tags=[{Key=Name,Value=infragraph-non-managed}]'
The AWS CLI shows information about the instance you created. Press q to exit this summary.
Configure Infragraph connections
To gather information about your resources, Infragraph manages and uses specialized connections. For this tutorial, you will configure the HCP Packer, AWS, and HCP Terraform connections to get information about the resources you deployed.
Configure the HCP Packer connection
The HCP Packer connection reads data about your HCP Packer buckets, artifacts, and builds in the HCP Packer registries across all of your HCP projects. To configure the HCP Packer connection, complete the following steps:
- From the Resource graph Overview, at the top right, click Create Connection.
- Select HCP Packer from the list of data sources.
- Click Select Packer.
- Click Create connection.
Infragraph shows the Connections page and automatically starts a sync operation to read the data about your HCP Packer resources. It can take up to 30 minutes for Infragraph to populate your HCP Packer inventory. You can continue and configure the remaining connections while Infragraph runs the sync operation.
Configure the AWS connection
To set up the AWS connection, you must configure an OIDC connection so that Infragraph can authenticate to your AWS account. To create the new connection, complete the following steps:
- From the Resource graph Overview, at the top right, click Create Connection.
- Select Amazon Web Services (AWS) from the list of data sources.
- Click Select AWS.
- Under AWS Account IDs, enter your AWS account ID. You can find your AWS account ID in the top-right corner of the AWS console.
- Enter a Connection role name. This is the name Terraform gives the role it creates in AWS. You can choose to keep the default value as long as you do not already have a role with this name.
- Copy the Terraform configuration shown under Add the Terraform module code block.
- Create a new file named
oidc.tfin a different directory on your local machine. - Paste the
moduleblock into the file and save it. - Run
terraform applyto create the OIDC trust relationship. When prompted to confirm the apply, respond withyes. - Return to your browser.
- Click Create connection.
Infragraph shows the Connections page and automatically starts a sync operation to read the data about your AWS resources. This process may take a few minutes depending on the number of resources deployed to your AWS account. You can continue and configure the remaining connections while Infragraph runs the sync operation.
Configure the HCP Terraform connection
The HCP Terraform connection needs an HCP Terraform team token to read information about your organization. Before you configure the HCP Terraform connection, you must first create an HCP Terraform team and team API token. Complete the following steps to create a new HCP Terraform team and team API token.
- In HCP Terraform, click on Settings in the left navigation panel, then click Teams.
- Click Create a team.
- Enter
infragraphin the Team name field - Click Create.
- Under Organization Access, give the team the View all projects and View all workspaces permissions.
- Scroll down, then click Update team organization access.
- Scroll down, then click Go to API Tokens.
- On the API Tokens page, select the Team Tokens tab.
- Click Create a team token.
- Select the
infragraphteam under the Team dropdown. - Leave the Expiration at
30 days. - Click Create.
HCP Terraform only shows your API token once, so copy it and store it in a secure location.
Complete the following steps to configure the HCP Terraform Infragraph connection:
- From the Resource graph Overview, at the top right, click Create Connection.
- Select HCP Terraform from the list of data sources.
- Click Select Terraform.
- Follow the instructions to paste the team API token.
- Click Create connection.
Infragraph shows the Connections page and automatically starts a new sync operation to read the data about your HCP Terraform resources.
Use pre-built Infragraph queries
Once Infragraph completes the sync operation for all connections, query the resource graph to learn more about your resources. Infragraph comes with several pre-built queries to get you started quickly.
From your HCP organization's Dashboard page, click Query catalog in the left navigation panel to see the queries that come pre-built with Infragraph. Next, click Which of my VMs are using images not provisioned by Packer? to run the pre-built query.
By default, Infragraph shows the results in the graph view, with each node representing a resource in AWS, HCP Terraform, or HCP Packer.

Create a query with the query builder
You can also build custom queries using the query builder. The query builder lets you visually choose the resources you're interested in, filter by their properties, and define the related resources that you are interested in.
To open the query builder, click Graph explorer in the left navigation panel, then click the Find button.
Infragraph shows a panel that lists every node type in your inventory. The left panel lists categories of node types, such as Compute or Infrastructure as Code. The middle panel lists all node types in that category. When you select a node, the right panel lets you build relationships to that node.
Build a query to find EC2 instances that are not managed by HCP Terraform. Click Virtual Machine in the middle panel. Next, configure a relationship to this node type. In the right panel, click * -> * -> O, then click Add as condition. This creates a generic relationship in the query to any virtual machine node.

Your query builder now reads Find Virtual Machine That * does *. Next, update the relationship to query for virtual machines that HCP Terraform does not manage. In the left dropdown, choose HCP Terraform State Version. In the right dropdown, choose Any connection.
Your query now reads Find Virtual Machine That Hcp Terraform State Version does *. In the graph view below your query, Infragraph shows the two instances you deployed with Terraform.

Click on the infragraph-terraform-packer node to view more information about the resource and its relationships. Infragraph shows a list of resource properties. For an EC2 instance, it shows information such as the ID, the instance's CPU and memory allocation, and IP address. It also shows a graph view of all of the related resources.

Close the infragraph-terraform-packer panel to return to the query view.
Find resources with the query language
Infragraph also supports a JSON query language that you can use with the resource graph. You can view the JSON for queries you build in the query builder as well. Click the </> button next to the Clear query button to review the JSON for the query you built in the previous step.

Infragraph shows the following JSON to represent your query:
{
  "node": {
    "unifiedTypes": [
      "VIRTUAL_MACHINE"
    ]
  },
  "edge": {
    "direction": "EDGE_DIRECTION_INCOMING",
    "absent": false,
    "edgeLabels": [
      "MANAGES"
    ],
    "nodeQuery": {
      "node": {
        "unifiedTypes": [
          "HCP_TERRAFORM_STATE_VERSION"
        ]
      }
    }
  }
}
Next, modify this query to add a condition to only show virtual machines named "infragraph-terraform-packer".
{
  "node": {
    "unifiedTypes": [
      "VIRTUAL_MACHINE"
    ],
    "where": [
      {
        "match": {
          "left": {
            "property": {
              "name": "name"
            }
          },
          "comparator": "COMPARATOR_EQUAL",
          "right": {
            "value": {
              "string": "infragraph-terraform-packer"
            }
          }
        }
      }
    ]
  },
  "edge": {
    "direction": "EDGE_DIRECTION_INCOMING",
    "absent": false,
    "edgeLabels": [
      "MANAGES"
    ],
    "nodeQuery": {
      "node": {
        "unifiedTypes": [
          "HCP_TERRAFORM_STATE_VERSION"
        ]
      }
    }
  }
}
Click outside of the textbox to run the query.
The new where clause adds a condition to the query that filters based on the name property of the virtual machine.
You can continue to add relationships and conditions to your queries to find resources that meet specific conditions. The following example finds all HCP Terraform workspaces that create AWS EC2 network interfaces attached to virtual machines with attached storage volumes. Copy this example and paste it into the query builder:
{
  "edge": {
    "absent": false,
    "edgeLabels": [
      "HAS_CURRENT"
    ],
    "incoming": false,
    "nodeQuery": {
      "edge": {
        "absent": false,
        "edgeLabels": [
          "MANAGES"
        ],
        "incoming": false,
        "nodeQuery": {
          "edge": {
            "absent": false,
            "edgeLabels": [
              "ATTACHES_TO"
            ],
            "incoming": false,
            "nodeQuery": {
              "edge": {
                "absent": false,
                "direction": "EDGE_DIRECTION_BOTH",
                "edgeLabels": [
                  "ATTACHES_TO"
                ],
                "nodeQuery": {
                  "node": {
                    "nodeLabels": [
                      "VOLUME"
                    ]
                  }
                }
              },
              "node": {
                "nodeLabels": [
                  "VIRTUAL_MACHINE"
                ]
              }
            }
          },
          "node": {
            "nodeLabels": [
              "NETWORK_INTERFACE"
            ]
          }
        }
      },
      "node": {
        "nodeLabels": [
          "HCP_TERRAFORM_STATE_VERSION"
        ]
      }
    }
  },
  "node": {
    "nodeLabels": [
      "HCP_TERRAFORM_WORKSPACE"
    ]
  }
}
This query produces a graph of the HCP Terraform workspace you created, along with the two network interfaces it manages.
Click the Stacked by Type button to rearrange the nodes by node type.

Clean up resources
Delete the resources you created in this tutorial.
First, run the following command in your terminal to delete the EC2 instance you deployed with the AWS CLI:
$ aws ec2 terminate-instances \
  --region us-east-2 \
  --instance-ids $(aws ec2 describe-instances \
    --region us-east-2 \
    --filters "Name=tag:Name,Values=infragraph-non-managed" "Name=instance-state-name,Values=running" \
    --query 'Reservations[0].Instances[0].InstanceId' \
    --output text)
The AWS CLI shows information about the instance you terminated. Press q to exit this summary.
Next, queue a destroy operation on your HCP Terraform workspace. Open your learn-infragraph workspace in HCP Terraform, then click Settings in the left navigation panel.
Click Destruction and Deletion, then click Queue destroy plan. Type delete to confirm the operation, then click Queue destroy plan.
Once HCP Terraform completes the destroy operation, return to the Destruction and Deletion page and click Delete from HCP Terraform to delete the workspace. When HCP Terraform prompts you to confirm the deletion, enter "delete" and click Delete.
Next, remove the HCP Packer bucket you created. In HCP Packer, navigate to your learn-infragraph-ubuntu bucket, click the Manage dropdown, and click Delete bucket. When HCP Packer prompts you to confirm that you want to delete the bucket, click Delete bucket to remove the two artifacts you built in this tutorial.
Then, use the following AWS CLI command to deregister the AMI you created with Packer:
aws ec2 deregister-image --image-id $(aws ec2 describe-images --owners self --filters "Name=name,Values=packer_infragraph_*_v1.0.0" --query "Images[0].ImageId" --output text)
Next steps
In this tutorial, you learned how to configure Infragraph connections for AWS, HCP Terraform, and HCP Packer. Then, you learned how to query Infragraph's resource graph using pre-built queries, the query builder, and the query language.
To learn more about Infragraph, refer to the following resources:
- Read the Infragraph overview documentation.
- Learn more about Infragraph connections.
- Refer to the Infragraph queries documentation.