OIDC authentication with Auth0
OpenID Connect (OIDC) is an internet-scale federated identity and authentication protocol built on top of the OAuth 2.0 authorization framework and the JSON Object Signing and Encryption (JOSE) cryptographic system. OIDC builds on top of the OAuth 2.0 authorization protocol to enable a user to authorize a third-party application to access the user’s identity and authentication information.
The OIDC authentication method allows Boundary users to delegate authentication to an OIDC provider. This feature allows Boundary to integrate with popular identity providers like Auth0, cloud-hosted active directory services with an OIDC frontend, and cloud identity management systems such as AWS IAM.
Boundary users can create, read, update, and delete new OIDC authentication methods using the Admin Console UI, Boundary CLI, or the Boundary Terraform provider to enable login. OIDC auth methods can also be utilized for logging into the Admin Console and Desktop applications.
This tutorial provides an example of setting up OIDC with the Auth0 provider and managing OIDC authentication methods.
OIDC authentication methods overview
- Authentication workflow
- Auth0 configuration
- Auth method creation
- Authentication states
- OIDC authentication
Prerequisites
A Boundary binary greater than 0.8.0 in your
PATHThis tutorial assumes you can connect to an HCP Boundary cluster or launch Boundary in dev mode.
An Auth0 test account. The associated email address should not be tied to another SSO method, so use of a personal account is recommended.
Installing the Boundary Desktop App provides an optional workflow for this tutorial. The 1.2.0 version or above is required for OIDC support.
Installing Terraform 0.13.0 or greater provides an optional workflow for this tutorial. The binary must be available in your
PATH.
Get setup
In this tutorial, you will test OIDC integrations using HCP Boundary or by running a Boundary controller locally using dev mode.
The HCP Quickstart tutorials provide an overview of getting started with an HCP Boundary cluster.
If you have an HCP Boundary cluster deployed, the Access HCP Boundary tutorial provides an overview of configuring your local machine to authenticate with your HCP cluster.
This tutorial provides both CLI and UI workflows for setting up OIDC authentication.
To proceed with the UI workflow:
Open the Admin Console UI by entering your HCP Boundary Cluster URL into a browser (such as
https://e58fe114-7624-431c-994d-b6670e90b03J.boundary.hashicorp.cloud).Enter the admin username and password you created when you deployed the new instance and click Authenticate.


You are now logged into your HCP Boundary instance's Global scope using the web UI. This is the default scope for all new Boundary clusters. You can now proceed to the Providers section to proceed with the Admin Console UI workflow.
Providers
To enable an OIDC auth method an administrator must first configure their OIDC provider, and then Boundary. The administrator registers Boundary as a new client with their OIDC provider by providing some values unique to their Boundary deployment. The administrator then configures Boundary with unique client information provided by their OIDC provider during registration. These values must match up for OIDC to work.
The administrator will need to provide a list of Boundary callback URLs when configuring the OIDC provider. The callback URLs route to one of the controllers and must begin with 'https', unless Boundary is in dev mode, where the URLs will route to localhost.
Many OIDC providers can be integrated with Boundary. This tutorial demonstrates working with Auth0, a popular provider for OIDC.
Get setup with Auth0
A developer account and sample application are required to setup Auth0 as an OIDC provider for Boundary. If you don't have a developer account, sign up for Auth0. It is recommended to use a personal account for testing, and to avoid integrating an account that might already be associated with Auth0. A free account is suitable for testing OIDC integration with Boundary.
Create a user
First, create an Auth0 user that will be permitted to log into the application that authorizes Boundary.
Once signed up, the Auth0 Dashboard is displayed. Navigate to the User Management view using the sidebar on the left side of the page.

Click + Create User.

Enter the user Email and Password, then Click Create.

The new user's details should be displayed in the User Management Dashboard.

If using Terraform to provision Boundary, copy the user_id value under the Identity Provider Attributes section. Save this value for defining the
oidc_usersubjectlater on.
Create an application
An application is what authorizes Auth0 users added in the previous step to connect with Boundary. After creating an application, its configuration details are used to add the OIDC auth method to Boundary.
Navigate to the Applications view using the sidebar on the left side of the page.
From the Applications view, click the + Create Application button.

Select Regular Web Application and give your application a name. This tutorial calls the application Boundary OIDC Test. Click Create.

Once created the browser should redirect to the application settings view. If not, visit Applications using the navigation bar on the left, select the new application and visit its Settings view.
Scroll down to the Application URIs section.
Create a callback URL by entering the HCP Boundary cluster address, followed by
/v1/auth-methods/oidc:authenticate:callbackunder the Allowed Callback URLs field. For example,https://e58fe114-7624-431c-994d-b6670e90b03J.boundary.hashicorp.cloud/v1/auth-methods/oidc:authenticate:callback.https://BOUNDARY_ADDR/v1/auth-methods/oidc:authenticate:callbackThis value is also printed later on when creating the OIDC method with the Boundary CLI, but is fixed and can be entered into the Auth0 provider settings ahead of time.
Lastly, locate the Allowed Logout URLs section directly below, and enter the HCP Boundary Cluster address followed by
:3000(such ashttps://e58fe114-7624-431c-994d-b6670e90b03J.boundary.hashicorp.cloud:3000)https://BOUNDARY_ADDR:3000Make sure your config matches the image shown below.

Three important values are listed at the top of the Settings view for use when configuring OIDC with Boundary.
- Domain
- Client ID
- Client Secret
Keep this page open to refer to these values in the next steps.

Auth method creation
Authentication is the process of establishing a user's identity. The user initiates this process by selecting an auth method.
When the user selects an OIDC auth method, the user's client sends a request to the system and includes additional data about the client itself. The system then returns two URLs: an OIDC authentication request URL and a Boundary token request URL.
If the user's client is a web browser, the client stores the Boundary token request URL in local storage then redirects the page to the OIDC authentication request URL. If the user's client is not a web browser, the client opens a web browser to the OIDC authentication request URL and begins polling the Boundary token request URL.
The user interacts with the OIDC provider to prove their identity using the browser window opened by the user's client. Once the OIDC provider has authenticated the user's identity, it redirects the browser window back to Boundary. The user's client then retrieves a Boundary token from the request URL.
To get started, an authentication method must be created for the provider of choice.
Create auth method for the provider
To set up a new auth method for your provider you will need the following from your provider's application settings:
- issuer
- client-id
- client-secret
Auth methods can be created using the Admin Console UI, CLI, or using Terraform.
The Boundary Admin Console provides a UI for creating and managing OIDC resources, including auth methods.
Open the Admin Console UI by entering your HCP Boundary Cluster URL into a
browser (such as
https://e58fe114-7624-431c-994d-b6670e90b03J.boundary.hashicorp.cloud).
Enter the admin username and password you created when you deployed the new instance and click Authenticate.
For Auth0, these settings map to the following:
issuer-> Domainclient-id-> Client IDclient-secret-> Client Secret
With these values you gathered from the Auth0 application settings above a new OIDC auth method can be created.
Start by navigating to the Auth Methods settings view using the menu on the left side of the Admin Console. Select New and click OIDC.


Fill out the form details using the settings gathered from the Auth0 application settings.
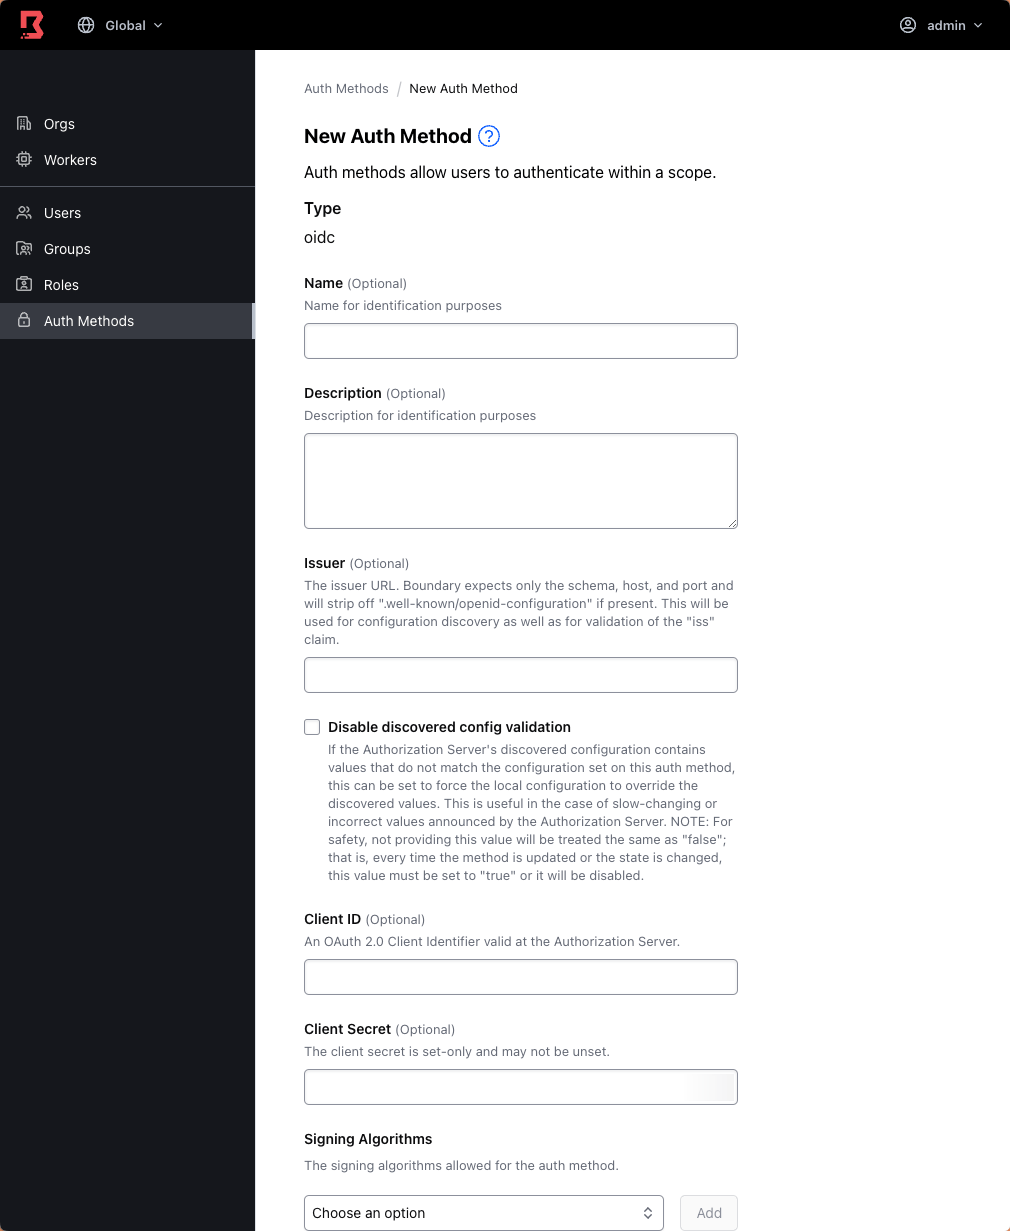
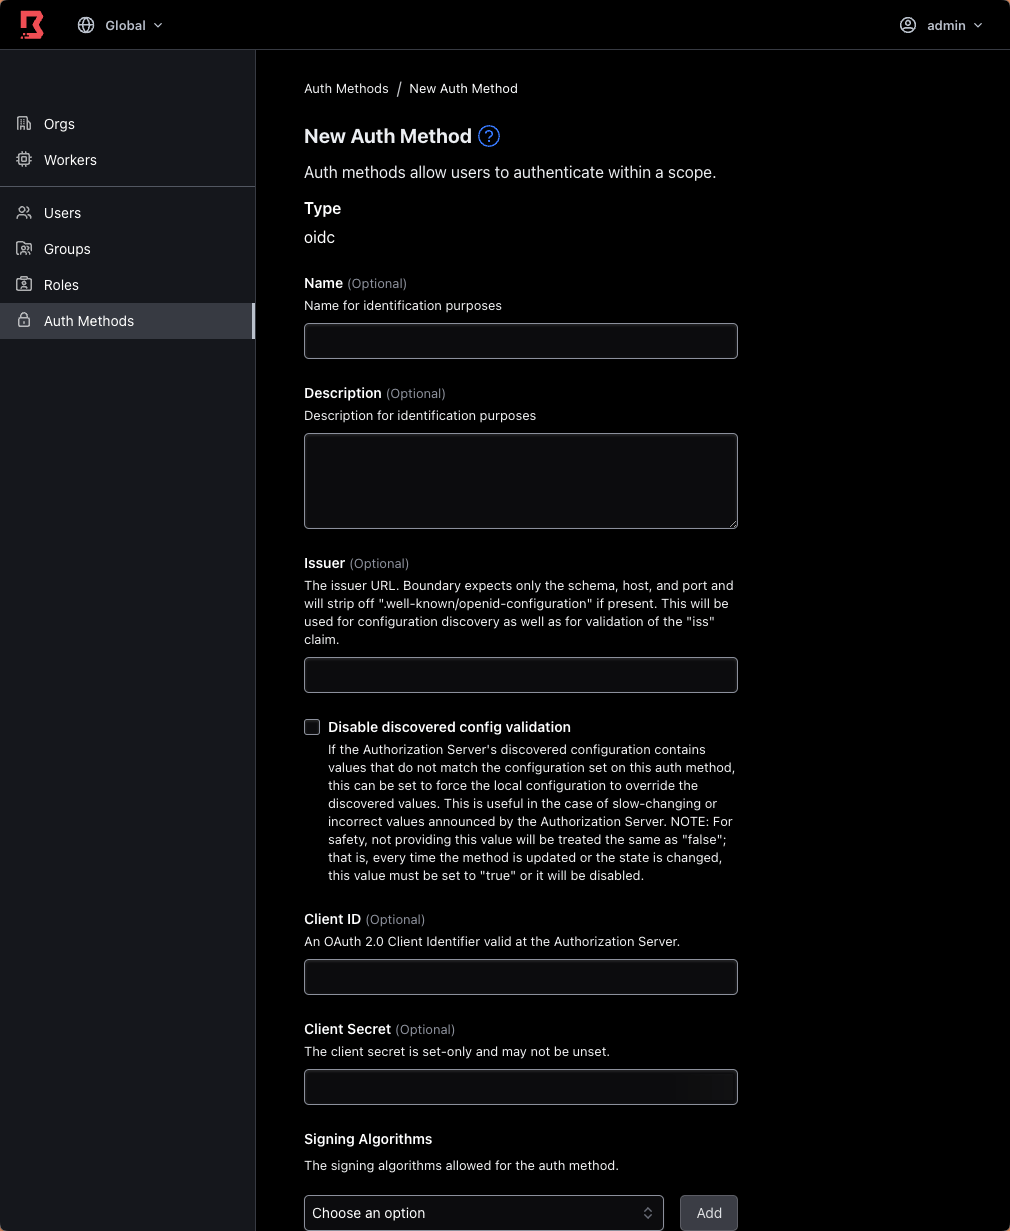
These include:
- Name (Example:
Auth0) - Description (Example:
Auth0 OIDC test auth method) - Issuer (Example:
https://dev-1vdl8c0q.us.auth0.com/) Ensure the Issuer has a trailing/at the end - Client ID (Example:
zbaJLTZh3n14WqSV7qQ9onuIVRDaZdzz) - Client Secret (Example:
t35c9NNw1aZ8haQKYJjCL0lauNOSp5UNPovUJXo8Ea2sPZAR1DszEowX-5-lg-Xr)
Additionally, set the Max Age and API URL Prefix. The Max Age is set to
0, while the API URL Prefix is set to the HCP Boundary Cluster URL (for
example,
https://e58fe114-7624-431c-994d-b6670e90b03J.boundary.hashicorp.cloud)
- Max Age:
0 - API URL Prefix:
https://BOUNDARY_ADDR
Once the form is completed, click Save.
With the new auth method created, an allowed signing algorithm can be added.
Click Edit Form for the new auth method and scroll down to the Signing Algorithms section. Ensure that RS256 is selected and click Add.
Once added, Save the form.
The new authentication method has now been created. To the right of the new auth method, notice the state is set to Inactive. Before it can be used the new auth method must be switched to an active state.
Next we will review the available authentication states and activate the new OIDC auth method.
Authentication states
An OIDC auth method can be in one of several different states: Inactive, Active Private, and Active Public. The current state of an OIDC auth method affects how endpoints respond to requests and, in some cases, whether access to an endpoint requires authentication.
State change operations
- MakeInactive transitions an OIDC auth method from either the Active Private or the Active Public state into the Inactive state.
- MakePrivate transitions an OIDC auth method from either the Inactive or the Active Public state into the Active Private state. If transitioning from the Inactive state, the transition will only succeed if the configuration is valid.
- MakePublic transitions an OIDC auth method from either the Inactive or the Active Private state into the Active Public state. If transitioning from the Inactive state, the transition will only succeed if the configuration is valid.
Three different states exist for an authentication method:
inactiveusers can not authenticate with inactive auth methods and the inactive auth methods are not listed for unauthenticated users.active-privateusers can authenticate with active-private auth methods and active-private auth methods are not listed for unauthenticated users.active-publicusers can authenticate active-public auth methods and active-public auth methods are listed for unauthenticated users.
Before changing the state of an auth-method, Boundary will retrieve the Provider’s discovery document for the auth method’s issuer and attempt to validate the auth-method’s configuration against this published information. If Boundary is unable to validate the configuration an error is returned and the state change is not made.
If a change is made from active-public or active-private to inactive, all in-flight authentications will succeed unless the auth method’s configuration is modified while the request is in-flight.
When changing an auth method's state using boundary auth-methods change-state
the -disable-discovered-config-validation flag is used to disable validation
against the provider’s published discovery document. This allows for the very
rare occurrence when the Provider has published an invalid discovery document.
Activate the OIDC auth method
Now that a new OIDC method has been created, it can be activated and assigned as the default login type for the global scope.
Currently the login type is set as inactive, and won't allow authentication.
$ boundary authenticate oidc -auth-method-id amoidc_oHt4HQFCrN
Error from controller when performing authentication start

Error information:
  Kind:                Internal
  Message:             authmethod_service.(Service).authenticateOidcStart: Error generating parameters for starting the OIDC flow.: unknown: error #500
  Status:              500
  context:             Error from controller when performing authentication start
Auth methods can be activated using the Admin Console UI, CLI, or using Terraform.
Before the new auth method will be allowed it must be set to an active state.
Under the settings for the new auth method, select Inactive from the menu in the upper-right side of the page and change its state by clicking Public.
The login type is now allowed.
Set OIDC as primary login
Global and organization scopes may have auth methods in Boundary, and each scope has one primary auth-method ID. Boundary will automatically create a user upon first successful authentication using the scope’s primary auth method, which will be used by scopes with only one auth method available.
When migrating the database, Boundary will produce a log of any auth methods which resulted in no primary auth method being set for the scope.
Set the new OIDC auth method as the primary auth method for the global scope.
Under the settings for the new auth method, select Manage from the menu in the upper-right side of the page.
A confirmation window will be displayed to inform you that new users that sign in using OIDC will automatically be added to the new auth method. Select OK to continue.
Now try authenticating using the newly created OIDC auth method.
Select the admin user menu in the top-right corner of the page and select Sign Out.
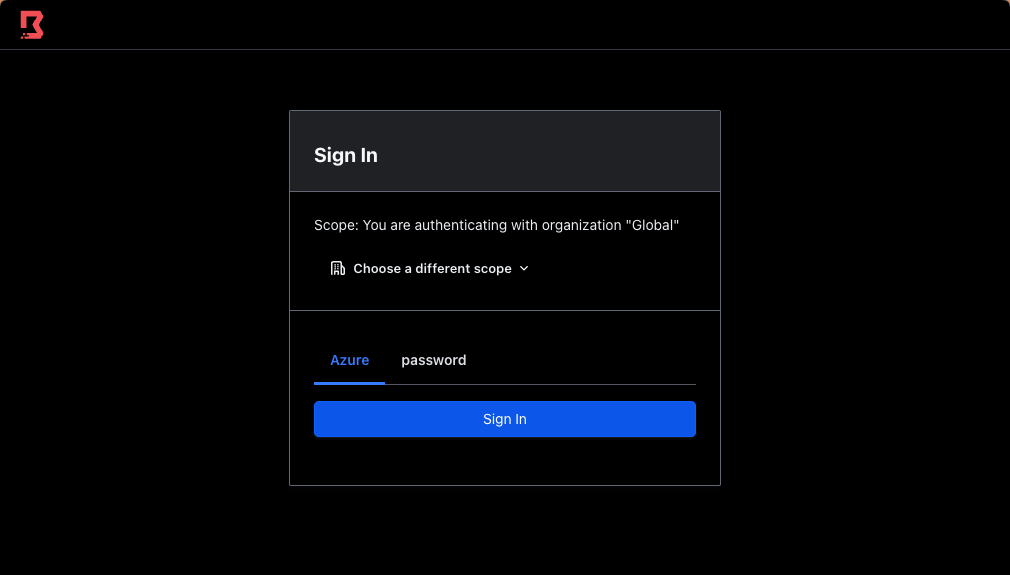
Next, select the new auth method called Auth0, and click Authenticate.
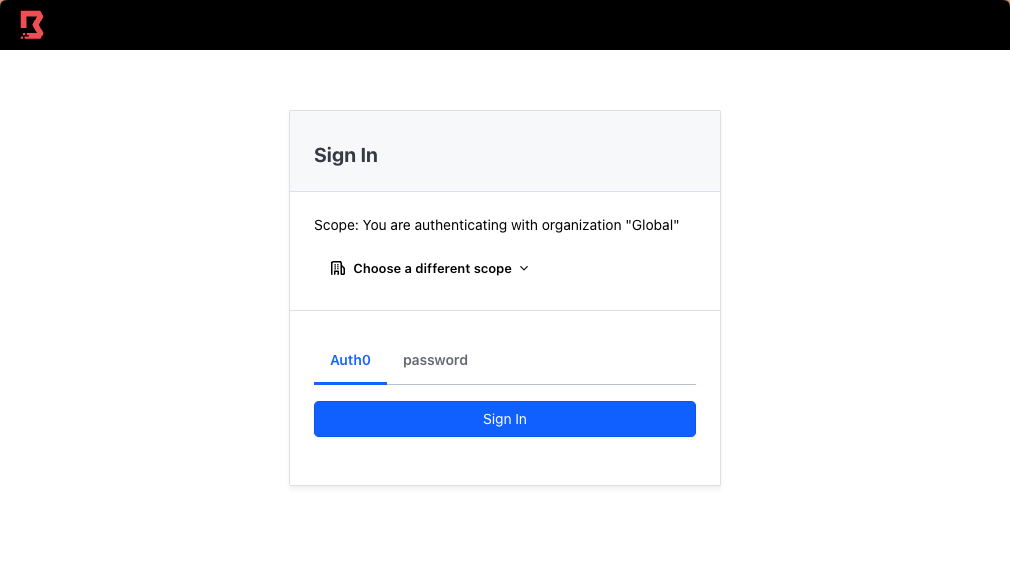
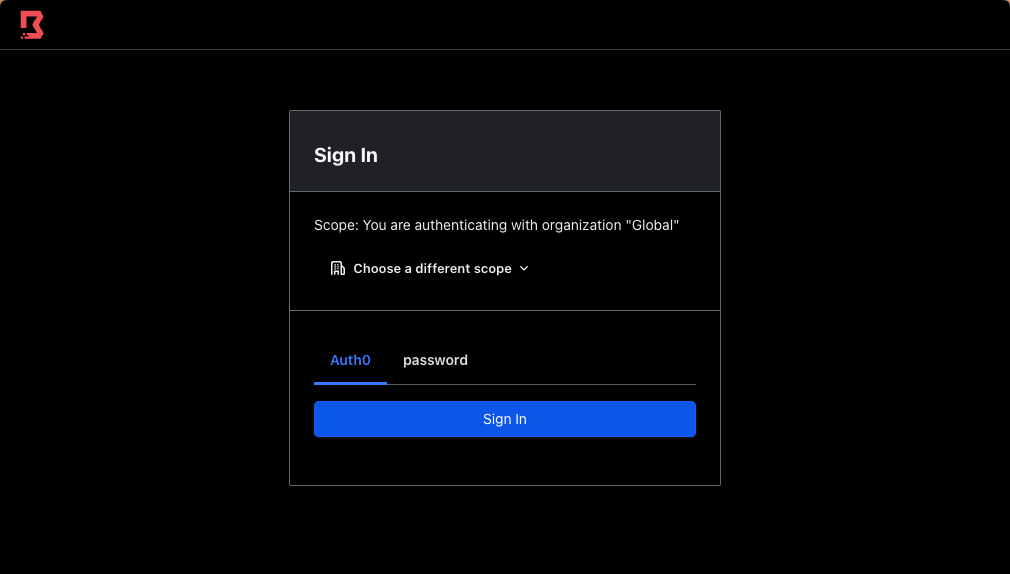
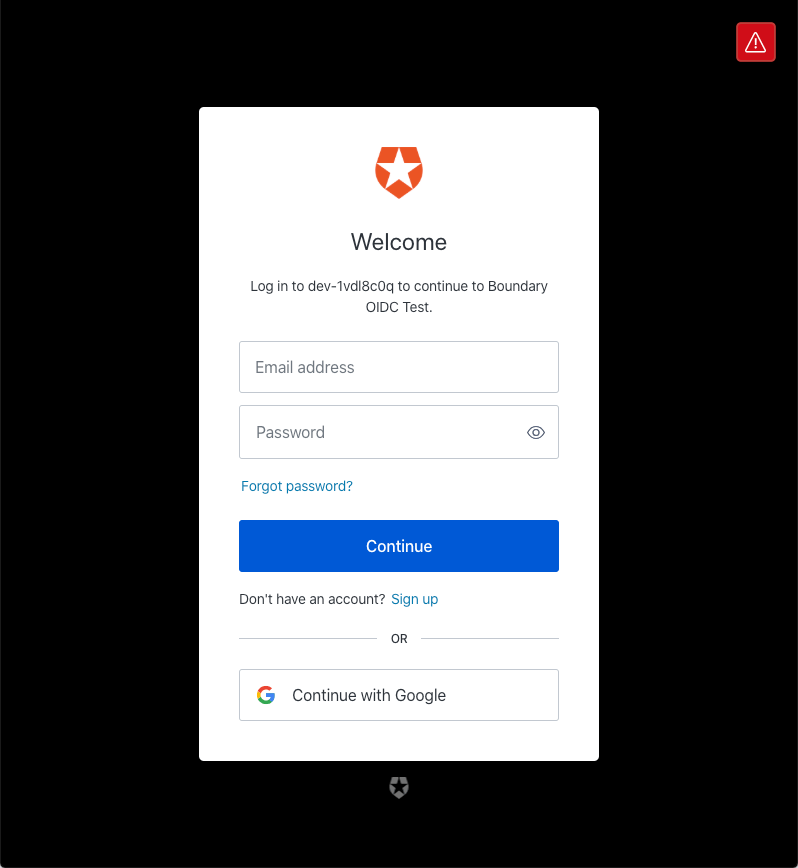
A browser tab should automatically open and prompt you to log in with your Auth0 user account credentials.

After successful authentication you are automatically redirected to the Admin Console. Notice the restricted permissions for this new user, which can be updated and assigned using Roles and Groups.
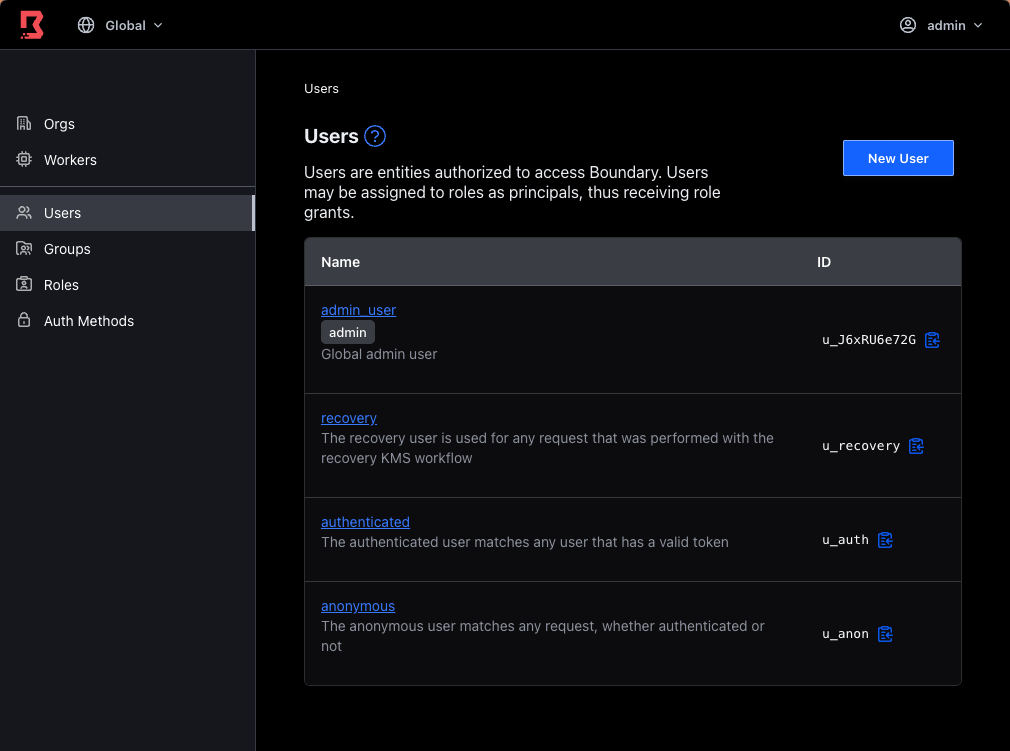
If you were to log back into the Admin Console as the admin user, you would notice the new OIDC user has automatically been added under the Users view.

Next you will review the various methods that can be used to authenticate to Boundary using the new OIDC auth method.
Authenticate using OIDC
With the OIDC provider configured, Boundary users can authenticate using the CLI, Admin Console or Boundary Desktop app. Boundary administrators will usually follow a CLI or Admin Console workflow, while clients and end-users can use the CLI or Desktop application.
The Boundary Desktop app is currently available for MacOS and Windows users.
Launch the Boundary Desktop app and enter the Boundary Cluster URL.
The Cluster URL was copied from the HCP portal, such as
https://e58fe114-7624-431c-994d-b6670e90b03J.boundary.hashicorp.cloud. Click Submit.

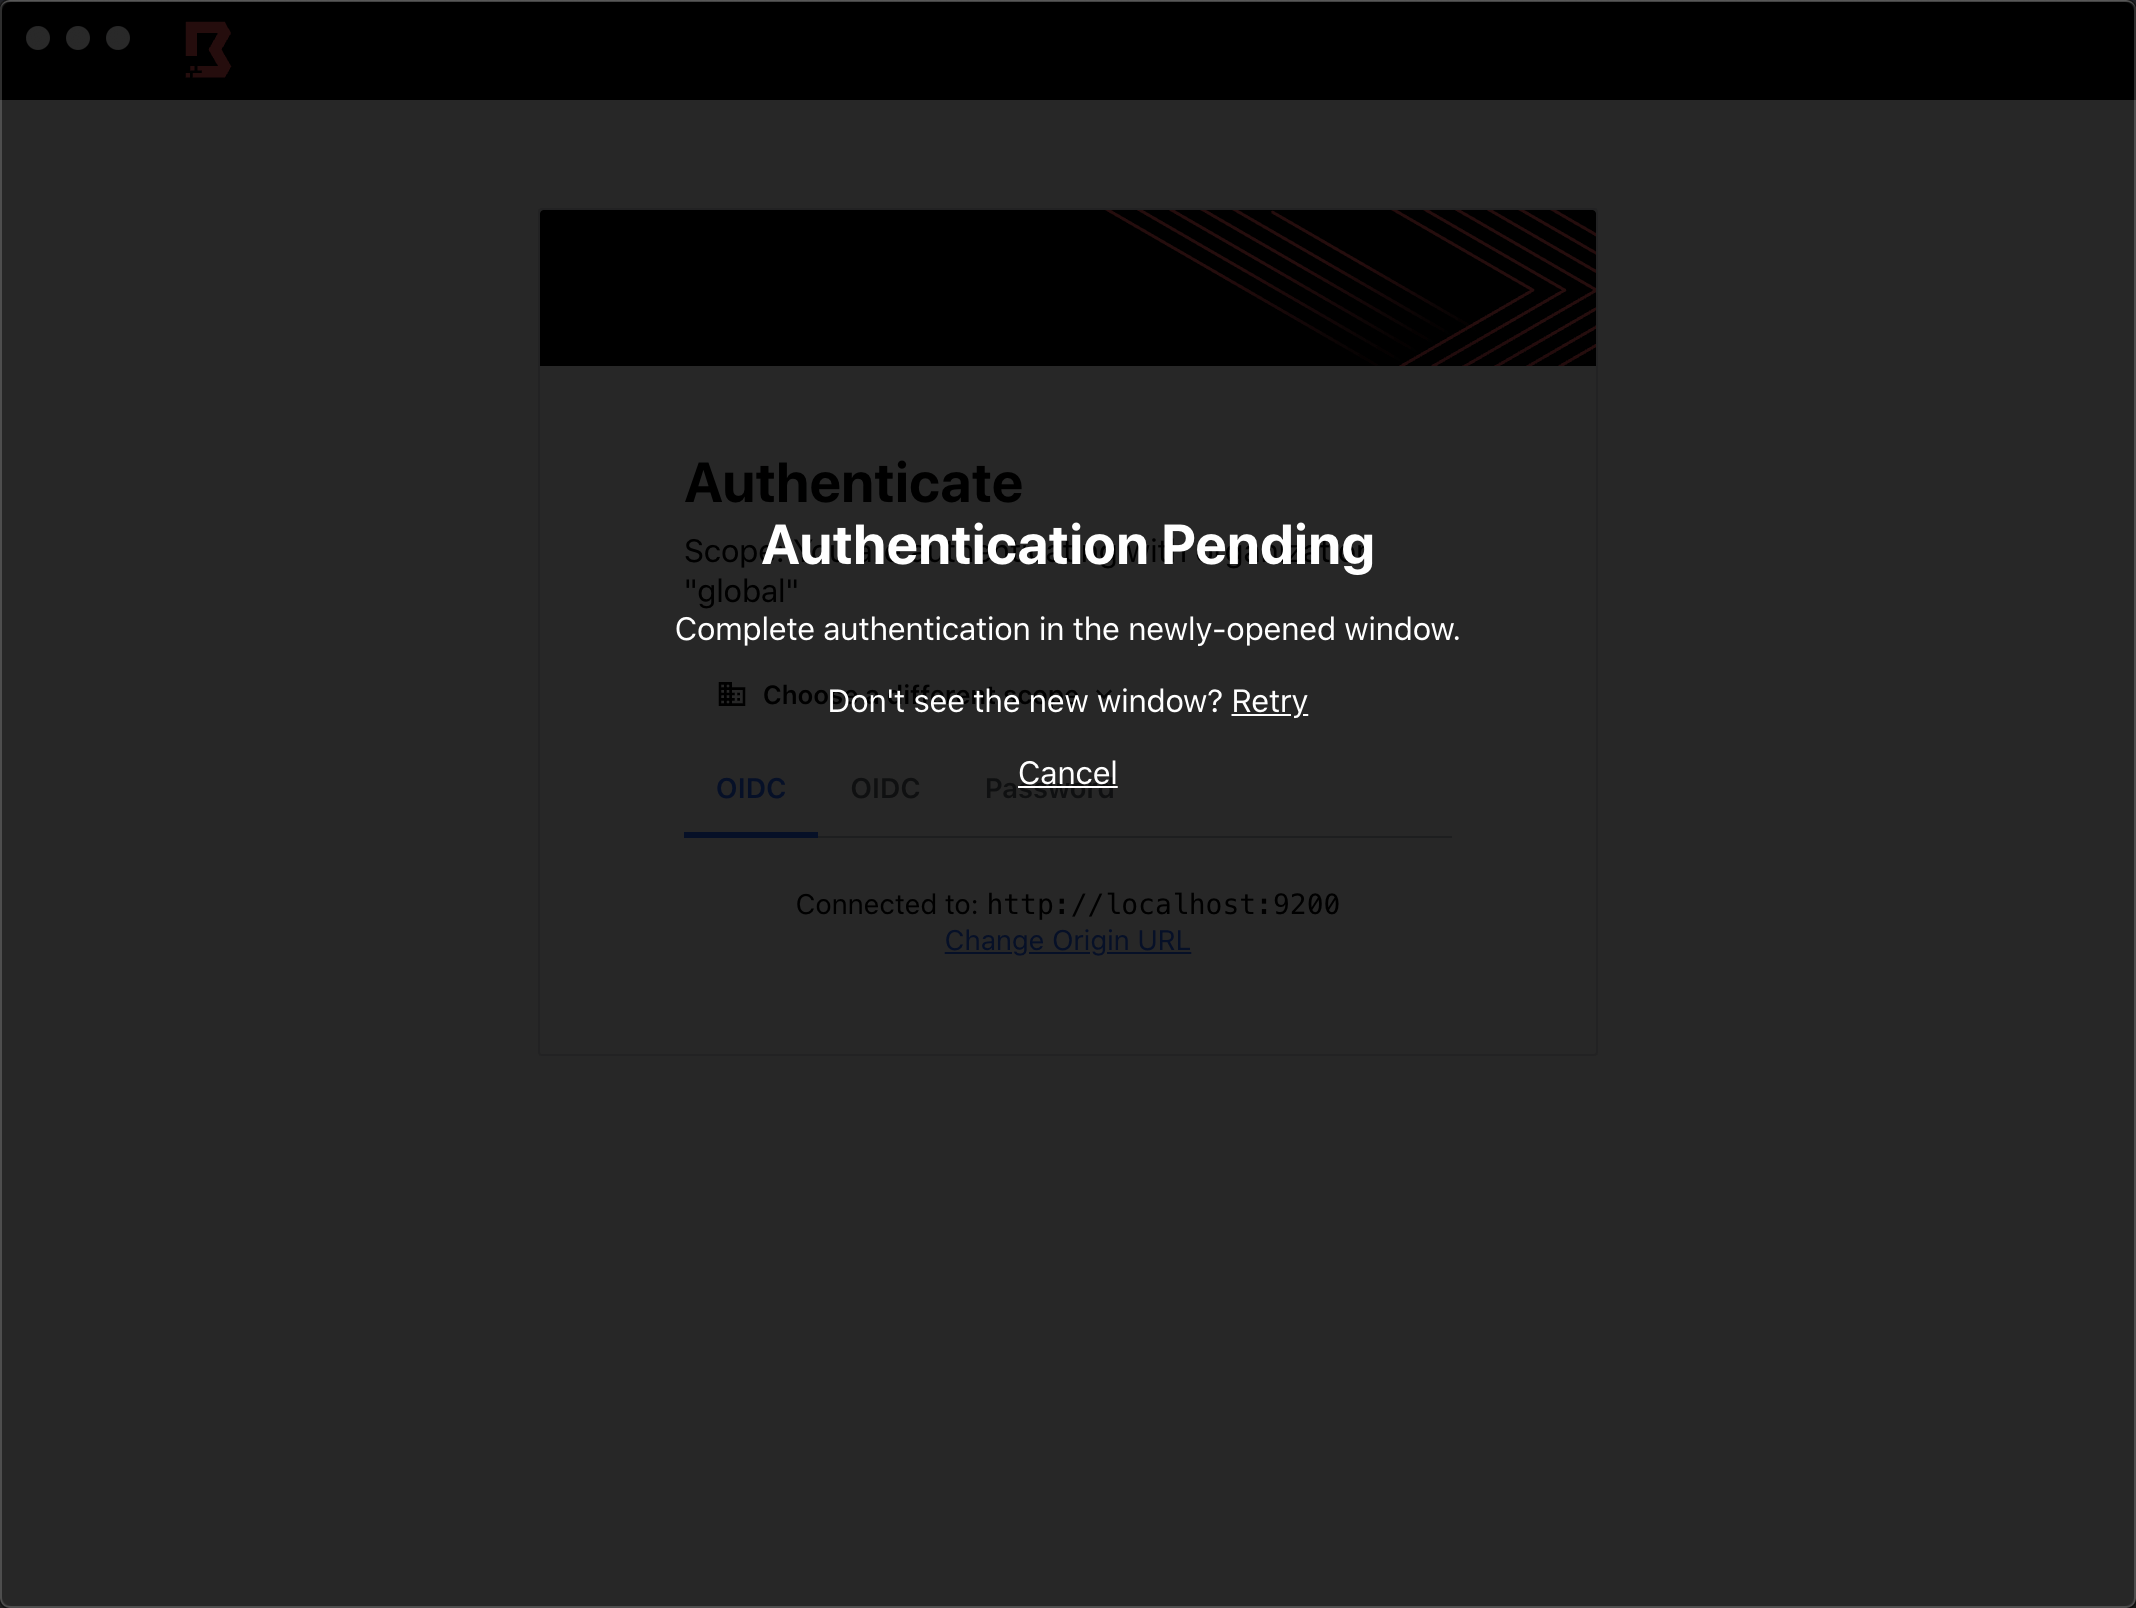
Select Auth0 and click Authenticate.
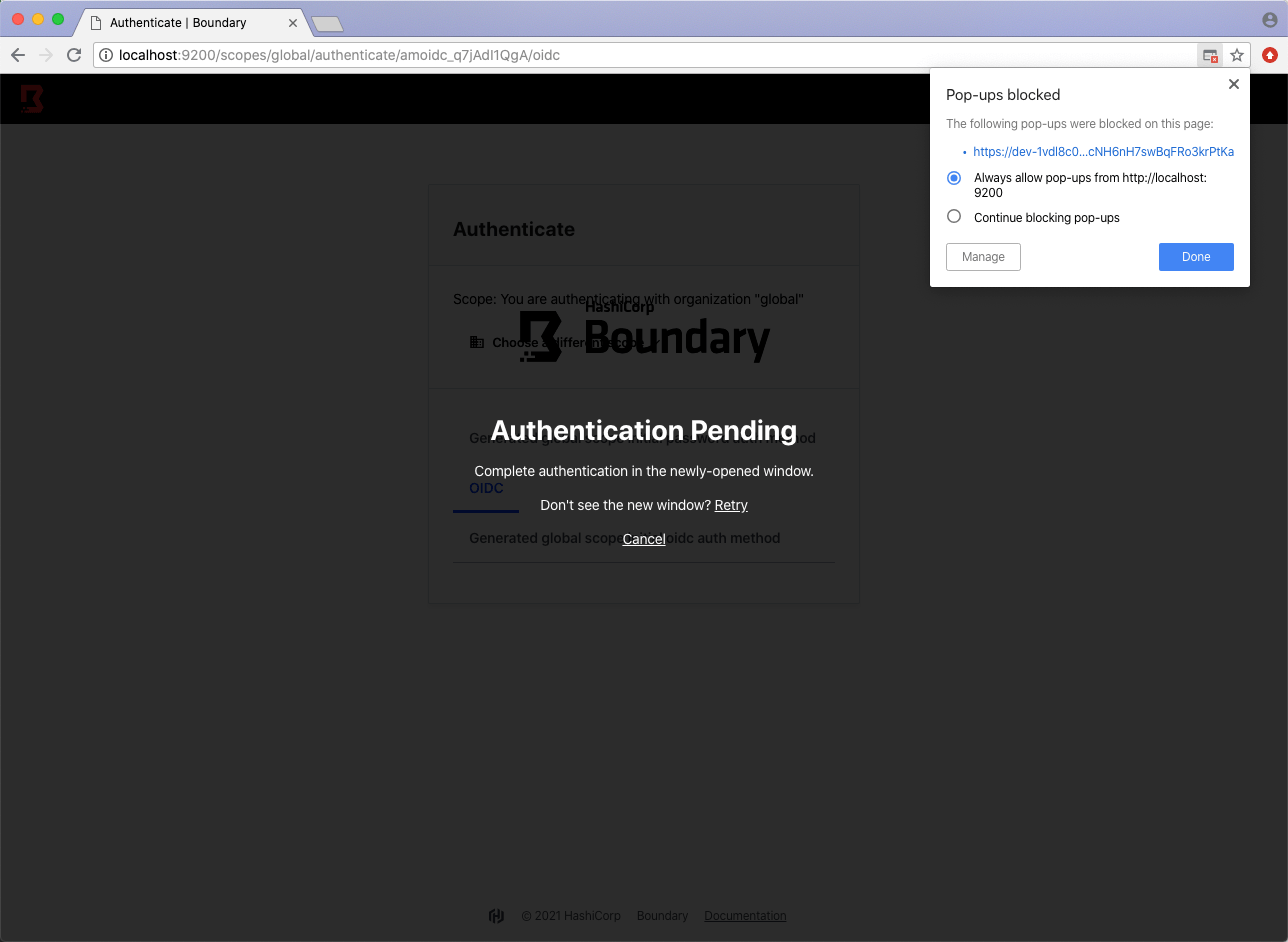
A browser window should launch and prompt for your provider's user credentials. You may see an "Authentication Pending" message, and can click the "Retry" button to force a new authentication tab to open.
Submit your OIDC provider user credentials. Below is an example of authenticating using Auth0.
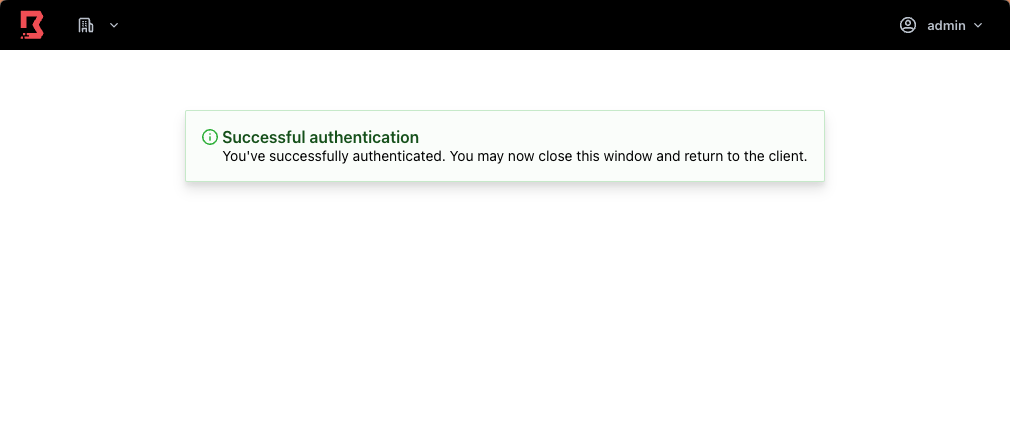
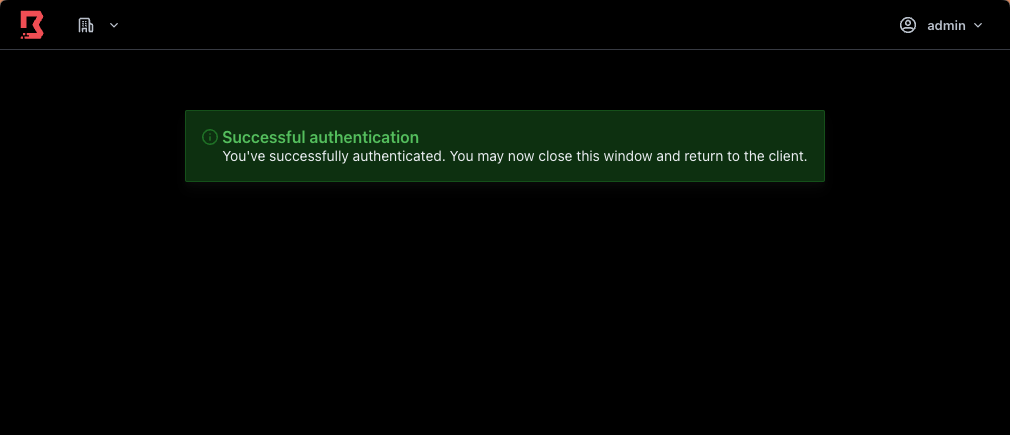
You should receive a "Successful Authentication" message.
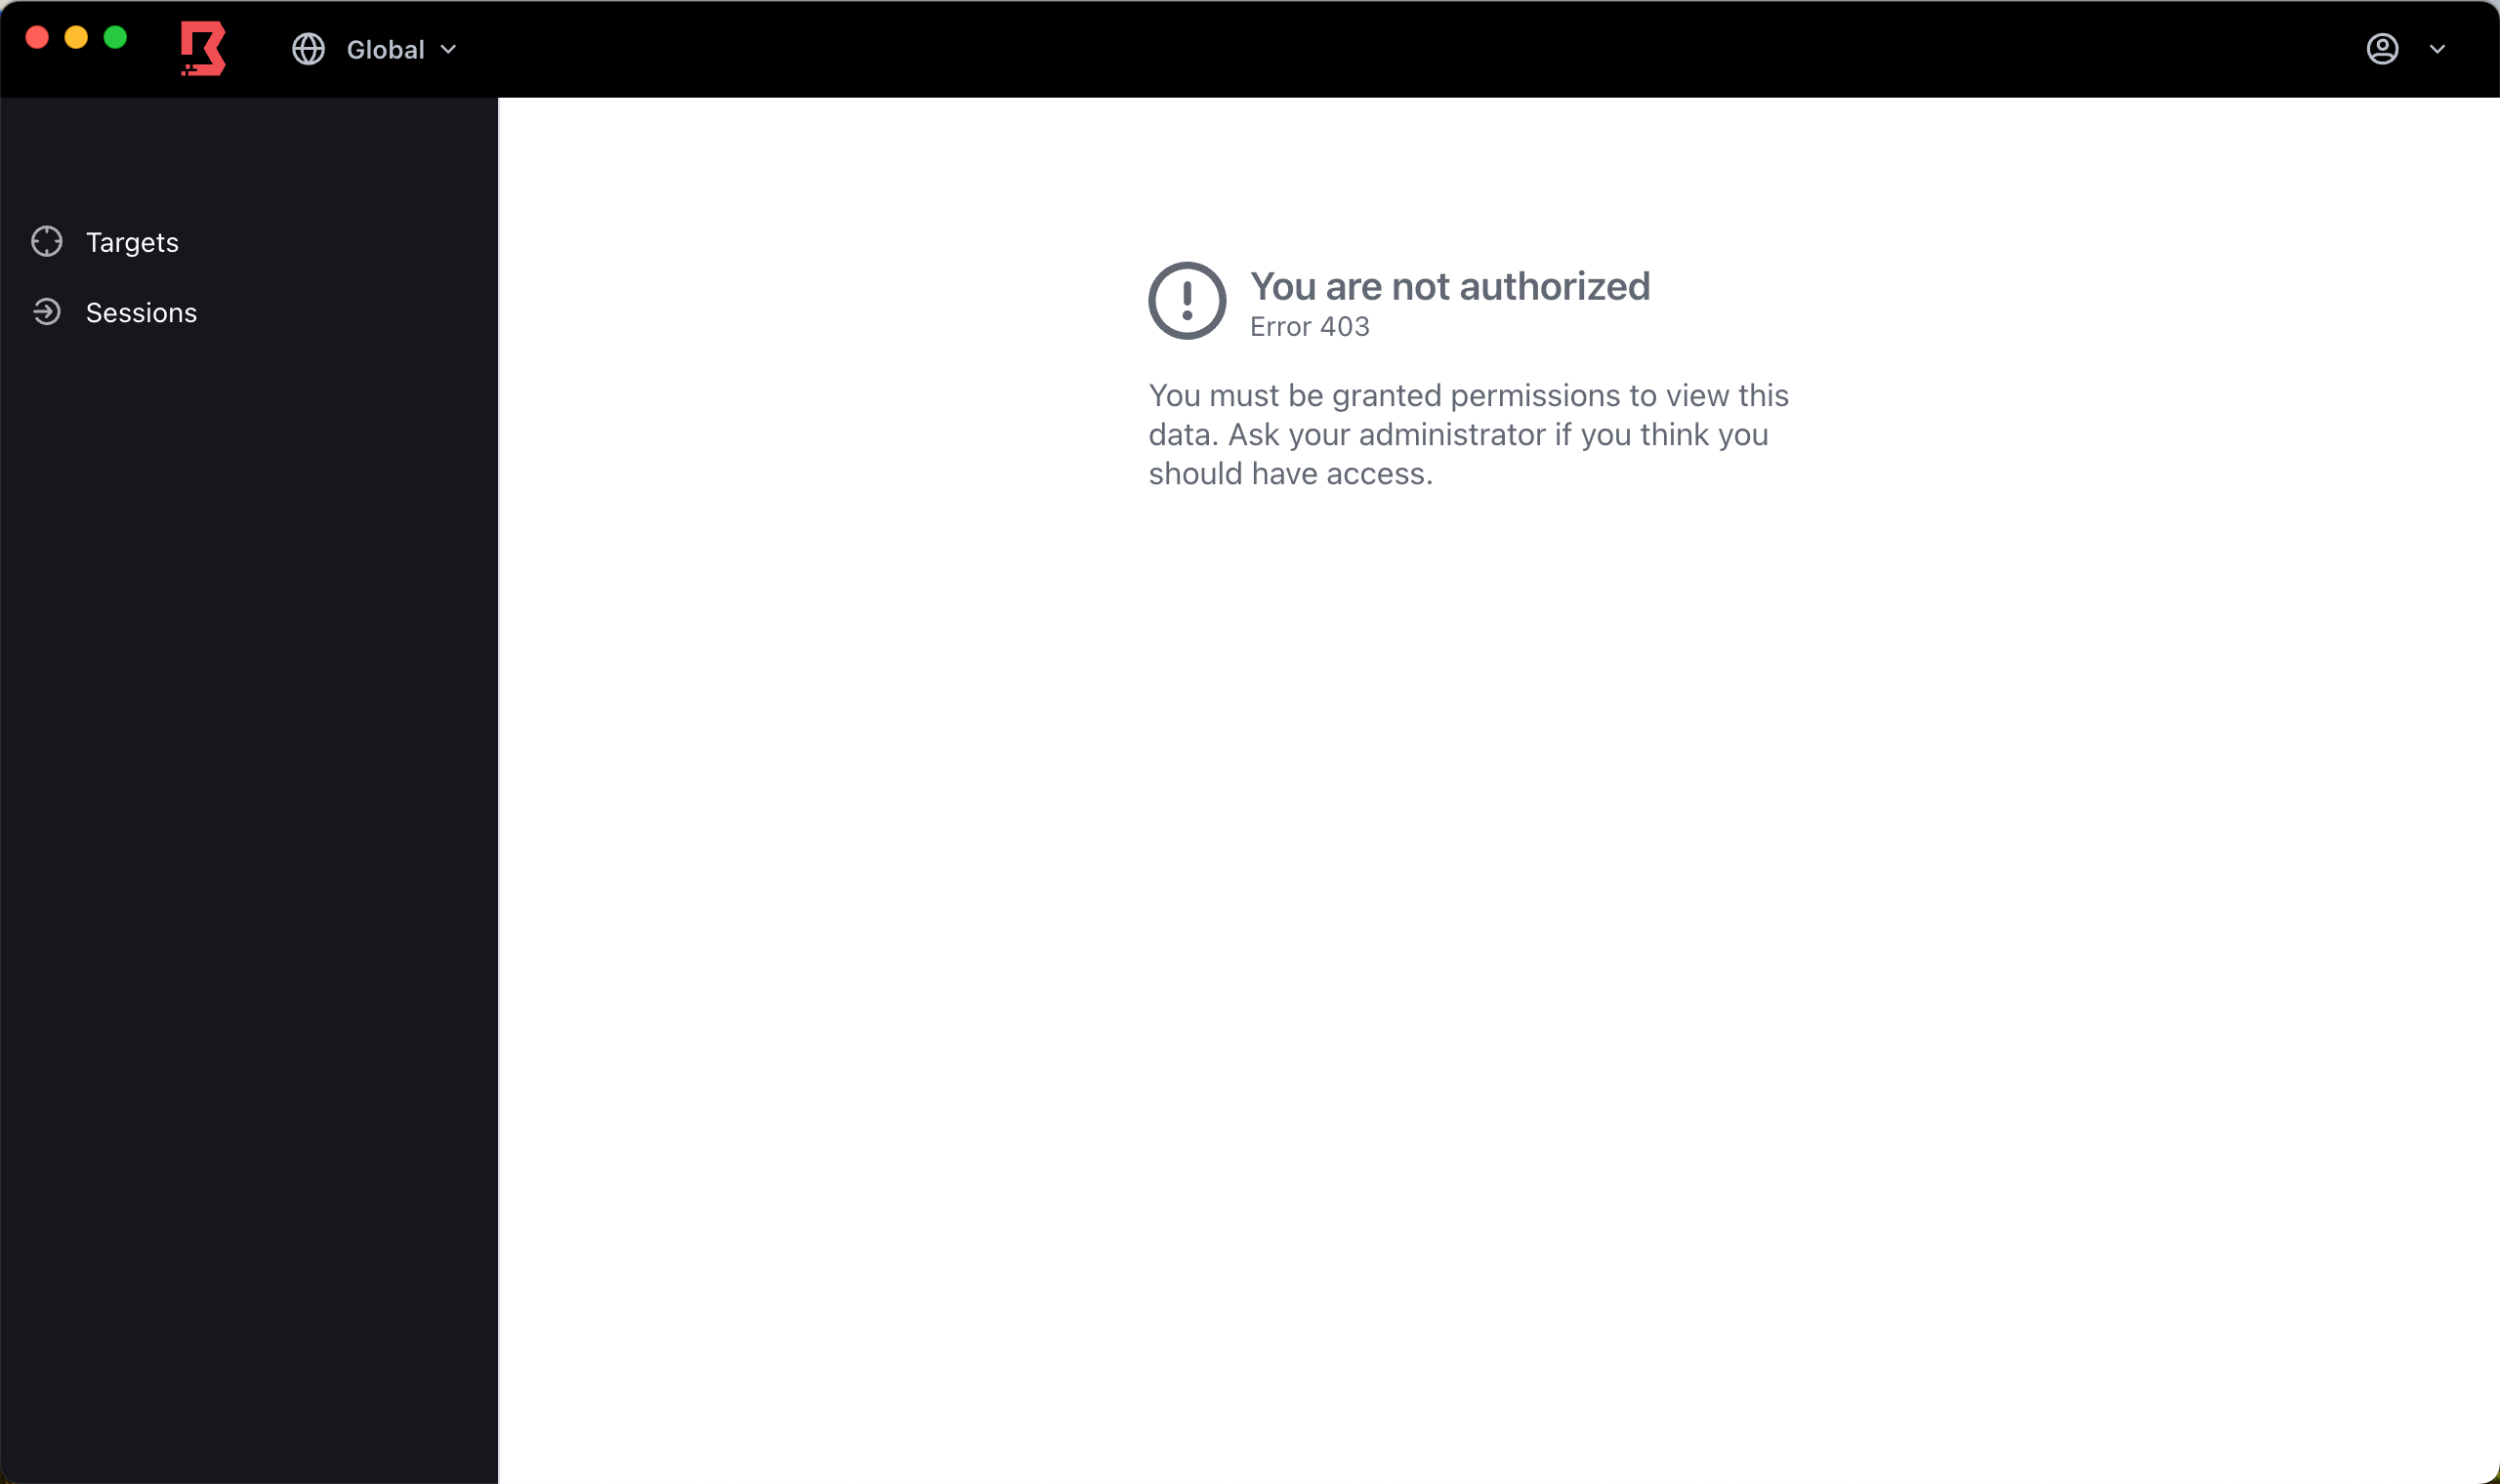
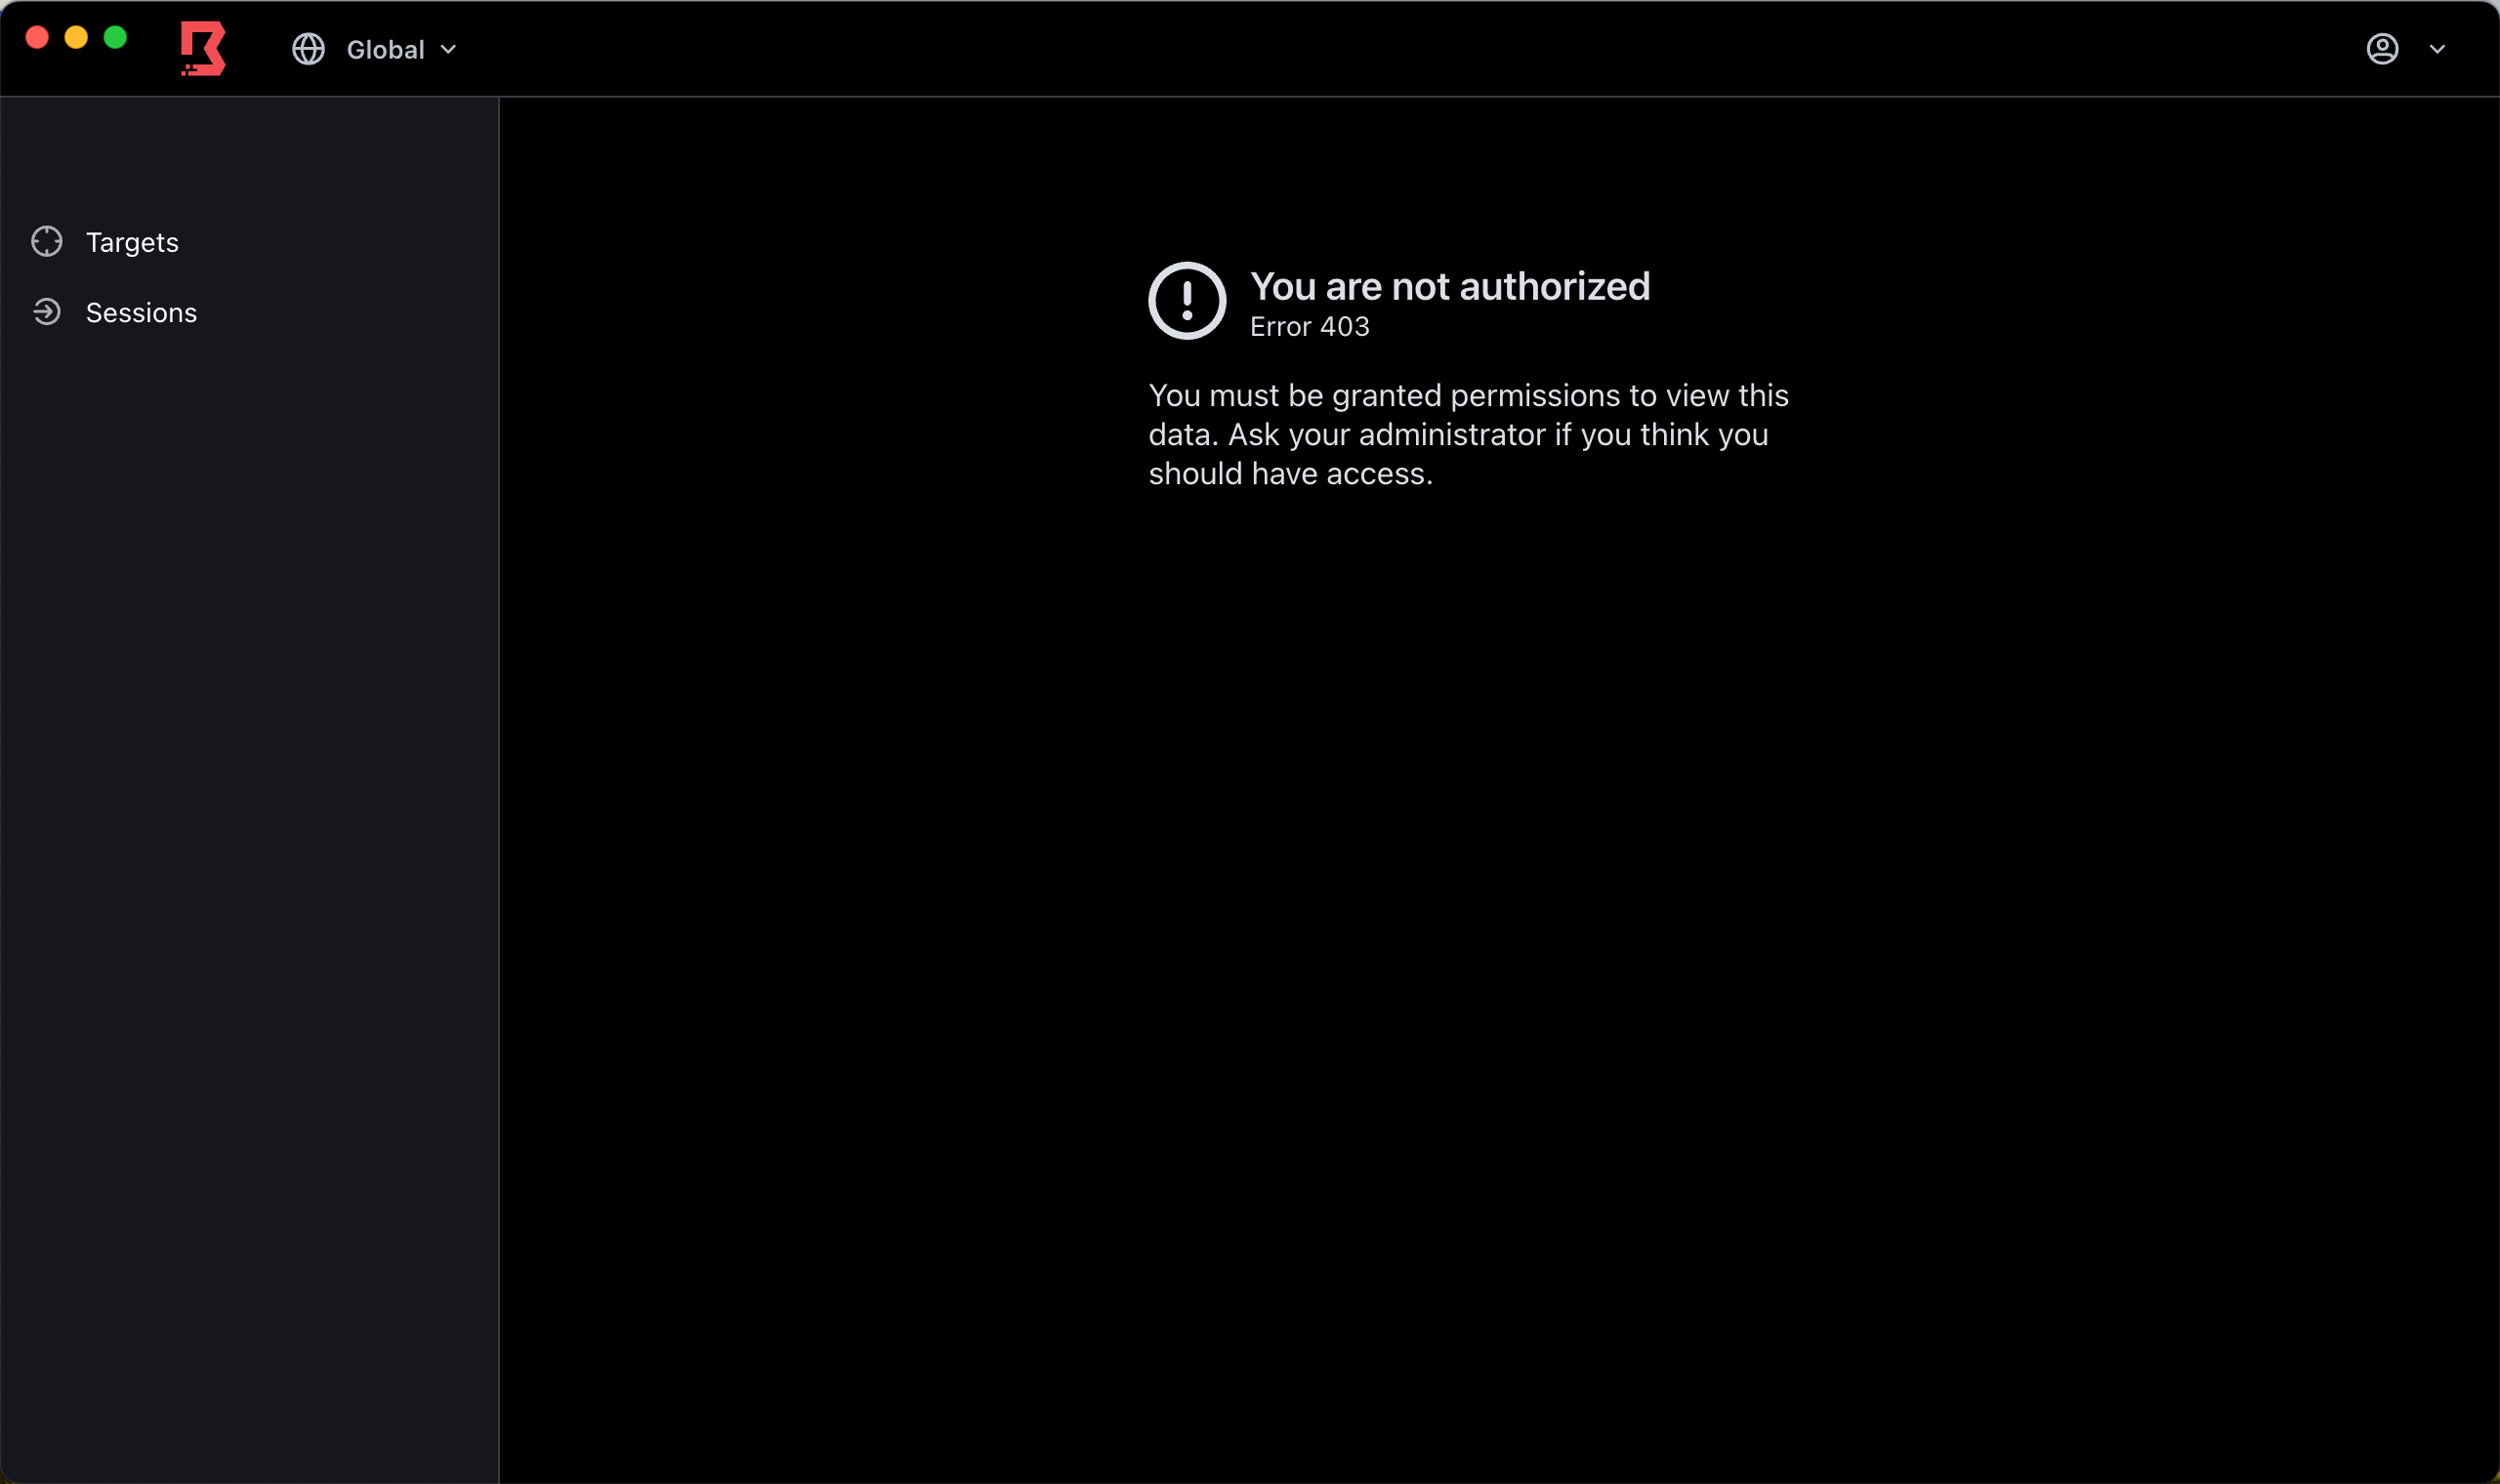
Once authenticated, open the Boundary Desktop app again and verify the authenticated user in the upper-right corner of the application window.
It is expected for this user to be unprivileged, and to be denied access to view targets and sessions. The OIDC user could be updated to include new privileges if an admin user assigns it to a role.
You have now completed OIDC integration with the Boundary Desktop app.

Cleanup and teardown
If you are not continuing on to the next tutorial, tear down the environment:
1. Remove any unwanted test auth methods from your HCP Boundary Cluster. This can be done by deleting the auth method in the Admin Console UI, or by providing your auth method ID using the CLI:
$ boundary auth-methods delete -id amoidc_40fr5jkLpk
2. Delete any sample applications from your OIDC provider.
This tutorial provided steps for configuring an Auth0 sample applications as Boundary auth methods. Revisit the provider settings and delete any sample applications you no longer need.
3. Delete any test users from your OIDC provider.
This tutorial created sample users within Auth0 to authenticate using the CLI, Admin Console or Desktop app. Revisit the Auth0 settings and remove any test users created for this tutorial.
4. Delete any test client secrets from your OIDC provider.
This tutorial may have created client secrets within Auth0. Revisit the provider settings and remove any client secrets created for this tutorial.
Next steps
This tutorial demonstrated the steps to add an OIDC authentication method and create a new user. You set up a provider application to authenticate with Boundary, and verified that you can authenticate using the newly created user.
Next, check out the Manage IdP Groups tutorial to learn about automatically managing group membership claims with OIDC auth methods.
To learn more about the basics of managing user accounts, check out the Manage Users and Groups and Manage Roles tutorials.